Mastering the Art of Natural Hair Prep: Your Ultimate Guide to Protective Styles Without Breakage
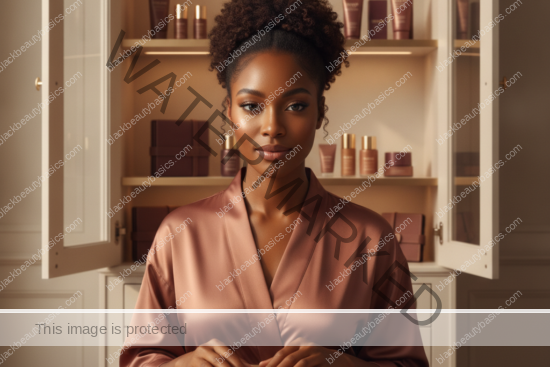
Protective styles are a cherished cornerstone of the natural hair journey for countless African American women. They offer a much-needed respite from daily manipulation, shield delicate strands from environmental stressors, and are invaluable tools for length retention. Yet, the paradox is real: a style designed to protect can, ironically, lead to significant damage if not approached with intention and care. Many of us have experienced the disheartening sight of excessive shedding, breakage, or even thinning edges after taking down what we hoped would be a ‘protective’ style. This common frustration often stems not from the style itself, nor from a lack of desire to care for our hair, but from a critical oversight in the pre-installation phase.
The truth is, the foundation for a truly protective style is laid long before the first braid is woven or the first twist is coiled. It’s in the thoughtful, deliberate preparation of your natural hair. This comprehensive guide is designed to empower you with the knowledge and actionable steps to transform your pre-protective style routine. We will delve deep into every crucial aspect, from meticulous cleansing and intensive conditioning to strategic detangling, precise moisturizing, and gentle stretching. Our aim is to ensure your precious coils, kinks, and curls enter any protective style – be it braids, twists, sew-ins, or wig braids – in their strongest, most hydrated, and most resilient state. This meticulous preparation is your ultimate defense against breakage, matting, and the myriad of issues that can arise from inadequate pre-styling care. Consider this your essential blueprint for ensuring your protective style genuinely protects, nurtures, and contributes positively to your hair health journey.
Step 1 – The Foundation of Health: Achieving a Truly Clean Scalp and Hair
Before embarking on any long-term protective style, the absolute non-negotiable first step is to ensure your scalp and hair are impeccably clean. Imagine tucking away your hair for weeks, or even months, with residual product buildup, environmental pollutants, sweat, or dead skin cells trapped beneath. This scenario is a recipe for disaster, leading to an array of issues ranging from persistent itchiness and uncomfortable irritation to excessive dryness, unpleasant odors, and, crucially, increased tangling and potential breakage. A thorough yet gentle cleanse is not merely a suggestion; it is the critical bedrock upon which the health and success of your protective style will rest.
The Art of Clarifying Without Stripping
Your pre-protective style wash day should be a dedicated ritual, ideally scheduled the day before or the very morning of your installation appointment. This timing allows your hair to be fresh, pliable, and optimally prepared. The choice of cleanser is paramount here:
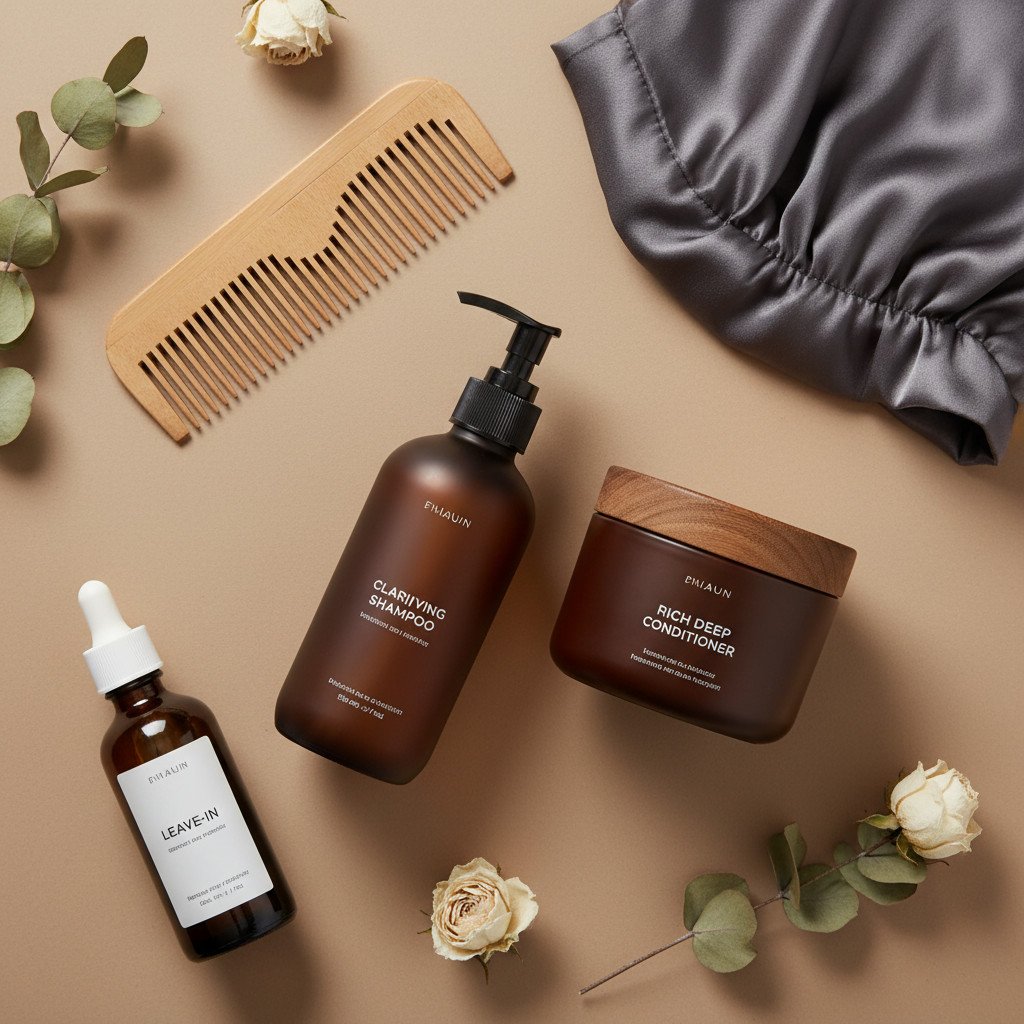
- Initial Clarification: Begin with a clarifying shampoo or a stronger, sulfate-containing cleanser if your hair has accumulated significant buildup from gels, heavy butters, edge control products, or simply weeks of styling. The purpose of this step is to meticulously strip away all traces of old product, environmental grime, and excess oils that can suffocate the scalp and coat the hair shaft. Look for ingredients like sodium C14-16 olefin sulfonate or disodium laureth sulfosuccinate for effective, yet potentially less harsh, clarification. A good clarifying shampoo prepares a clean canvas, allowing subsequent moisturizing products to penetrate more effectively.
- Gentle Follow-Up (Optional but Recommended): Following a potent clarifying wash, especially if your hair tends to be on the drier side or if your chosen clarifier is particularly strong, consider a second wash with a gentler, sulfate-free, or moisturizing shampoo. This step helps to rebalance the hair’s pH, restore some natural slip, and prevent that overly ‘squeaky clean’ feeling that can sometimes precede dryness. Ingredients like cocamidopropyl betaine, decyl glucoside, or sodium lauroyl methyl isethionate are excellent choices for milder cleansing.
During the cleansing process, focus your efforts primarily on your scalp. Use the pads of your fingertips – never your nails – to gently massage and stimulate the scalp, lifting away debris and promoting healthy blood circulation. Allow the suds to naturally run down the lengths of your hair; there’s no need for aggressive scrubbing of the delicate strands, which can lead to unnecessary friction and tangling. The final rinse is equally critical: rinse thoroughly, ensuring absolutely no shampoo residue remains. Any lingering product will contribute to buildup, itchiness, and a dull appearance once your hair is tucked away.
Strategic Sectioning for Coils and Kinks
For those blessed with dense, tightly coiled, or highly textured hair, the washing process can often be a source of tangles and frustration. To mitigate this, adopt the strategic practice of washing your hair in sections. Before wetting your hair, divide it into four to eight manageable sections and secure each with a loose twist or braid. This simple technique offers multiple benefits:
- Organization and Control: It keeps strands organized, preventing them from intertwining and forming larger, more stubborn knots during the wash.
- Reduced Tangles: By minimizing the movement of individual strands, you significantly reduce tangling at the roots and along the lengths.
- Even Product Distribution: Washing in sections allows for more precise and even application of shampoo and conditioner, ensuring every strand receives adequate attention.
- Controlled Manipulation: Each subsequent step – from conditioning and detangling to moisturizing and stretching – becomes more controlled and less damaging when performed on smaller, pre-sectioned units of hair.
This methodical approach to cleansing is not just about cleanliness; it’s about setting the stage for minimal manipulation and maximum hair health throughout the entire protective styling process.
Step 2 – The Power of Penetration: Deep Conditioning for Unrivaled Strength and Elasticity
Once your hair is immaculately clean, the next pivotal step is to infuse it with profound nourishment and strength through deep conditioning. Protective styles, by their very nature, involve a degree of manipulation. Even with the most skilled and gentle stylist, your hair will be stretched, parted, pulled, and handled more extensively than during your daily routine. This process, while necessary for installation, can place stress on the hair shaft. Deep conditioning acts as a crucial pre-emptive measure, providing your strands with the essential
Frequently Asked Questions
How far in advance should I prep my natural hair for a protective style?
At minimum, plan a full wash, deep condition, and stretch session within 24–48 hours before your install so your hair is clean, moisturized, and ready to be handled. If your hair feels particularly dry or fragile, start a ‘prep phase’ 1–3 weeks in advance, washing and deep conditioning weekly to rebuild strength and moisture before the next round. The more stressed your hair has been, the more gentle treatments you should give it before asking it to sit under tension again.
Should I blow-dry my hair before braids or twists?
You don’t have to blow-dry for every protective style. Many stylists can work on air-dried, banded, or braided stretches just fine, especially if your hair has been thoroughly detangled. If a blowout is preferred, prioritize low heat, a heat protectant, and minimal passes. The goal is manageable stretched hair, not bone-straight, to maintain curl integrity.
What products should I avoid right before installing a protective style?
Avoid very heavy butters, waxes, and thick gels right before installation, particularly at the roots, as they can cause buildup. Also, be cautious with strong protein treatments the same day as install; if hair feels stiff from protein and is then put under tension, it may be more prone to snapping. Focus on clean scalp, a well-rinsed deep conditioner, a balanced leave-in, and a moderate cream or oil, applied with a light hand.
Do I need to trim before every protective style?
No, but regular trims matter. If your ends are in good shape, you don’t need to cut them just for a protective style. However, if you notice persistent roughness, tangling at the ends, or visible splits, trimming before a long-term style can prevent those compromised ends from tangling inside braids and breaking higher up. A small, strategic trim two or three times a year is often sufficient.
How should I prep my hairline and edges before a protective style?
Edges need special kindness. Make sure the hairline is clean, gently detangled, and moisturized—but not slicked down with heavy gels or edge control. If your edges are already thin or sore, consider leaving them out of tight braids and opting for looser, larger sections or styles that don’t start directly on the hairline. Plan for rest periods where your edges are completely free of extensions, glue, or tight bands.
What’s the biggest prep mistake that leads to breakage after protective styles?
Going into a style with dry, tangled hair and a coated scalp is one of the most common mistakes. This combination makes your hair more fragile during installation, more likely to mat under the style, and more prone to break when you finally take it down. Skipping deep conditioning and detangling to ‘save time’ often just shifts the time cost to the back end, along with shedding and broken strands you might have prevented with a proper prep day.
How can I ensure my hair retains moisture throughout the protective style duration?
To ensure continuous moisture, establish a consistent routine. Use a water-based leave-in spray or mist every 2-3 days, focusing on your scalp and exposed hair. Follow with a light oil or scalp serum to seal in that moisture. Avoid heavy products that can cause buildup. Additionally, protect your hair nightly with a satin or silk bonnet/scarf to prevent moisture loss and friction. Regularly check your hair’s hydration levels and adjust your routine as needed.
Is it better to get protective styles on wet or dry hair?
For most protective styles like braids, twists, or cornrows, hair is typically prepped and installed on dry, stretched hair. This allows for cleaner parts, reduces shrinkage during styling, and minimizes tension on wet, more fragile strands. However, some styles or techniques might call for slightly damp hair for better manipulation, but it’s crucial that the hair is at least 80-90% dry and thoroughly detangled to prevent mildew and breakage.
How long should I keep a protective style in to avoid damage?
The ideal duration for a protective style varies depending on the style, your hair type, and how well you maintain it. Generally, most styles like braids or twists should be kept in for no longer than 4-8 weeks. Beyond this, new growth can cause excessive tension, and accumulated buildup can lead to matting and scalp issues. Listen to your hair and scalp; if you experience discomfort, excessive itchiness, or dryness, it’s time for a take-down and a break.
What is the best way to detangle my hair before a protective style?
The best way to detangle is on wet, conditioned hair, ideally with a generous amount of deep conditioner or a dedicated detangling conditioner. Work in small sections, starting from the ends and gently working your way up to the roots using your fingers first to loosen knots. Follow with a wide-tooth comb or a detangling brush designed for natural hair. This method minimizes breakage and ensures every strand is smooth before styling.

Can I use heat protectant if I’m not blow-drying my hair for a protective style?
While heat protectant is primarily for thermal styling, some leave-in conditioners or stylers contain mild heat-protective properties. If you are air-drying or using low-heat stretching methods, a dedicated heat protectant isn’t strictly necessary. However, if your chosen leave-in or styling cream offers some heat protection, it won’t harm your hair and can add an extra layer of defense against environmental elements or minimal heat exposure.
What if my stylist prefers to wash and prep my hair themselves?
It’s common for stylists to offer wash and prep services. While convenient, it’s crucial to communicate your specific needs and preferences. Discuss the products they use, ensuring they align with your hair’s requirements (e.g., clarifying, moisturizing, protein balance). If you have specific sensitivities or product preferences, share them. You can also opt to do your deep conditioning and detangling at home, arriving with clean, stretched hair, and letting them handle the final styling prep.
How can I protect my edges during the installation process?
Protecting your edges starts with clear communication. Discuss with your stylist the importance of gentle handling around your hairline. Request that they use less tension on the edges, braid them looser, or even leave them out entirely if they are particularly fragile. Applying a light, non-occlusive scalp oil or serum to your edges before installation can also provide a protective barrier. Remember, you have the right to speak up if the tension feels too tight at any point.
Are there any natural ingredients I should look for in my prep products?
Absolutely! For clarifying, look for apple cider vinegar rinses (diluted) or shampoos with tea tree oil. For deep conditioning, ingredients like shea butter, coconut oil, argan oil, jojoba oil, aloe vera, honey, and various plant extracts (e.g., marshmallow root, slippery elm) are excellent for moisture and slip. Protein treatments might feature hydrolyzed wheat, rice, or soy protein. Always prioritize products with high-quality, nourishing ingredients that cater to your hair’s specific needs.
How do I deal with excessive shedding during the take-down process?
Shedding is normal, as you lose 50-100 strands daily. When hair is in a protective style, these shed hairs accumulate. To minimize breakage during take-down, be patient and gentle. Work in small sections, apply a generous amount of conditioner or oil, and use your fingers to loosen the braids/twists before gently detangling from ends to roots. Never pull or rip through knots. A pre-shampoo treatment can also help soften hair for easier detangling.
Shop clarifying shampoo on Amazon
Shop sulfate-free shampoo on Amazon
Shop deep conditioner on Amazon

Shop leave-in conditioner on Amazon
Shop moisturizing milk on Amazon
Shop lightweight oil on Amazon
Shop heat protectant on Amazon
Related next steps
Related posts:
 Prep and Takedown for Heat Styling and Set Styles: Mastering the Art of Gentle Transformation
 How to Take Down Protective Styles Without Excess Shedding: A Comprehensive Guide to Healthy Hair Retention
 Protective Styles That Actually Protect: The Ultimate Guide to Natural Hair Health and Growth
 Protective Styling 101 – How to Choose Styles That Retain Length Without Damaging Your Edges
 Mastering Seasonal Shifts: The Ultimate Winter vs. Summer Natural Hair Routine for Black Women
 Prep and Takedown for Braids and Twists: The Full Cycle of Protective Styling