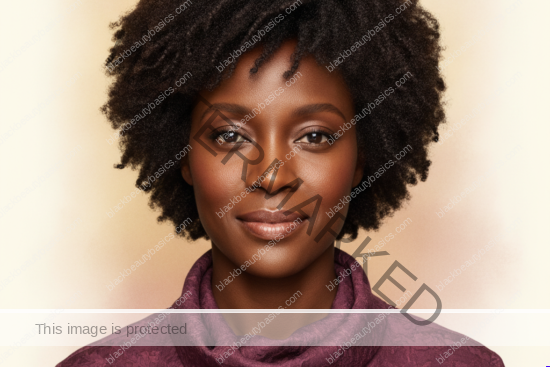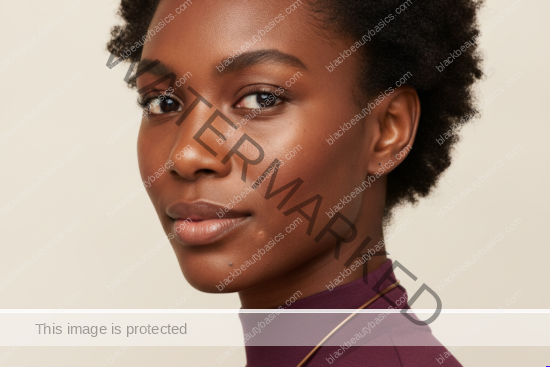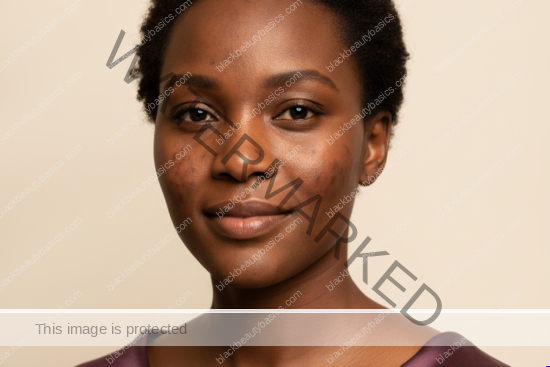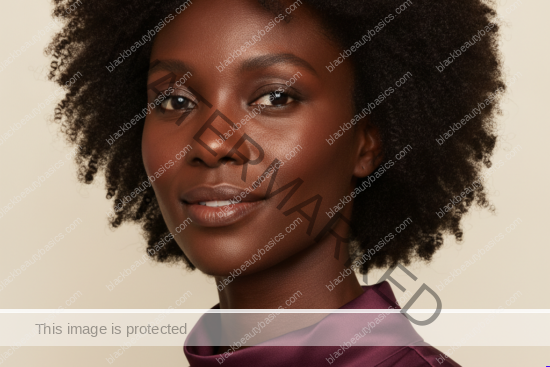
Our brows are more than just frames for our eyes; they are storytellers, conveying emotion, confidence, and the unique beauty that resides within each of us. For Black women, with our diverse range of skin tones and hair textures, mastering the art of brow shaping and filling is not just about following trends, but about celebrating our natural definition and enhancing the regal contours of our faces. This comprehensive guide is crafted to empower you with the knowledge and techniques to achieve brows that are not only perfectly sculpted but also authentically yours.
The Art of the Arch: Understanding Brow Anatomy for Melanin-Rich Skin
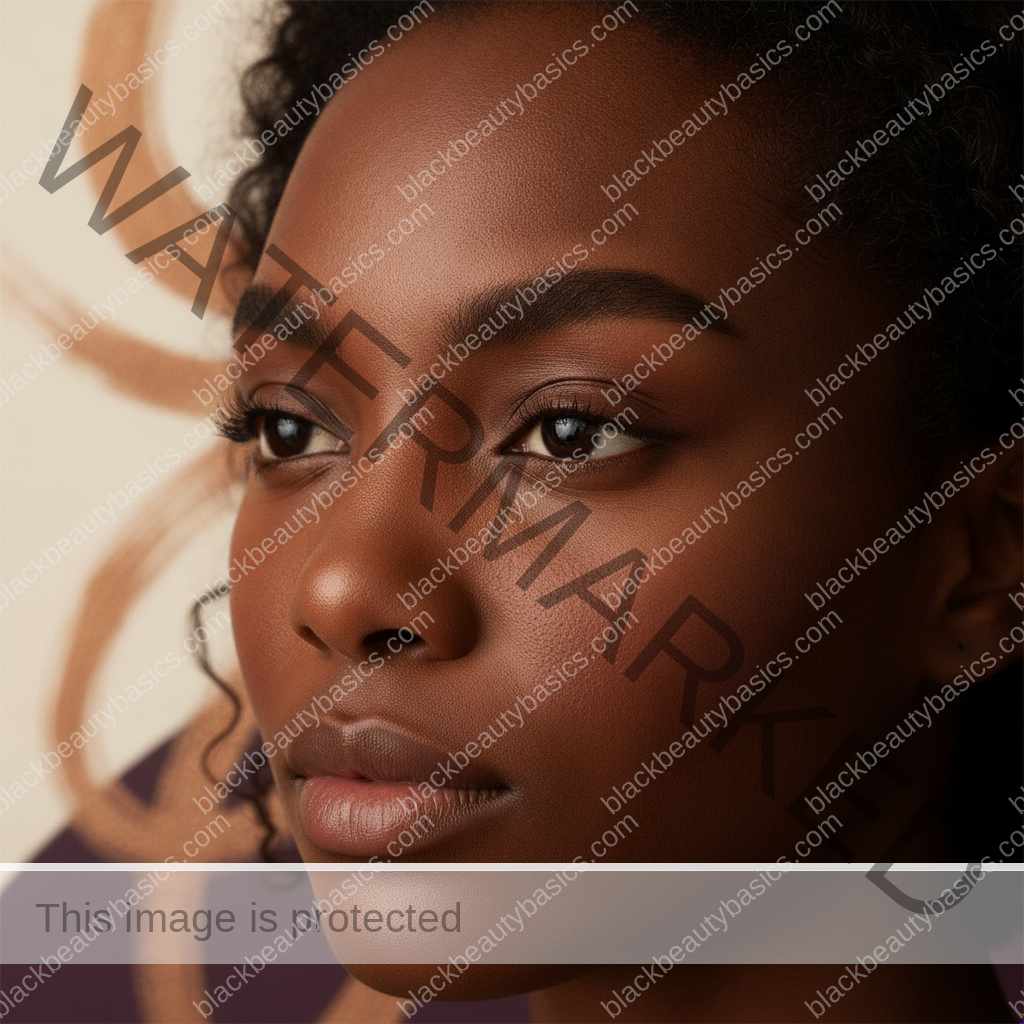
Before we pick up a single tool, let’s delve into the foundational understanding of brow anatomy. For Black women, our brow hairs can range from fine and sparse to thick and coarse, often with a rich, deep hue that complements our complexions. Recognizing these nuances is the first step toward creating a look that feels natural and harmonious. The goal isn’t to draw on a new set of brows, but to enhance the magnificent ones you already possess, bringing out their inherent strength and beauty.
Identifying Your Natural Brow Shape
Every face tells a unique story, and your natural brow shape is a key part of that narrative. Instead of forcing a shape that doesn’t belong, we encourage you to observe and understand the natural flow of your brows. Look for the three key points: the start, the arch, and the tail. These points are your guiding stars, helping you to define and refine without over-plucking or over-filling. For many Black women, our natural brows possess a beautiful, often strong, arch that can be subtly emphasized to elevate our features.
The Golden Ratio and Facial Harmony
While the “golden ratio” is a classic beauty concept, we interpret it through a lens that celebrates the diversity of Black beauty. It’s not about rigid rules, but about creating balance and symmetry that feels organic to your face. Your brows should complement your features, not overpower them. This means considering your eye shape, face shape, and the natural bone structure beneath your brows. The aim is to create a soft yet defined look that enhances your natural elegance.
Preparation is Key: Setting the Stage for Flawless Brows
Just as a masterful artist prepares their canvas, we must prepare our brows for their transformation. This crucial step ensures a smooth application, longevity, and a truly polished finish. Neglecting preparation can lead to uneven application or a less refined look, which we certainly want to avoid.
Cleansing and Exfoliating the Brow Area
Start with a clean slate. Gently cleanse your brow area to remove any makeup, oils, or skincare residue. A mild facial cleanser will do the trick. For an extra touch of luxury and to ensure a smooth surface for product application, consider a gentle exfoliation once or twice a week. This helps to remove dead skin cells that can sometimes make brow hairs appear dull or product application patchy. Remember, our skin is precious, so be gentle, especially around the delicate eye area.
Trimming and Brushing: The Foundation of Definition
Trimming is often overlooked but is vital for a neat and defined brow. Using small, sharp brow scissors and a spoolie brush, gently brush your brow hairs upwards and trim any stray hairs that extend significantly beyond your natural brow line. Then, brush them downwards and trim any long hairs. This creates a clean base without sacrificing fullness. Always trim sparingly; you can always remove more, but you can’t put it back! Brushing your brows into place with a clean spoolie before applying any product also helps to reveal their natural shape and any areas that need filling.
The Power of a Good Magnifying Mirror
A magnifying mirror can be your best friend when it comes to precision. It allows you to see every fine hair and ensures that your shaping and filling are meticulous. However, use it wisely. Step back frequently to view your brows from a normal distance to avoid over-plucking or over-filling. The goal is balance, not microscopic perfection.
Shaping Your Masterpiece: Techniques for Natural Definition
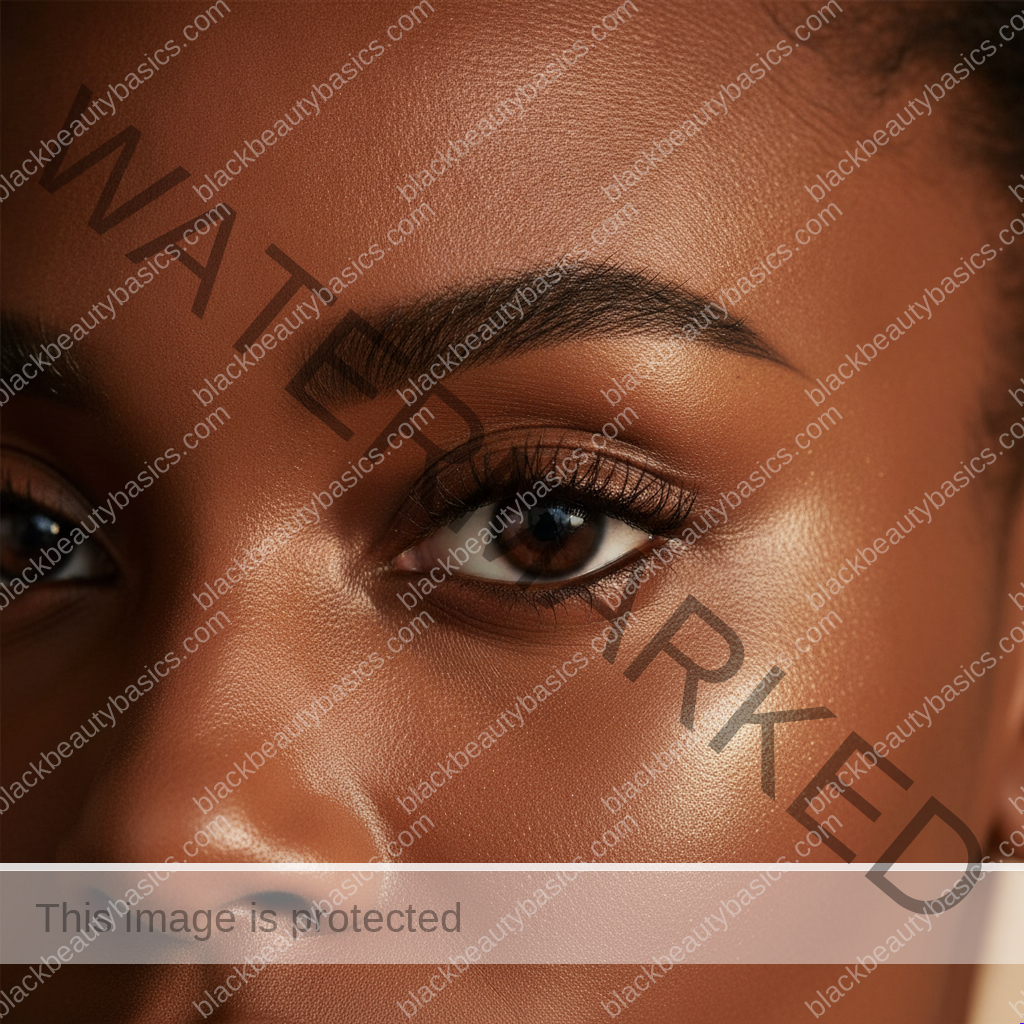
Now that our canvas is prepared, let’s dive into the art of shaping. This section focuses on techniques that enhance your natural beauty, providing definition without harsh lines or an “overdone” appearance. Remember, the goal is natural elegance.
Tweezing vs. Waxing vs. Threading: Choosing Your Method
Each method has its merits, and the best choice depends on your skin sensitivity, hair growth, and desired precision.
Tweezing for Precision and Control
Tweezing is excellent for maintaining your brow shape and removing stray hairs with precision. It’s ideal for those with sensitive skin who want to avoid chemicals or heat. Always use high-quality, slanted tweezers for a better grip on fine hairs. Pluck in the direction of hair growth to minimize pain and prevent ingrown hairs. explore precise slanted tweezers
Waxing for Clean Lines (Professional Recommended)
Waxing provides a clean, sharp line and removes many hairs at once, making it efficient. However, it can be harsh on sensitive skin and may cause irritation or hyperpigmentation for some Black women if not done correctly. If you choose waxing, seek a professional who is experienced with melanin-rich skin and uses high-quality, gentle wax. Always communicate any skin sensitivities you may have.
Threading for Definition and Less Irritation
Threading is an ancient technique that uses cotton thread to remove hair, offering precise shaping without chemicals or heat. It’s often favored by those with sensitive skin and is known for creating very clean, defined lines. It can be a bit uncomfortable initially but generally causes less irritation than waxing. Again, seek a skilled professional for threading.
Mapping Your Brows: The Three-Point Technique
This classic technique helps you identify where your brow should ideally begin, arch, and end, ensuring a flattering shape for your face.
- Start Point: Hold a brow pencil vertically against the side of your nose, aligning it with the inner corner of your eye. This is where your brow should begin. Mark this point with a light dot.
- Arch Point: Look straight ahead. Place the pencil diagonally from the outside of your nostril, passing through the center of your iris. This is typically where your arch should be highest. Mark this point.
- End Point: Place the pencil diagonally from the outside of your nostril, aligning it with the outer corner of your eye. This is where your brow should ideally end. Mark this point.
Connect these dots lightly to create a guideline for your shaping and filling. Remember, these are guidelines, not rigid rules. Adjust slightly to complement your unique features.
Gentle Hair Removal: Avoiding Over-Plucking
The cardinal rule of brow shaping: less is more. Over-plucking can lead to sparse brows that are difficult to grow back, especially for mature skin. Focus on removing only the stray hairs outside your mapped shape. Step back frequently from the mirror to assess your progress and ensure you’re maintaining a natural fullness. Embrace the slight imperfections; they often add character and authenticity.
Filling Your Brows: Enhancing Natural Definition with Color
Once your brows are shaped, it’s time to fill them in, adding depth, dimension, and a polished finish. The key for Black women is selecting the right shades and textures that complement our diverse hair colors and skin tones, avoiding harsh contrasts.
Choosing the Right Brow Product for Your Needs
The beauty market offers a plethora of brow products, each with unique benefits. Your choice depends on your desired look, brow fullness, and skill level.
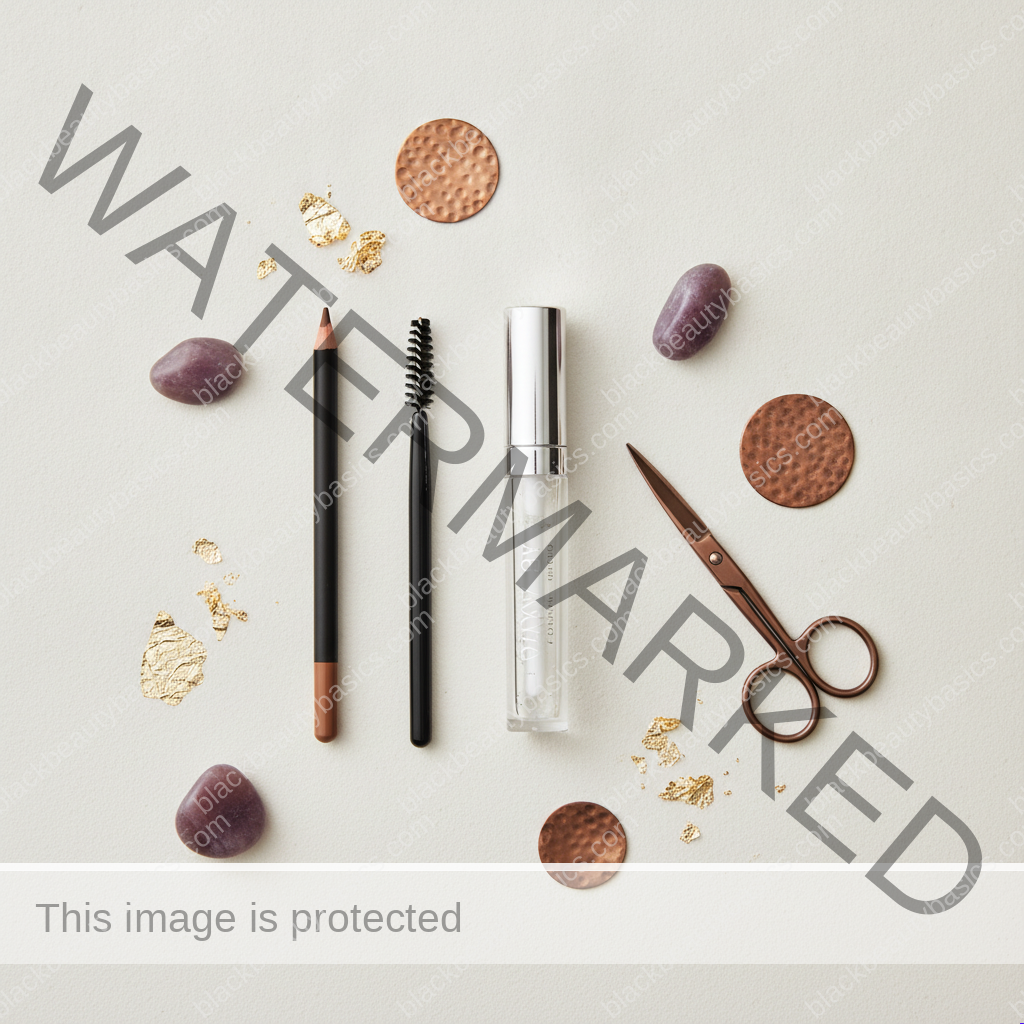
Brow Product Comparison Table
| Product Type | Best For | Pros | Cons | Recommended for Black Women |
|---|---|---|---|---|
| Pencils | Defining, filling sparse areas, creating hair-like strokes | Precise, easy to use, portable | Can look harsh if not blended, may smudge | Great for beginners, natural hair-like strokes, look for warm or neutral deep browns/blacks. explore fine-tip brow pencils |
| Powders | Soft filling, adding fullness, natural look | Soft finish, buildable, versatile | Less precise than pencil, can be messy, needs a brush | Excellent for a soft, diffused look, ideal for fuller brows. |
| Pomades/Gels | Strong definition, sculpting, holding hairs in place | Long-lasting, waterproof, intense color | Can look heavy if not applied carefully, requires practice | Perfect for bold brows, taming unruly hairs, or oily skin. |
| Tinted Gels/Mascaras | Adding subtle color, holding hairs, natural enhancement | Quick, easy, natural finish, adds volume to fine hairs | Limited shaping ability, not for sparse areas | Ideal for quick touch-ups or naturally full brows. |
Finding Your Perfect Shade: The Undertone Factor
This is paramount for Black women. Our hair colors range from rich blacks to deep browns, often with warm or cool undertones. The wrong brow shade can look ashy, reddish, or simply unnatural against our complexions.
- For Black Hair: Opt for a soft black, deep charcoal, or a very dark brown with a neutral or cool undertone. Avoid jet black unless your hair is truly that shade, as it can look too harsh.
- For Dark Brown Hair: A deep chocolate brown, espresso, or a dark taupe with a neutral or warm undertone will be flattering.
- For Lighter Brown or Auburn Hair: Choose a medium to dark brown with a warm undertone that matches your hair color, ensuring it doesn’t appear too red or orange.
When in doubt, go one shade lighter than your hair color, especially if you have very dark hair, to ensure a softer, more natural look. Swatch shades on your hand or jawline to see how they interact with your skin’s undertones.
Step-by-Step Filling Techniques for a Natural Finish
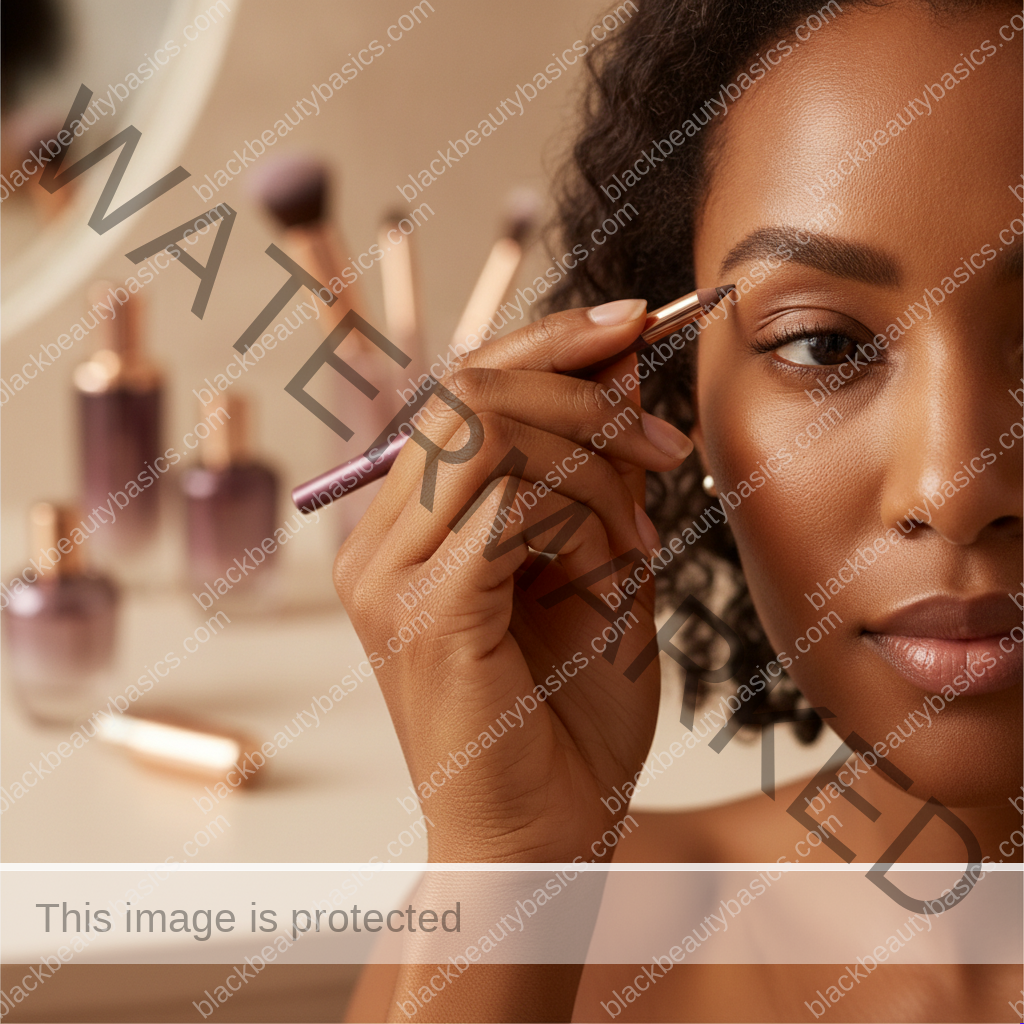
Regardless of the product you choose, the application technique is key to achieving a natural, defined brow.
Practical Tips for Natural Brow Filling
- Brush First: Always start by brushing your brow hairs upwards and outwards with a clean spoolie to see their natural direction and any sparse areas.
- Define the Bottom Edge: Using your chosen product, lightly draw a crisp, clean line along the bottom edge of your brow, from the start to the tail. This creates a strong foundation.
- Fill Sparse Areas: With a light hand, use small, hair-like strokes to fill in any sparse areas. For pencils, use short, upward flicks. For powders, use an angled brush and tap off excess. For pomades, a tiny amount on an angled brush goes a long way.
- Define the Arch and Tail: Gently extend the tail of your brow to your mapped end point, ensuring it tapers to a fine point. Define the arch for a subtle lift.
- Soften the Front: For a natural look, avoid drawing a harsh, blocky line at the front of your brow. Instead, use very light, upward strokes, or simply brush through the product from the rest of your brow into the front.
- Blend, Blend, Blend: This is the most crucial step! Use a clean spoolie brush to gently blend the product through your brows. This softens any harsh lines, distributes the color evenly, and makes the brows look more natural.
- Set (Optional but Recommended): For extra hold and longevity, especially in humid climates or for unruly hairs, finish with a clear or tinted brow gel. explore clear brow gels
Advanced Techniques & Troubleshooting for Brow Perfection
Even with the best techniques, sometimes our brows need a little extra TLC or a quick fix. Here are some advanced tips and solutions to common brow dilemmas.
Highlighting for a Lifted Look
A subtle highlight beneath the arch of your brow can instantly create a lifted, more awake appearance. Use a matte or very subtle shimmer highlighter in a shade that complements your skin tone. Apply it directly under the arch and blend outwards towards the tail. Avoid anything too glittery for a sophisticated finish.
Concealer for Sharp Edges and Clean-Up
For truly sharp, defined brows, a touch of concealer can work wonders. After filling your brows, use a small, flat brush to apply a tiny amount of concealer (one shade lighter than your foundation) along the bottom edge of your brow. Blend it downwards into your foundation seamlessly. This cleans up any stray marks and makes your brow line pop.
Dealing with Sparse or Over-Plucked Brows
Patience is key here. While your brows grow back, focus on stimulating growth and using products that mimic natural hairs.
- Brow Growth Serums: Consider incorporating a brow growth serum into your nightly routine. Many contain peptides and vitamins that can help encourage hair growth.
- Hair-Like Strokes: When filling, prioritize creating individual hair-like strokes with a fine-tipped pencil or pomade to build up the appearance of fullness.
- Tinting: Professional brow tinting can darken fine, light hairs, making brows appear fuller without daily makeup. Ensure the tint shade is appropriate for your skin tone.
Taming Unruly Hairs
For coarse or curly brow hairs that refuse to stay in place, a strong-hold clear brow gel or even a touch of hairspray on a spoolie can be a game-changer. Brush the hairs into your desired shape and then apply the gel or hairspray to lock them down. For very stubborn hairs, consider professional brow lamination, a semi-permanent treatment that straightens and sets brow hairs in place.
Maintaining Your Beautiful Brows: Long-Term Care
Achieving beautiful brows is an ongoing journey. Consistent care and mindful habits will ensure your brows remain a stunning feature of your face.
Regular Maintenance Schedule
Establish a routine for brow maintenance. For most, a quick tweeze of stray hairs every few days and a more thorough shaping session every 2-4 weeks is ideal. Avoid over-plucking by only removing hairs that are clearly outside your desired shape.
Skincare for Healthy Brows
Just like the hair on your head, your brow hairs benefit from good care. Ensure your skincare routine doesn’t neglect this area. Gentle cleansing and moisturizing can keep the skin under your brows healthy, which in turn supports healthy hair growth. If you use heavy creams or oils, make sure they don’t clog the hair follicles, which could impede growth.
Protecting Your Brows from Damage
Be mindful of how you treat your brows. Avoid rubbing them vigorously when washing your face or applying products. If you use strong retinoids or acids in your skincare, be cautious around the brow area, as these can sometimes make hairs more brittle or cause shedding. Always use sunscreen on your face, including your brows, to protect the delicate skin and prevent hyperpigmentation.
Make the Routine Fit Your Skin, Schedule, and Budget
A brow routine works best when it respects the skin underneath the hair. If your brow area becomes itchy, flaky, sore, or noticeably darker after grooming, that is useful feedback. Pause hair removal and simplify the area instead of trying to cover the reaction with more product. Black skin can hold on to pigment after inflammation, so a gentler method often gives a better cosmetic result than the sharpest possible outline. Tweezing a few obvious strays may be enough. Threading may suit someone who wants a cleaner shape without wax. Waxing may be a poor fit when you use a retinoid, exfoliating acid, or another treatment that makes skin more fragile. When you are unsure, ask the professional exactly what will touch your skin and tell them what you use at home.
Your schedule matters too. A five-minute weekday brow does not need the same steps as an event look. On a normal morning, brush the hairs upward and outward, add a few pencil strokes where the brow looks uneven, and set only the hairs that move. Stop there if the result feels balanced. For photographs or evening makeup, add a little more definition through the tail and lightly clean the lower edge with concealer. The difference should come from controlled placement, not from drawing a heavy block at the front of the brow.
A Simple Three-Level Brow Plan
Level one: brush and set. This works for naturally full brows or low-energy days. Use a clean spoolie, then a small amount of clear or tinted gel. Level two: fill the gaps. Add a fine pencil or a small angled brush and powder, concentrating on sparse areas rather than coloring every hair. Level three: shape and refine. Map the start, arch, and tail, remove only obvious strays, and add concealer only where it improves clarity. Moving between these levels keeps the routine flexible. You do not have to perform the most polished version every day.
Budget does not decide whether a brow looks elegant. Precision, shade, pressure, and blending matter more than packaging. A basic kit can be one spoolie, one fine-tip pencil, and one clear gel. Replace a product when its texture becomes dry, its scent changes, or it begins dragging against the skin. Keep tools clean, especially if you use them near active breakouts. If you share a household, do not share products that repeatedly touch the skin or eye area.
When Your Brows Are Not Identical
Most faces are naturally asymmetrical, and brows often grow at different angles or densities. Trying to force exact twins can lead to over-plucking the fuller brow and over-drawing the sparser one. Instead, choose one or two points to balance, such as the height of the arch or the length of the tail. View your face from a normal conversational distance before making another adjustment. Up close, every tiny difference feels urgent. From a few feet away, the overall relationship between the brows matters more.
What to Do Next
Begin with a seven-day observation period before changing the shape. Brush your brows into place each morning and notice where the hair naturally starts, where the arch lifts, and where the tail becomes sparse. On the day you shape them, work in bright, even light and remove one or two hairs at a time. Step back often. If your skin is reactive or you are using strong skincare around the forehead, skip waxing and choose the least irritating option available to you.
For filling, choose a neutral or slightly cool brow shade that creates definition without looking blue-black, red, or gray against your complexion. Practice short strokes on the back of your hand so you can feel how little pressure is needed. Then fill only the spaces that need support, brush through the result, and decide whether gel is actually necessary. This slower approach protects both your skin and your natural brow density.
Keep this guide connected to the larger Makeup for Deep Skin Tones system. For eye-area balance, continue with our eyes and liner strategies for deep skin. If you want a smaller routine, use the minimalist five-product makeup kit to decide which brow step earns a place in your everyday bag.
FAQs: Your Brow Shaping & Filling Questions Answered
Q1: How do I know what brow shape is best for my face?
A1: The best brow shape is usually the one that follows your natural bone structure and complements your face shape. Use the three-point mapping technique (start, arch, end) as a guide. For rounder faces, a slightly higher arch can add definition. For angular faces, a softer, more rounded arch can balance features. Ultimately, enhancing your natural shape is often the most flattering approach.
Q2: My brows are very sparse. Can I still achieve a natural look?
A2: Absolutely! For sparse brows, focus on using a fine-tipped brow pencil or pomade to draw individual hair-like strokes in the direction of your natural hair growth. Layering a brow powder lightly over these strokes can add fullness. Finishing with a tinted brow gel can also help to thicken existing fine hairs. Consistency with a brow growth serum can also make a significant difference over time.
Q3: What’s the biggest mistake Black women make when shaping their brows?
A3: One common mistake is using a brow product that is too light, too red, or too ashy for their hair and skin undertones, which can create an unnatural contrast. Another is over-plucking, especially in the arch or tail, leading to thin or tadpole-shaped brows. Always choose a deep, neutral, or cool-toned brown/soft black, and pluck sparingly.
Q4: How do I prevent my brow makeup from smudging throughout the day?
A4: To prevent smudging, start with a clean, oil-free brow area. Use long-wearing or waterproof brow products like pomades or gels. Setting your filled brows with a clear or tinted brow gel is also highly effective. For oily skin, a light dusting of translucent powder around the brow area before application can help.
Q5: Should my brows match my hair color exactly?
A5: Not necessarily! For Black women with very dark hair, matching your brow color exactly with a jet-black product can sometimes look too harsh. Often, going one shade lighter than your hair color, or choosing a deep, neutral brown, creates a softer, more natural, and flattering look. The goal is harmony, not an exact match.
Q6: How often should I get my brows professionally shaped?
A6: This varies depending on your hair growth and desired precision. For maintaining a defined shape, every 2-4 weeks is generally recommended. If you’re trying to grow out your brows or prefer a more natural, less sculpted look, you might extend this to 4-6 weeks. Regular at-home maintenance between professional appointments can also help.
Q7: Can I use regular hair dye to tint my brows?
A7: No, it is generally not recommended to use regular hair dye on your brows. Hair dyes are often too strong for the delicate skin around the eyes and can cause irritation, allergic reactions, or even permanent damage. Always use dyes specifically formulated for brows and lashes, and ideally, have it done by a professional.
As we conclude this journey into the art of brow shaping and filling, remember that your brows are a powerful canvas for self-expression, a testament to the unique elegance that is inherently yours. Embrace the process, experiment with confidence, and allow your natural definition to shine through, empowering you to frame your beautiful eyes with the grace and precision they deserve. May your brows always reflect the radiant queen within.
Related next steps
Related posts:
 Mascara for Black Women: Definition, Volume, Curl, and Comfort
 How Do Black Women Protect Their Natural Hair?
 How Do Black Women Take Care Of Natural Hair?
 How Do Black Women Protect Their Natural Hair?
 Mastering Seasonal Shifts: The Ultimate Winter vs. Summer Natural Hair Routine for Black Women
 Body Odor, pH, and Deodorant for Black Women: Natural vs Clinical Strength