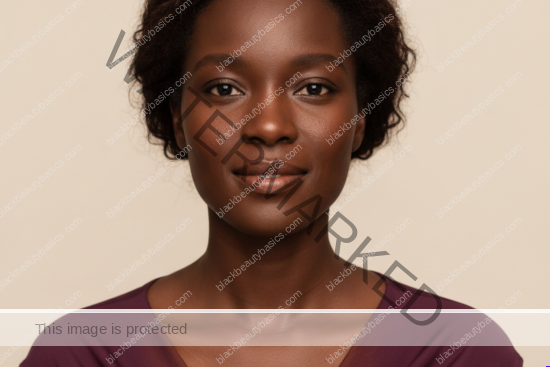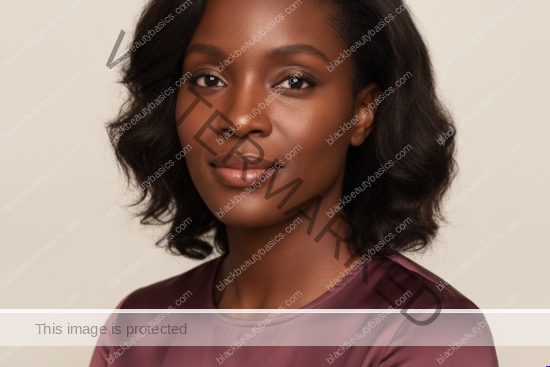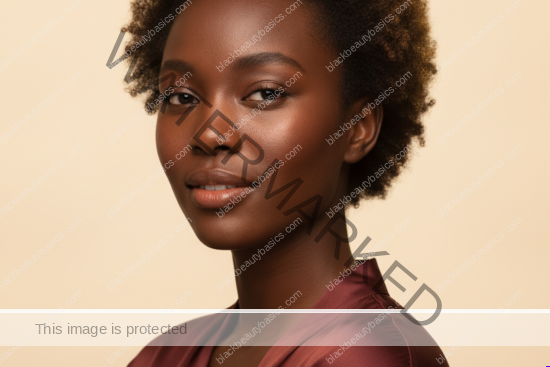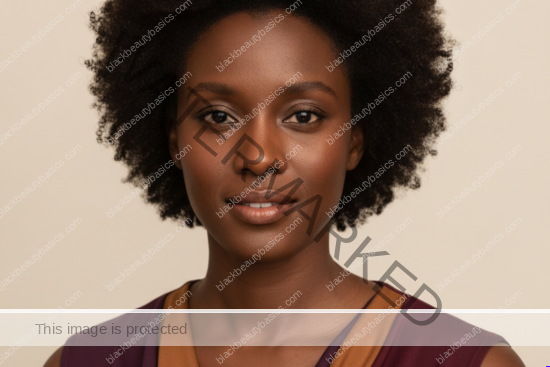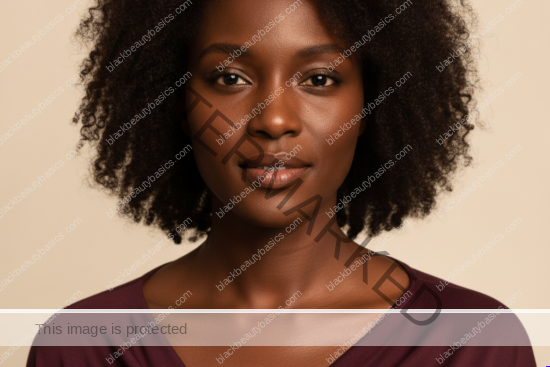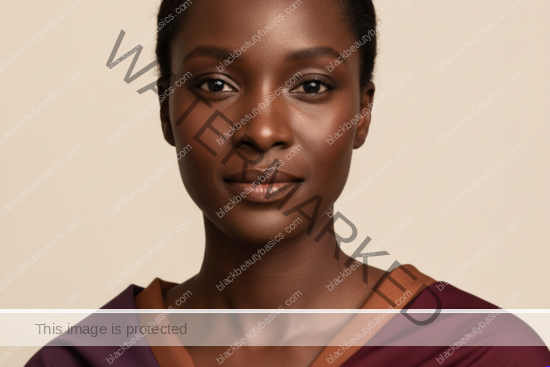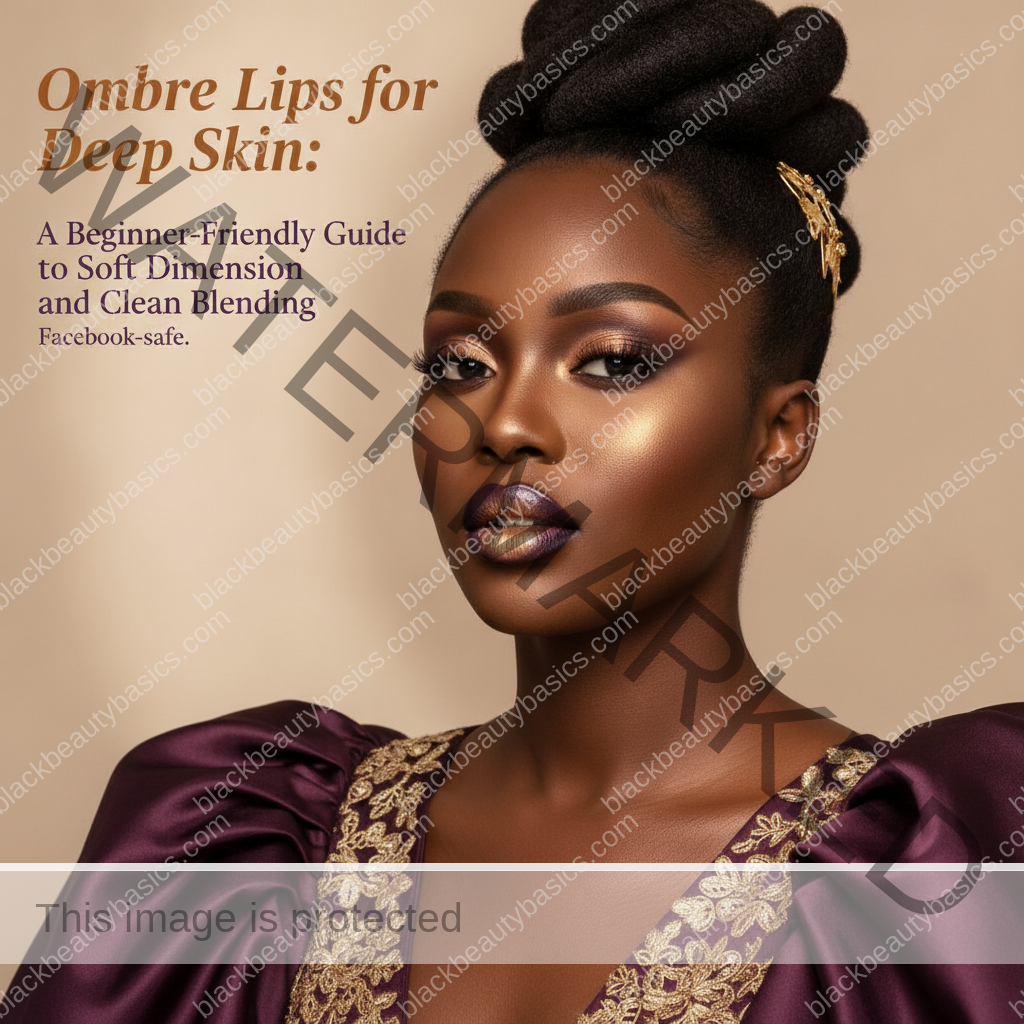
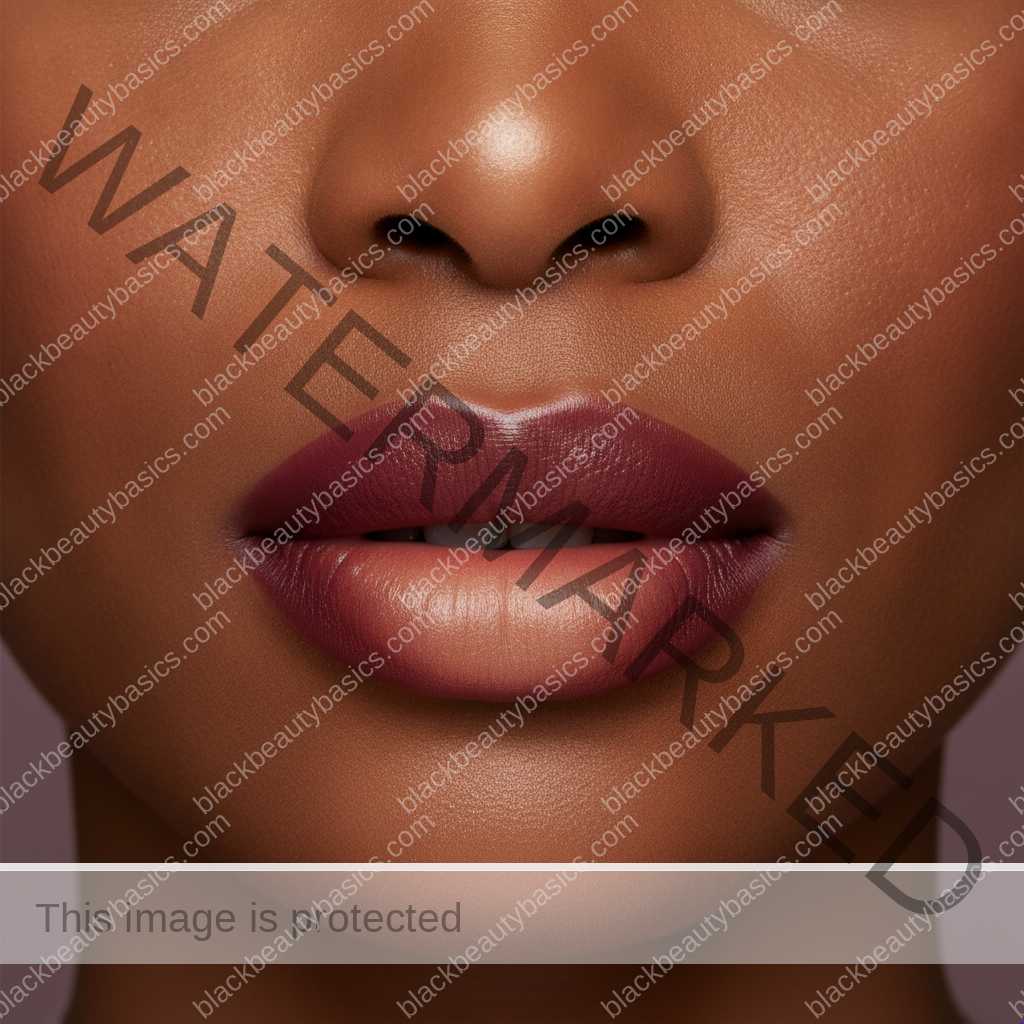
Imagine a masterpiece painted on the canvas of your lips, where rich, deep hues seamlessly blend into a soft, captivating dimension. For women with melanin-rich skin, the ombre lip trend isn’t just a fleeting style; it’s an opportunity to celebrate the inherent beauty of our complexions, adding a touch of sophisticated allure that truly pops. Far from being intimidating, mastering the art of ombre lips is an accessible journey, even for beginners. This guide will unveil the secrets to achieving a flawlessly blended, soft dimension that enhances your natural radiance, ensuring your pout is always the star of the show.
The Allure of Ombre: Why It’s Perfect for Deep Skin Tones
Ombre lips, characterized by a gradient effect where one color subtly transitions into another, offer a unique depth and fullness that is particularly striking on deeper complexions. The natural richness of our skin tones provides a stunning backdrop for vibrant and nuanced color play, allowing for a spectrum of looks from understated elegance to bold declarations. This technique not only makes lips appear fuller and more defined but also allows for creative expression, playing with contrasts and harmonies that complement our diverse undertones.
Understanding Your Undertones: The Foundation of Flawless Blending
Before diving into shades, knowing your skin’s undertone is paramount. This internal color cast influences how shades appear on you and is crucial for selecting colors that truly sing. Generally, undertones fall into three categories: warm, cool, and neutral.
- Warm Undertones: Your skin might have golden, peachy, or yellow hues. Gold jewelry often looks best on you, and your veins might appear greenish.
- Cool Undertones: Your skin may have pink, red, or blueish hues. Silver jewelry often complements you, and your veins might appear purplish or blue.
- Neutral Undertones: A balance of both warm and cool, with no dominant color. Both gold and silver jewelry look good, and your veins might appear a mix of green and blue.
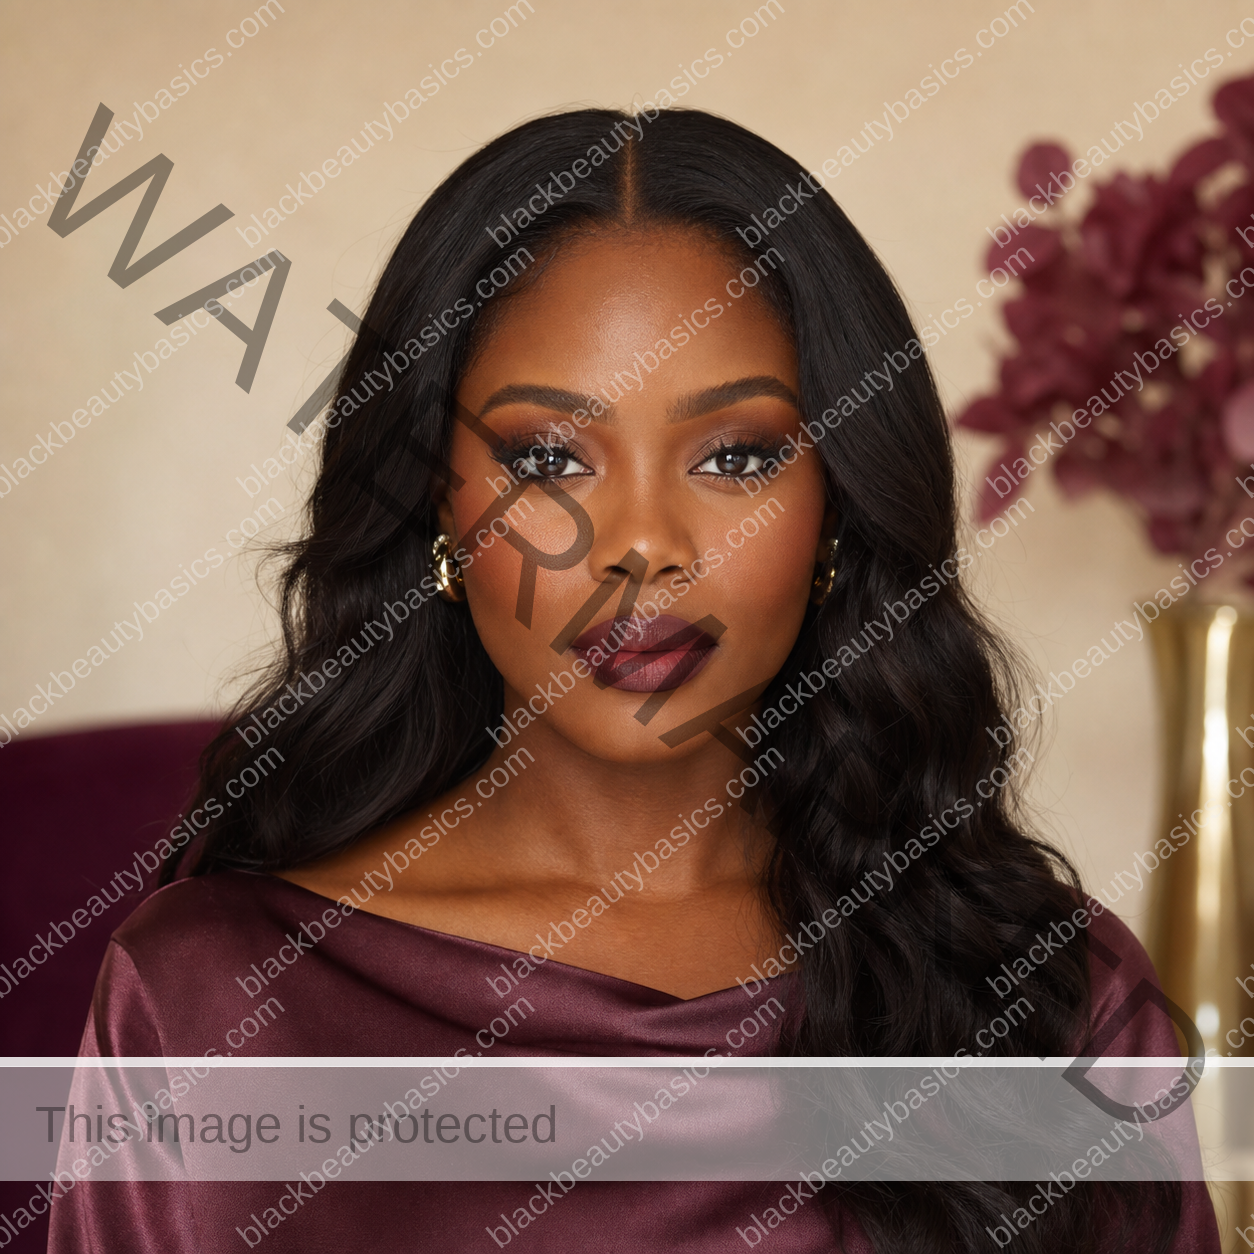
For deep skin, warm undertones often pair beautifully with rich browns, deep oranges, and golden reds, while cool undertones can shine with berry tones, deep plums, and true reds. Neutral undertones have the versatility to explore a wider range of colors.
Essential Tools for Your Ombre Lip Journey
Creating a stunning ombre lip look requires a few key products. Quality tools and formulations will make the blending process smoother and the final result more impactful.
Lip Liner: The Architect of Your Ombre
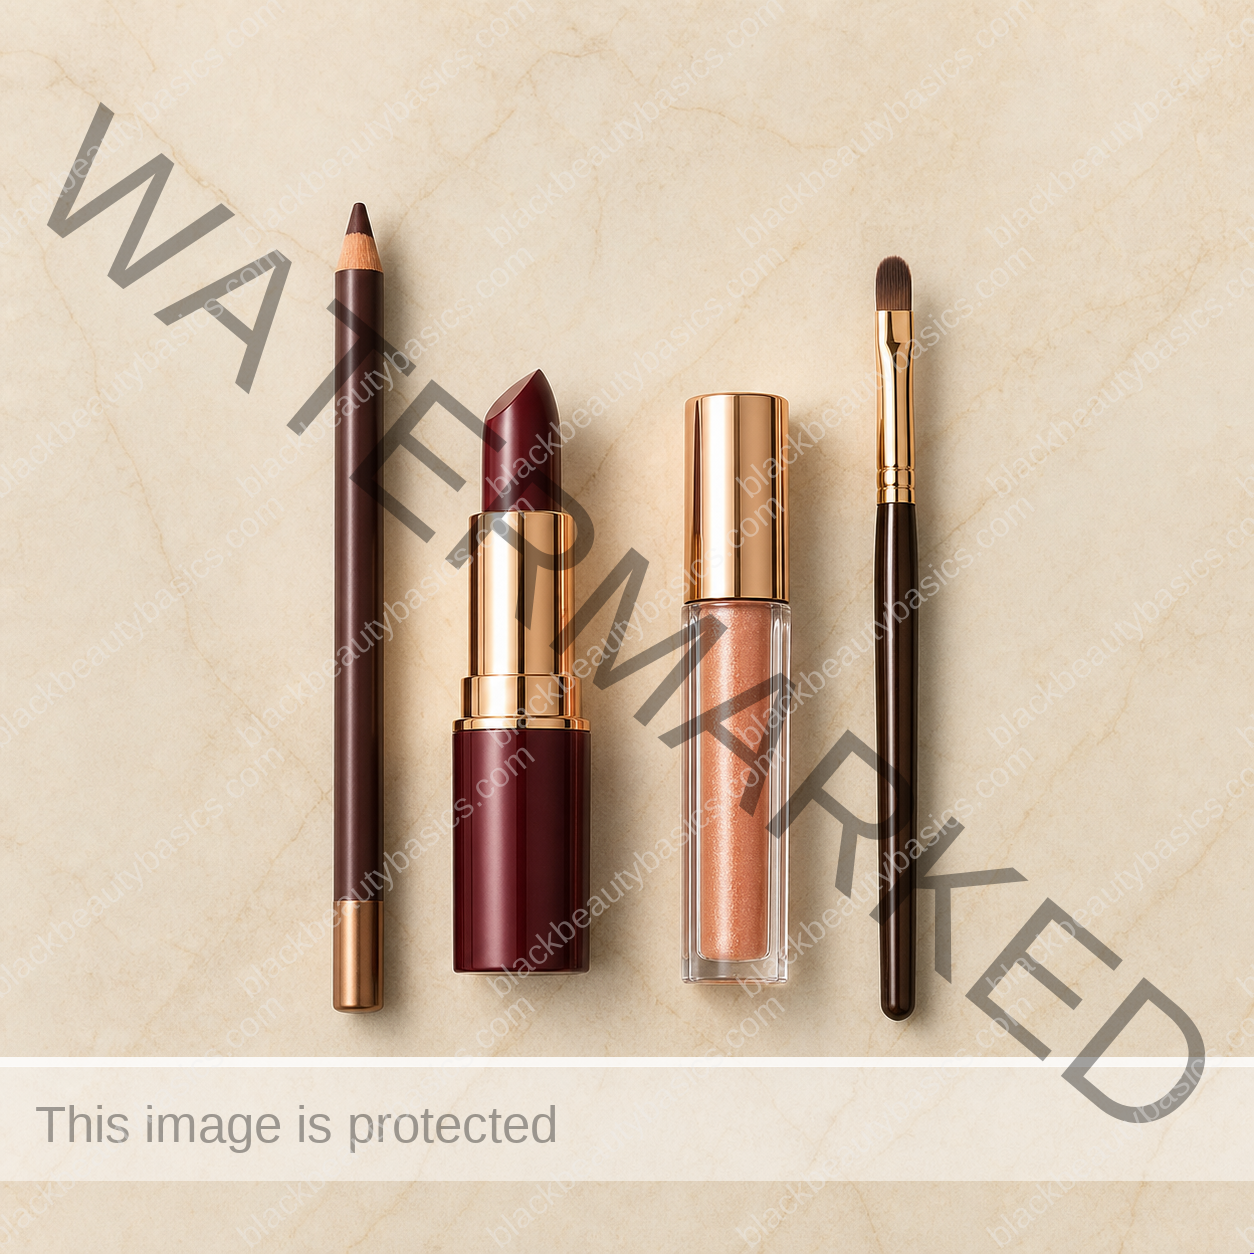
A good lip liner is non-negotiable. It defines the shape, prevents feathering, and forms the darkest part of your ombre. For deep skin, opt for shades that are one to two shades darker than your natural lip color, or a deep brown that complements a wide range of shades.
- Recommended Shades: Deep chocolate brown, rich burgundy, or a dark plum.
- Product Type: Creamy, long-wearing formulas that glide on smoothly.
explore Dark Brown Lip Liner on Amazon
explore Burgundy Lip Liner on Amazon
explore Plum Lip Liner on Amazon
Lipstick or Liquid Lipstick: The Heart of Your Color Story
This is where your chosen colors come into play. You’ll need at least two shades: one darker for the outer edges (often matching your liner) and one lighter for the center.
- Darker Shade: A rich, opaque color that complements your liner.
- Lighter Shade: A brighter, contrasting, or harmonizing shade for the center. This could be a nude, a vibrant pop of color, or a lighter version of your darker shade.
- Product Type: Matte liquid lipsticks offer excellent longevity and precision, while creamy bullet lipsticks provide a softer, more forgiving blend.
Lip Gloss or Balm: The Finishing Touch
Optional but highly recommended for adding shine, plumping effect, and further softening the blend. A clear or slightly tinted gloss can elevate your ombre to new heights.
- Product Type: Non-sticky, hydrating formulas.
Brushes and Applicators: For Precision and Blending
While fingers can work in a pinch, a small, flat lip brush or a blending brush can offer superior precision and a more seamless gradient.
- Product Type: Small, synthetic lip brush or a fluffy eyeshadow blending brush.
The Step-by-Step Guide to Ombre Lips for Deep Skin
Achieving a beautiful ombre lip is simpler than you think. Follow these steps for a soft, dimensional, and perfectly blended pout.
Step 1: Prep Your Canvas
A smooth canvas is key for any lip look, especially ombre. Exfoliate gently to remove any dry flakes and hydrate with a nourishing lip balm. Allow the balm to absorb fully before proceeding.
Step 2: Define with Lip Liner
Using your chosen dark lip liner, carefully outline your lips. Start from your cupid’s bow, drawing an ‘X’ or ‘V’ shape, then connect to the outer corners. For the bottom lip, start from the center and work your way out. Don’t just outline; gently fill in the outer edges of your lips, about a quarter to a third of the way in, creating a soft gradient towards the center.
Step 3: Apply the Darker Lipstick Shade
If you’re using a bullet lipstick, apply the darker shade over the lip liner, blending it inwards slightly. If using a liquid lipstick, apply it carefully to the lined areas, ensuring not to go too far into the center of your lips. This layer should intensify the outer perimeter.
Step 4: Introduce the Lighter Lipstick Shade
Apply your lighter lipstick shade directly to the center of your lips. This is the pop of color that creates the contrast and dimension. Be precise, keeping this color concentrated in the middle.
Step 5: The Art of Blending
This is where the magic happens. Gently tap your ring finger or use a small, clean lip brush to softly blend the edges where the darker and lighter shades meet. The goal is a seamless transition, not harsh lines. Blotting your lips together a few times can also help, but avoid excessive rubbing, which can muddy the colors. Focus on blurring the boundaries while maintaining the distinct color zones.
Step 6: Optional – Add Gloss for Extra Dimension
For a juicy, plumping effect, apply a clear or complementary tinted gloss to the very center of your lips. This adds a beautiful sheen and further enhances the dimensional look.
Color Combinations That Sing on Deep Skin
The beauty of deep skin is its incredible versatility with color. Here are some stunning ombre combinations to inspire your next look, categorized by mood and undertone.
Classic & Sophisticated
These combinations offer timeless elegance, perfect for any occasion.
| Liner/Outer Shade | Inner Shade | Effect/Undertone Suitability |
|---|---|---|
| Deep Chocolate Brown | Warm Nude/Caramel | Soft, natural dimension. Excellent for warm and neutral undertones. |
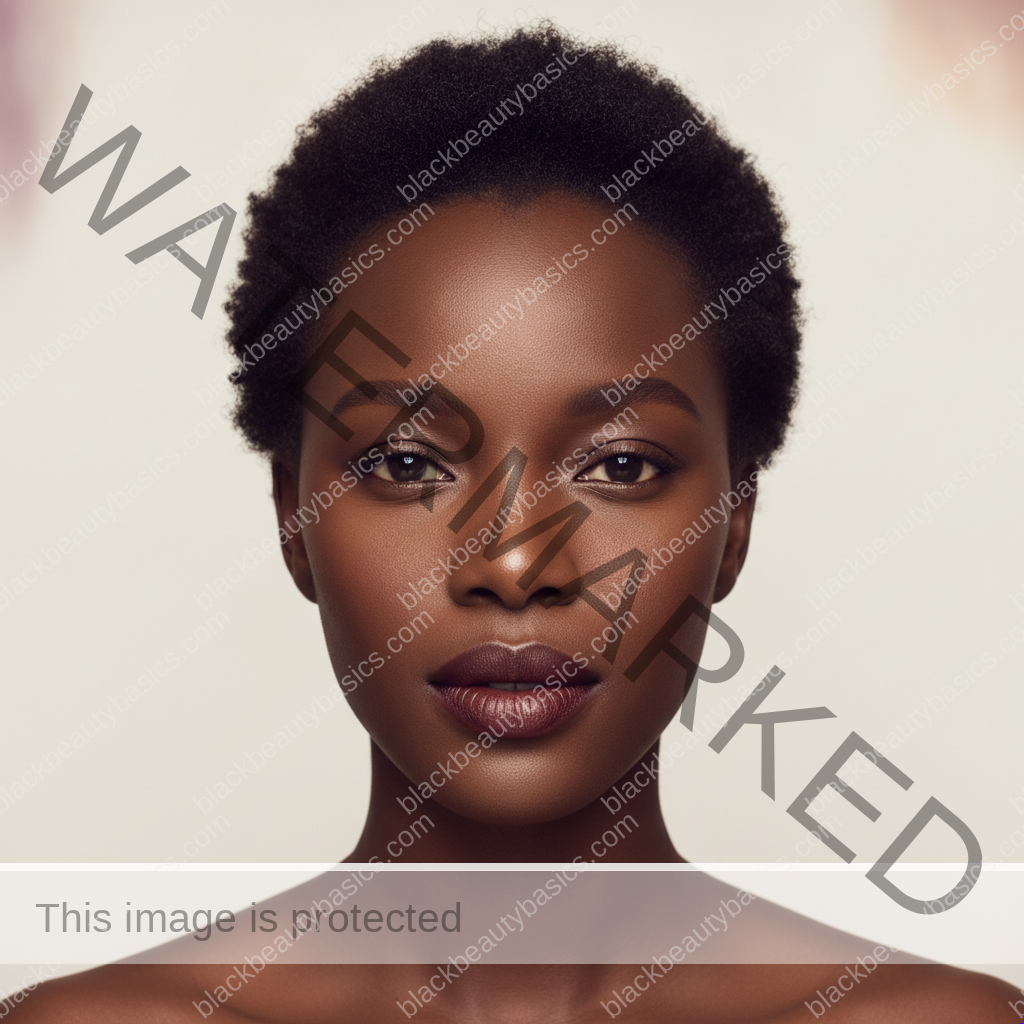
| Rich Burgundy | Berry Pink/Mauve | Elegant, romantic. Beautiful on cool and neutral undertones. |
| Espresso Brown | Peachy Nude | Modern, chic. Great for warm undertones. |
| Plum Brown | Rose Nude | Subtle, sophisticated. Versatile for most undertones. |
Bold & Vibrant
For those days you want your lips to make a statement.
| Liner/Outer Shade | Inner Shade | Effect/Undertone Suitability |
|---|---|---|
| Deep Berry/Wine | Bright Fuchsia/Magenta | Dramatic, playful. Stunning on cool and neutral undertones. |
| True Red/Brick Red | Orange-Red/Coral | Fiery, captivating. Ideal for warm and neutral undertones. |
| Dark Violet | Lavender/Light Purple | Edgy, artistic. Best for cool undertones. |
| Deep Teal/Navy (unconventional but striking!) | Emerald Green/Electric Blue | Avant-garde, high fashion. For the truly adventurous. |
Everyday & Effortless
Subtle yet impactful, perfect for daily wear.
| Liner/Outer Shade | Inner Shade | Effect/Undertone Suitability |
|---|---|---|
| Brown Nude (slightly darker than skin) | Lighter Nude (closer to skin tone) | Your lips, but better. Universal. |
| Deep Rose | Dusty Pink | Soft, feminine. Great for all undertones. |
| Warm Terracotta | Soft Peach | Earthy, inviting. Excellent for warm undertones. |
Pro Tips for a Flawless Finish
Elevate your ombre game with these expert insights.
Tip 1: Don’t Be Afraid to Experiment
The best way to find your perfect ombre combination is to play! Mix and match liners, lipsticks, and glosses. What looks good on one person might not be your personal best, and that’s okay. Your unique beauty deserves a unique approach.
Tip 2: Clean Up with Concealer
For super crisp edges, especially with darker shades, use a small, flat brush and a tiny amount of concealer that matches your skin tone to clean up any smudges around the lip line. This creates a beautifully defined border.
Tip 3: Pat, Don’t Rub, for Blending
When blending, gentle patting motions with your finger or brush will diffuse the color seamlessly without disturbing the underlying layers. Rubbing can create streaks or remove product.
Tip 4: Consider Your Overall Makeup Look
While ombre lips can be a statement on their own, think about how they fit into your overall makeup. If your lips are bold, keep eye makeup softer. If your eyes are dramatic, a more subtle, nude ombre might be the perfect balance.
Tip 5: Layering for Longevity
For extended wear, especially with creamy formulas, lightly blot your first layer of lipstick, then reapply. You can also lightly dust translucent powder over your lip liner before applying lipstick to help it grip better.
Advanced Ombre Techniques for the Adventurous
Once you’ve mastered the basics, consider these variations to take your ombre lips to the next level.
The Reverse Ombre
Instead of dark on the outside and light in the center, try reversing it! Apply a lighter shade to the outer edges and a darker, more intense shade to the very center of your lips. This creates a unique, almost “pouty” effect that can be incredibly striking.
Metallic or Glitter Ombre
Introduce a metallic liquid lipstick or a touch of cosmetic-grade glitter to the center of your lips for a dazzling effect. This works beautifully with deep berry or plum outer shades, creating a jewel-toned masterpiece.
Multi-Tonal Ombre
Instead of just two shades, try three! A very dark liner, a medium shade for the mid-lip, and a light shade for the absolute center. This creates an even more complex and dimensional gradient.
Troubleshooting Common Ombre Lip Challenges
Even with the best intentions, sometimes things don’t go as planned. Here’s how to tackle common issues.
Issue: Harsh Lines, Not a Smooth Blend
- Solution: You might be applying too much product initially, or not blending enough. Try applying less product and using a softer touch with your blending tool. A fluffy eyeshadow brush can be gentler than a dense lip brush.
Issue: Colors Look Muddy or Undefined
- Solution: The shades you’ve chosen might be too similar, or you’re over-blending. Ensure there’s enough contrast between your dark and light shades. Also, focus on blending only where the colors meet, not spreading them across the entire lip.
Issue: Feathering or Bleeding
- Solution: This often happens with creamy formulas or if lips aren’t properly prepped. Always use a lip liner to create a barrier. For extra insurance, try a clear lip primer before liner.
Issue: Ombre Effect Disappears Quickly
- Solution: Layering is key. After applying your liner and first lipstick layer, blot gently with a tissue, then reapply the lipstick. This helps set the color. Using long-wearing or matte formulas can also improve longevity.
Frequently Asked Questions About Ombre Lips for Deep Skin
Q1: Can I do ombre lips with only two lipsticks and no liner?
While possible, it’s generally not recommended for a clean, defined ombre, especially for beginners. The lip liner serves as a crucial base for definition and preventing feathering, particularly with deeper shades. Without it, achieving a crisp outer edge and a smooth transition can be challenging. If you must skip the liner, choose two lipsticks with a significant contrast and use a very precise lip brush for application and blending. However, for the best results, invest in a good lip liner.
Q2: What’s the best way to choose the right lighter shade for the center of my lips?
The best lighter shade depends on your desired effect and your undertone. For a natural look, choose a nude or peach shade that is a few shades lighter than your natural lip color. If you want a pop of color, consider a vibrant pink, coral, or even a metallic shade that complements your darker outer color. Always swatch shades on your lips or arm to see how they interact with your skin tone before committing. Warm undertones often shine with peachy or golden nudes, while cool undertones can rock mauves and berry pinks.
Q3: How do I make my ombre lips last all day?
Longevity starts with proper prep: exfoliate and moisturize. Then, use a long-wearing lip liner to outline and fill in the outer edges of your lips. Apply your darker lipstick over the liner, blot with a tissue, and then apply a second layer. For the lighter center shade, use a long-wearing or matte formula. You can also lightly dust translucent setting powder over the lined areas before applying lipstick. Avoid excessively oily foods, and carry your lip products for touch-ups, focusing on the center as needed.
Q4: Are there any specific lip finishes that work best for ombre lips on deep skin?
Matte and satin finishes tend to work exceptionally well for ombre lips as they provide excellent color payoff and allow for precise blending without looking too messy. Liquid matte lipsticks are particularly good for creating sharp lines and long-lasting wear. However, don’t shy away from creams or even a touch of gloss in the center for added dimension and a plumping effect. The key is to ensure the formulas are compatible for smooth blending.
Q5: Can I use eyeshadow to create an ombre lip effect?
Yes, you absolutely can! Eyeshadow can be a fantastic, albeit less conventional, way to create an ombre lip, especially if you’re looking for unique colors or a velvety matte finish. Apply a lip primer or a sticky base (like a clear lip balm) first to help the eyeshadow adhere. Then, use a precise brush to tap on your darker eyeshadow shade on the outer edges and your lighter shade in the center, blending carefully. Be sure to use cosmetic-grade eyeshadows that are safe for lip application.
Q6: What if my lips are naturally uneven? Can I still do an ombre lip?
Absolutely! Ombre lips can actually be a fantastic technique to create the illusion of more symmetry and fullness. Use your lip liner to carefully correct and define your lip shape, making them appear more even before applying your lipsticks. The gradient effect itself can distract from minor asymmetries and draw attention to the luscious dimension you’ve created. Practice makes perfect when it comes to shaping.
Q7: How do I prevent my darker lip liner from looking too harsh?
The trick is to not just outline, but to gently feather the liner inwards. After outlining, use the side of the pencil to softly fill in the outer third of your lips, creating a gradual fade towards the center. This provides a softer base for your darker lipstick and makes the transition to the lighter shade much smoother. You can also use a small brush or your finger to gently diffuse the inner edge of the liner before applying lipstick.
Choose Contrast That Still Belongs to the Same Lip Story
An ombre lip needs contrast, but the liner and center color should still feel connected. Start with a liner one to three depths darker than the center shade. Deep brown, espresso, plum-brown, burgundy, and neutral cocoa liners can all work on rich brown skin. The best choice depends on the lipstick: warm caramel and peach centers often pair well with warm brown; mauve and berry centers may feel smoother with plum-brown or burgundy.
Test the combination on your lips, not only on your hand. Natural lip pigmentation changes how a shade reads. If the center looks chalky, add a warmer lipstick, a touch of the liner, or a translucent gloss rather than piling on concealer. If the outline looks too severe, tap the edge with a fingertip or a small brush until the transition softens.
A Beginner Sequence You Can Repeat
Prep with a thin layer of balm, then blot so the surface is comfortable but not slippery. Trace the natural border without trying to redraw the whole mouth. Shade the corners and outer third of both lips. Apply the center color, press the lips together once, and blend where the shades meet. Reapply the lightest color only to the center. Stop before the colors become one flat shade.
Troubleshoot Shape Without Shame
If one side looks fuller, balance with tiny corrections at normal viewing distance. If liner gathers in texture, use less pressure and sharpen the pencil. If the color migrates, keep gloss away from the outer edge. Full lips, narrow lips, uneven lips, and deeply pigmented lips can all wear ombre. The technique is about dimension, not correcting a feature.
What to Do Next
Practice with products you already own: one deep liner, one lipstick, and an optional gloss. Make three versions by changing only the center shade. Photograph them in daylight and indoor light, then keep the combination that feels like you. The best ombre lip is the one you can recreate without turning your routine into a performance.
Use BBB’s Makeup for Deep Skin Tones pillar as the home base. Continue with lip colors and liners for deep skin and nude lip combinations by undertone.
Color Pairings for Different Moods
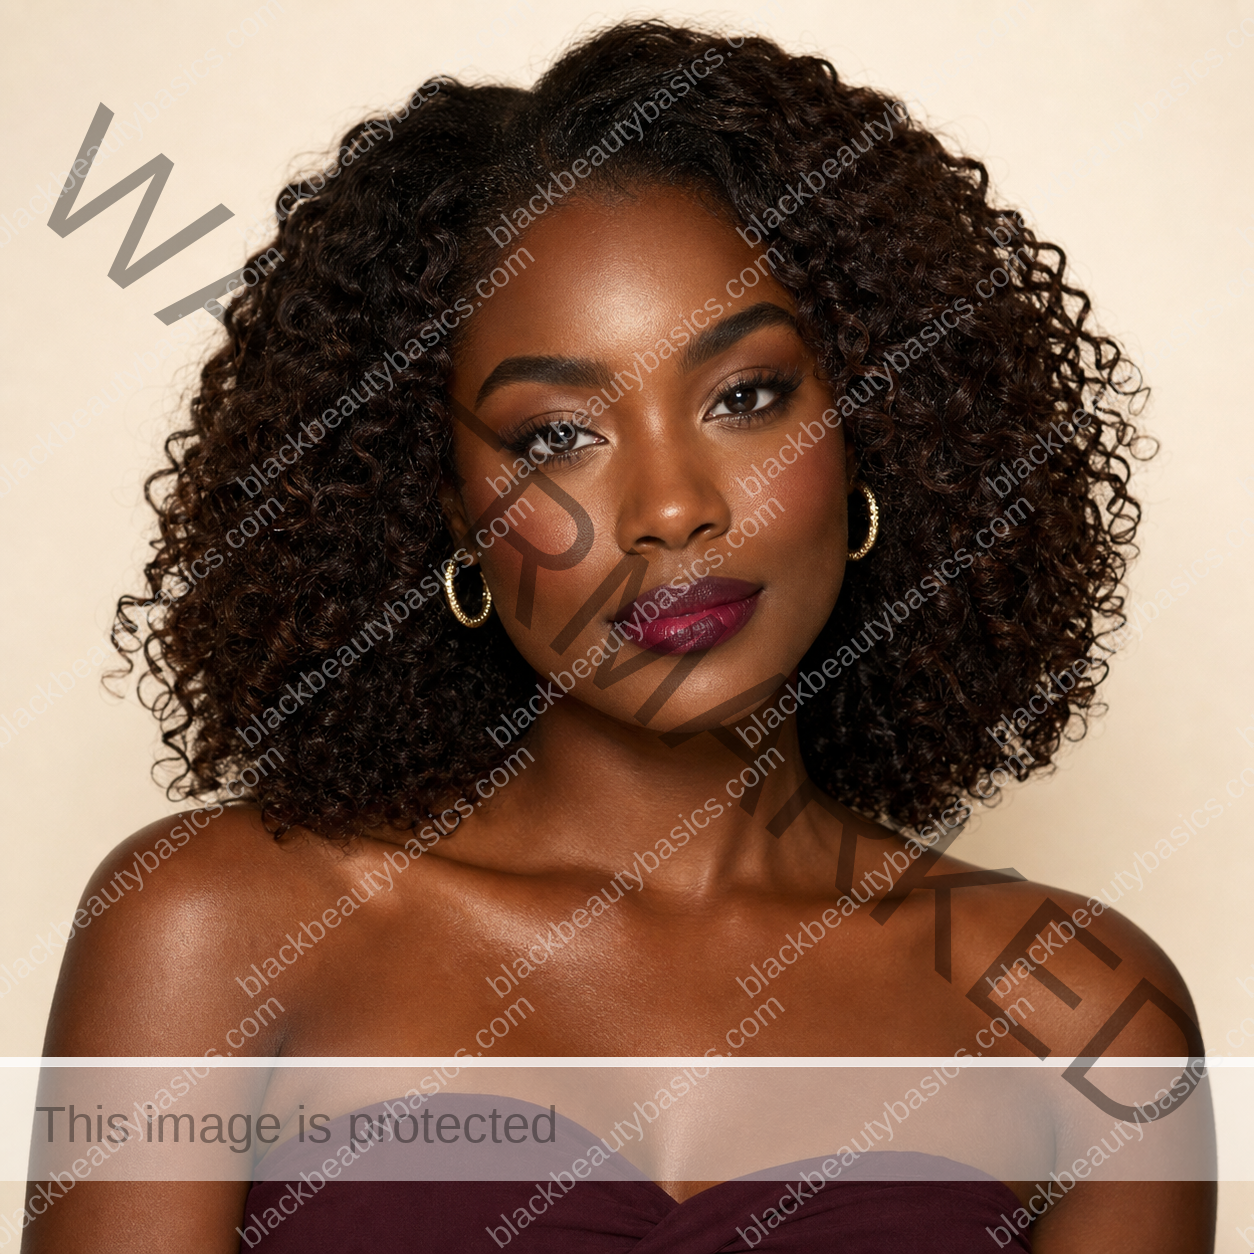
For an everyday neutral ombre, try espresso liner with caramel, cinnamon, rose-brown, or muted peach in the center. For a deeper romantic look, combine burgundy liner with berry, wine, or plum lipstick. For a brighter statement, use deep brown around a coral, orange-red, or vivid pink center. Contrast can be beautiful on deep skin; the important part is blending the meeting point so the shades look intentional rather than disconnected.
Undertone can guide you without becoming a cage. Warm complexions often glow in terracotta, brick, caramel, and warm berry. Cooler complexions may enjoy plum, blue-red, mauve, and wine. Neutral and olive undertones can move between families. Wear the combination that makes your whole face feel balanced, even when a chart would have predicted something else.
Make the Finish Work for the Occasion
A matte ombre gives crisp structure and longer wear, but it can emphasize dryness. A satin center is more forgiving and easy to refresh. Gloss creates plush dimension, though it may soften the outline and transfer more easily. You can mix finishes: keep liner and lipstick satin or matte, then add gloss only to the center.
For meals or long events, carry the liner and center color rather than the entire makeup bag. Blot before reapplying, restore the corners first, and then tap color into the center. Do not redraw a thicker border every time. Small repairs preserve the shape better than starting over on top of several layers.
Work With Natural Lip Pigmentation
Many Black women have naturally deeper borders, uneven pigmentation, or a center that reads differently from the outer lip. That variation can help create dimension. You do not have to neutralize the entire mouth with concealer. Start by seeing how the lipstick behaves on bare, moisturized lips, then use liner only where you want more structure.
If the upper and lower lips take color differently, apply a thin base of the center shade to the deeper area first, then build both lips together. Avoid scrubbing to make the color look more even. Gentle exfoliation only when needed and regular moisture are enough. Persistent cracking, pain, sores, or sudden pigment changes belong in a health conversation, not under more makeup.
Practice Clean Edges Without Overdrawing
Rest your elbow on a stable surface and use the side of the pencil for broad shading, reserving the tip for the cupid’s bow and corners. Keep the mouth relaxed. Overstretching the lips can create a line that looks uneven once your face returns to normal. Clean small mistakes with a cotton swab or a tiny brush rather than surrounding the mouth with a thick ring of concealer.
Keep the skin around the mouth in the conversation too. Foundation or powder collected at the lip border can make even a well-blended ombre look dry. Finish complexion makeup first, remove excess base from the lips, and restore a thin layer of balm before color. If you use concealer for cleanup, match it closely to the surrounding complexion and blend outward so it does not create a pale ring.
In photographs, check both flash and no-flash images. Gloss, pale center shades, and heavy concealer can reflect differently from what you see in the mirror. A quick test lets you adjust without assuming the color itself is wrong for deep skin.
Most importantly, let the technique serve your expression. You can keep the contrast subtle, dramatic, glossy, or soft. There is no single correct ombre for richly pigmented lips.
Embrace Your Inner Artist
The ombre lip technique is more than just a trend; it’s an art form that allows you to celebrate the unique contours and captivating beauty of your melanin-rich lips. With this beginner-friendly guide, you now have the tools, techniques, and confidence to explore a spectrum of shades, from subtle and sophisticated to bold and vibrant. Remember, beauty is about self-expression and joy. So, gather your chosen hues, trust your intuition, and let your lips tell a story of soft dimension and undeniable elegance. Your canvas awaits, ready for its next masterpiece.
Related next steps
Related posts:
 Beginner’s Guide to Eye Makeup on Deep Skin (Neutrals & Color)
 Bronzer and Dimension on Melanin-Rich Skin: Unlocking Your Natural Radiance
 A Beginner’s Guide to Acids – AHAs, BHAs, and PHAs Explained Simply
 Beginner’s Guide to Natural Hair for Kids with Coily/Curly Textures: Cultivating Confidence and Care
 The Lip Liner Bible: Mastering Dimensional Lips for Melanin-Rich Skin
 How to Make Any Lipstick Last All Day — Long-Wear Tips for Smooth, Flawless Lips