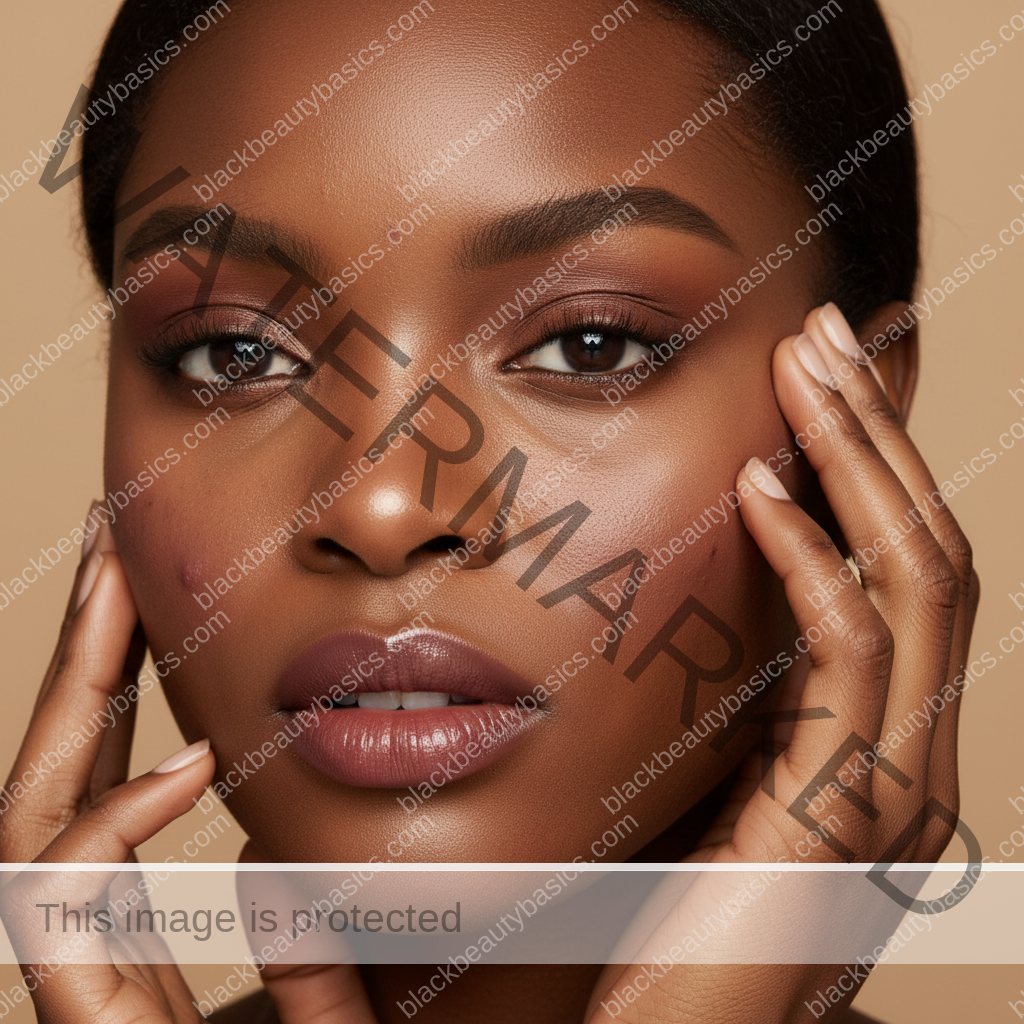
Our melanin-rich skin is a testament to strength and resilience, a canvas of unparalleled beauty. Yet, even the most exquisite canvas can experience moments of imperfection, like the lingering presence of acne marks or the emergence of an active breakout. This journey is not about concealing, but about celebrating your skin’s story with grace, confidence, and the right tools. Start with the related BBB makeup cluster guide if you want the broader map.
Embracing Your Skin: Understanding Acne and Hyperpigmentation on Deep Skin Tones
For Black women, the journey with acne often comes with its own unique considerations. Beyond the immediate inflammation of a breakout, we frequently contend with post-inflammatory hyperpigmentation (PIH) – those stubborn dark spots that seem to overstay their welcome long after the blemish has healed. This is due to the higher concentration of melanin in our skin, which, while protective, also means our melanocytes are more reactive to inflammation or trauma. Understanding this intrinsic characteristic is the first step in approaching makeup not as a mask, but as an artful enhancement.
The Science Behind the Spots: Why Deep Skin Tones are Prone to PIH
When our skin experiences inflammation, whether from acne, a cut, or even excessive sun exposure, it triggers melanocytes to produce more melanin. In lighter skin tones, this often results in a temporary redness. In deeper skin tones, however, this overproduction of melanin leads to the formation of dark spots, ranging from light brown to deep black. These spots can take months, or even years, to fade naturally, making them a primary concern for many Black women seeking effective makeup solutions.
Active Breakouts vs. Acne Marks: Different Challenges, Different Techniques
It’s crucial to differentiate between active breakouts – those inflamed, sometimes painful pustules or cysts – and acne marks, which are the residual discoloration (PIH) or textural changes left behind. Each presents a distinct challenge for makeup application. Active breakouts require a gentle touch, non-comedogenic products, and often, color correction to neutralize redness. Acne marks, particularly PIH, benefit from strategic color correction to counteract their dark tones and a buildable foundation to create an even canvas. Our approach will be tailored to address both scenarios with precision and care.
The Foundation of Flawless: Skincare Prep for Makeup Application
Before any makeup touches your skin, a meticulous skincare routine is paramount. Think of it as preparing your canvas. For skin prone to acne and hyperpigmentation, this step is not just about aesthetics; it’s about promoting healing, preventing further irritation, and ensuring your makeup sits beautifully and lasts all day without exacerbating existing concerns.
Cleansing and Toning: The Gentle Start
Begin with a gentle, sulfate-free cleanser to remove impurities without stripping your skin’s natural oils. Harsh cleansers can irritate active breakouts and trigger more inflammation, potentially worsening PIH. Follow with a hydrating, alcohol-free toner to balance pH and prepare your skin for subsequent products. Look for ingredients like niacinamide or hyaluronic acid in your toner for added benefits.
Targeted Treatments: Serums and Spot Treatments
This is where you address specific concerns. Apply any prescribed or over-the-counter acne spot treatments (like salicylic acid or benzoyl peroxide) directly to active breakouts. For PIH, incorporate a Vitamin C serum or a serum containing alpha arbutin or kojic acid. Allow these treatments to fully absorb before moving to the next step to prevent pilling under makeup.
Moisturizing and Sun Protection: The Non-Negotiables
Even oily or acne-prone skin needs moisture. Choose a lightweight, non-comedogenic moisturizer that won’t clog pores. Hydrated skin creates a smoother base for makeup and helps prevent it from looking cakey. Finally, and perhaps most critically for deep skin tones, apply a broad-spectrum mineral sunscreen with at least SPF 30. Sun exposure can significantly darken PIH, making it harder to fade. Opt for mineral formulations with zinc oxide or titanium dioxide, as they are generally less irritating and often leave less of a white cast on deeper skin tones if formulated correctly.
Primer: The Unsung Hero
A good primer creates a barrier between your skincare and makeup, helping your foundation last longer and appear smoother. For acne-prone skin, look for non-comedogenic primers. If you have texture concerns from active breakouts, a blurring primer can help. For oil control, a mattifying primer is your ally. Apply a thin layer evenly across your face, paying extra attention to areas with breakouts or marks.
The Art of Color Correction: Neutralizing Discoloration
Color correction is the secret weapon for achieving an even-toned complexion without heavy layers of foundation. It works on the principle of complementary colors: colors opposite each other on the color wheel neutralize each other. For deep skin tones, this step is particularly effective for addressing the various hues of hyperpigmentation and active breakouts.
Understanding the Color Wheel for Deep Skin
- Orange/Peach Correctors: These are your go-to for neutralizing dark spots, hyperpigmentation, and undereye circles on medium to deep skin tones. The orange tones counteract the blue/purple/brown undertones often found in PIH.
- Red Correctors: For very deep skin tones with extremely dark spots or severe hyperpigmentation, a red color corrector can be more effective than orange.
- Green Correctors: While less common for PIH, green correctors neutralize redness. Use sparingly on active, inflamed breakouts.
Application Techniques for Color Correctors
Apply color corrector *before* foundation, directly to the areas of concern. Use a light hand and a small, precise brush or your fingertip. Gently tap the product onto the mark or breakout, blending only the edges so as not to move the product from the area you’re trying to correct. The goal is to neutralize the color, not to completely conceal it at this stage. Less is truly more here; too much corrector can make your foundation look muddy.
Tip List: Mastering Color Correction for Deep Skin
- Identify the Undertone: Examine your hyperpigmentation. Does it lean more blue-black, purple-brown, or reddish-brown? This will guide your corrector choice.
- Choose the Right Shade: For most dark spots on deep skin, a peach or orange corrector is ideal. For very deep, almost black spots, a red corrector might be needed.
- Apply Sparingly: Use a tiny amount. You’re neutralizing, not painting over.
- Precision is Key: Use a small brush or your ring finger to dab the corrector only onto the discolored area.
- Blend the Edges: Gently tap the edges of the corrected area to seamlessly blend into the surrounding skin.
- Let it Set: Allow the corrector to dry slightly before applying foundation to prevent it from mixing.
- Build if Necessary: If the spot is still visible after foundation, you can apply another *tiny* layer of corrector, then a thin layer of concealer.
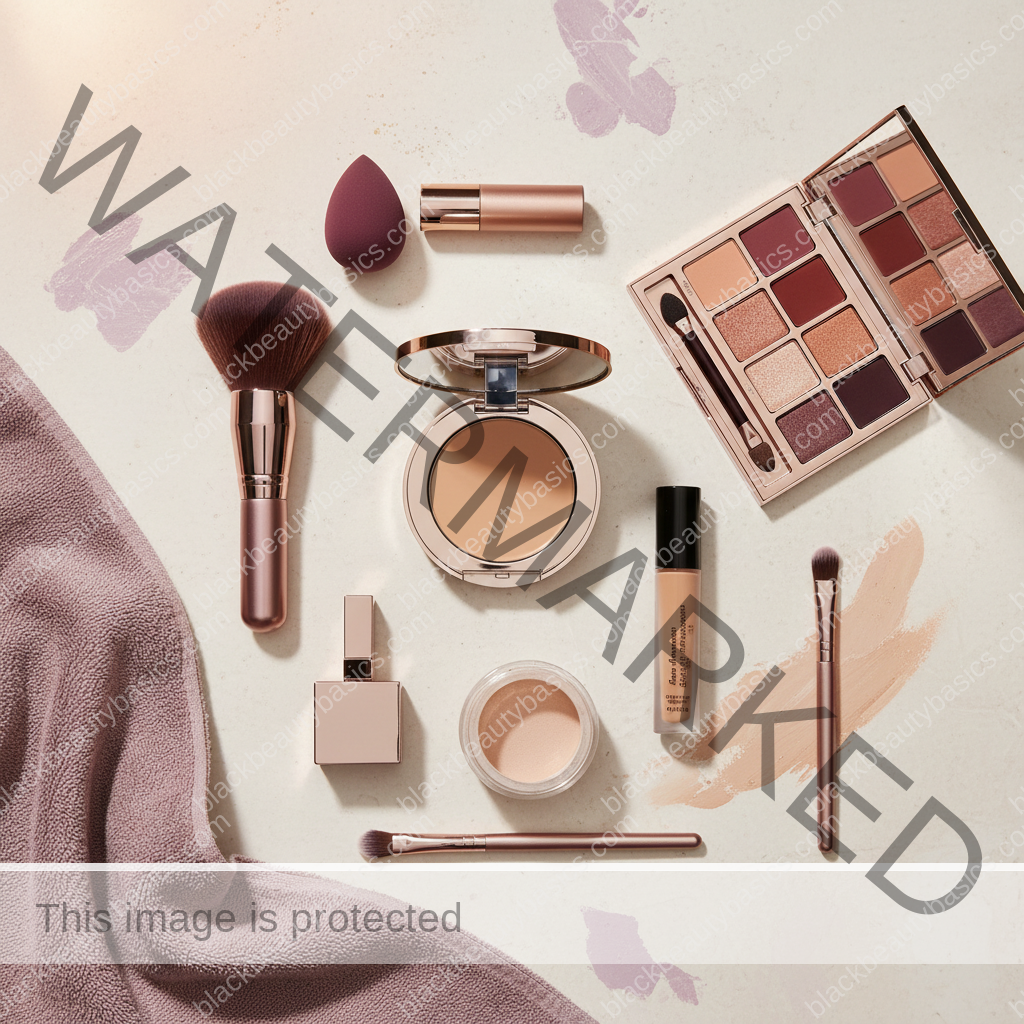
Selecting Your Base: Foundation and Concealer for Deep Skin
The right foundation and concealer are transformative. For deep skin tones, finding shades that perfectly match, don’t oxidize, and offer the desired coverage without feeling heavy is a quest many of us know well. When dealing with acne marks and active breakouts, these choices become even more critical.
Foundation: The Perfect Match and Finish
Shade Matching: This is paramount. Our skin often has multiple undertones, and a single shade might not capture the complexity. Test shades on your jawline or chest, not just your hand. Look for brands that offer a wide range of shades for deep skin, with various undertones (warm, cool, neutral, olive, red). A perfect match should disappear into your skin. Many Black women find they need to mix two shades to achieve their ideal match, especially if their face and neck have slightly different tones.
Formulation:
- For Active Breakouts: Opt for non-comedogenic, oil-free foundations. Mineral foundations can be a great choice as they often contain ingredients that are soothing and non-irritating.
- For Acne Marks (PIH): A medium-to-full coverage foundation will provide the necessary opacity to further obscure corrected dark spots. Look for formulas that are buildable, allowing you to add more coverage where needed without looking heavy.
- Finish: A natural matte or satin finish often works best, as overly dewy foundations can highlight texture, and overly matte ones can look flat.
Concealer: Targeted Coverage and Brightening
Concealer serves two main purposes: further concealing stubborn marks and brightening specific areas. You’ll likely need two shades of concealer:
- Matching Concealer: For covering active breakouts and any remaining dark spots after foundation, choose a concealer that perfectly matches your foundation. Apply it sparingly with a small brush or your ring finger, gently tapping to blend the edges.
- Brightening Concealer: For under-eyes and to bring light to the high points of your face, select a concealer one to two shades lighter than your foundation with a warm or golden undertone to complement deep skin.
Formulation: Look for creamy, non-creasing concealers that offer good coverage without being too thick or drying. Many brands now offer concealers specifically formulated with skincare benefits, such as salicylic acid for acne or hyaluronic acid for hydration.
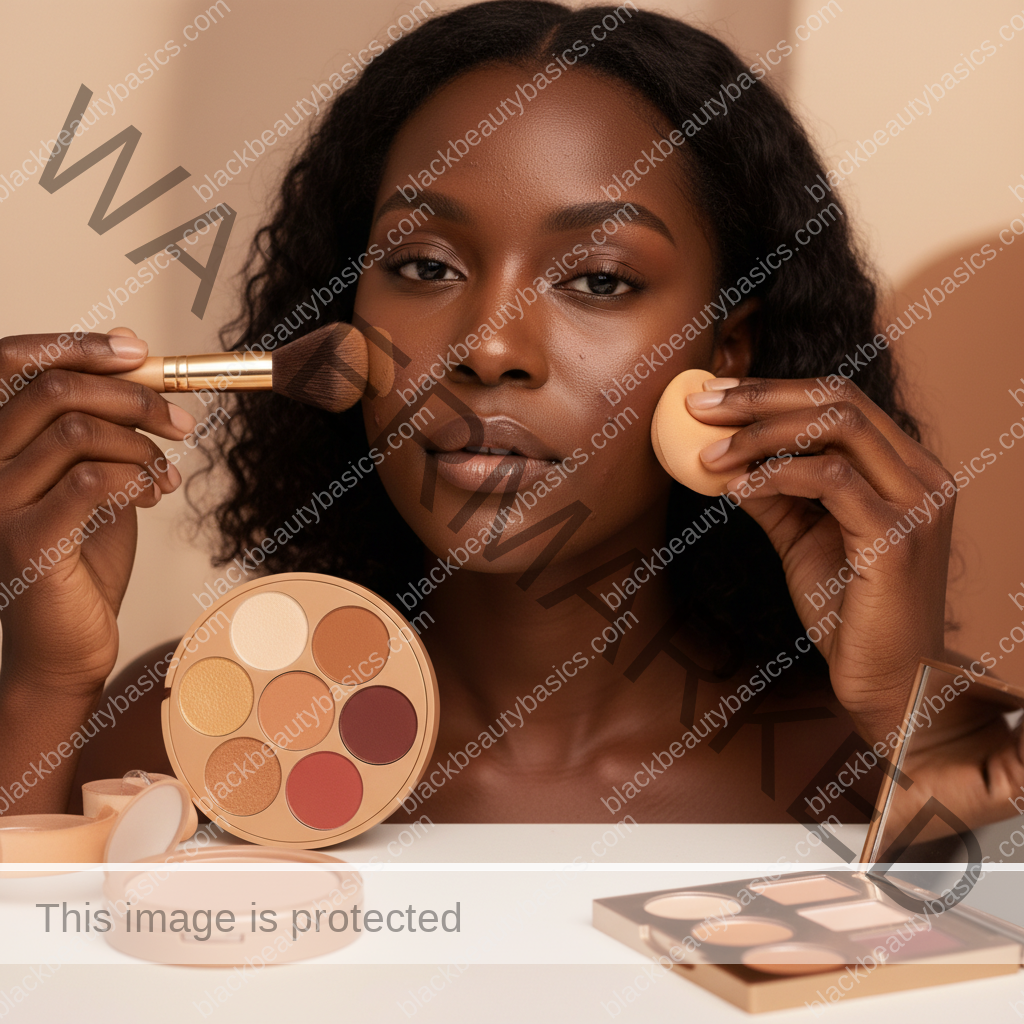
Application Techniques: Building Your Base
Foundation:
- Start in the Center: Begin applying foundation in the center of your face (nose, cheeks, forehead) and blend outwards. These areas often require the most coverage.
- Tools Matter: A damp beauty sponge provides a natural, skin-like finish, while a dense foundation brush offers more coverage. Choose based on your desired finish.
- Tap, Don’t Rub: Gently tap or stipple the foundation onto your skin, especially over corrected areas. Rubbing can lift the color corrector or irritate active breakouts.
- Build Gradually: Apply thin layers and build coverage where needed, rather than applying one thick layer. This looks more natural and prevents cakiness.
Concealer:
- Post-Foundation: Apply matching concealer *after* foundation to any remaining visible marks or breakouts. This ensures you only use concealer where truly necessary.
- Dot and Tap: Dot a small amount of concealer directly onto the spot. Use a tiny brush or your ring finger to gently tap and blend the edges. Avoid swiping.
- Under-Eye Brightening: Apply brightening concealer in an inverted triangle shape under your eyes. Blend with a damp sponge or brush, tapping outwards and upwards.
Comparison Table: Foundation & Concealer Finishes for Acne-Prone Skin
| Finish Type | Best For | Pros | Cons | Recommended for Acne/PIH |
|---|---|---|---|---|
| Matte | Oily skin, humid climates | Controls shine, long-wearing, good coverage | Can look flat, emphasize dry patches, feel heavy | Good for oily, active breakouts; may be too drying for PIH |
| Natural/Satin | Most skin types, balanced to slightly oily | Skin-like, comfortable, good balance of coverage and luminosity | May need touch-ups for extreme oiliness | Excellent choice for both active breakouts and PIH |
| Dewy/Radiant | Dry skin, mature skin | Adds glow, hydrating, youthful appearance | Can emphasize texture, may not last as long, can look greasy on oily skin | Not ideal as primary base for active breakouts; can highlight texture |
| Semi-Matte | Combination skin, T-zone oiliness | Balances shine control with a natural look, comfortable | May not be fully matte or fully dewy | Very good choice for combination skin with acne/PIH |
Setting and Finishing: Longevity and Refinement
Once your base is perfected, setting your makeup is crucial, especially when dealing with acne marks and active breakouts. This step locks everything in place, prevents transfer, controls shine, and ensures your hard work lasts throughout the day.
Setting Powder: The Final Seal
A good setting powder is essential. For deep skin tones, finding a powder that doesn’t leave an ashy or ghostly cast is vital. Look for finely milled, translucent powders or powders that match your skin tone. Many brands now offer “banana” or “honey” shades that are specifically formulated to complement deeper complexions without flashback.
Application:
- Targeted Setting: If you have oily skin or active breakouts, focus powder application on your T-zone and any areas where you applied concealer. Use a fluffy brush or a powder puff, pressing gently into the skin rather than sweeping.
- Baking (Optional): For extra longevity and to brighten under-eyes, you can “bake” by applying a generous layer of translucent powder with a damp sponge and letting it sit for 5-10 minutes before dusting off the excess. This technique works well for areas prone to creasing or significant oiliness.
- Light Dusting: If you have drier skin, a light dusting of powder over your entire face is sufficient to set your makeup without drying it out.
Setting Spray: The Ultimate Lock
A setting spray melts all your makeup layers together, giving a more natural, skin-like finish and significantly extending wear time. It can also help to reduce the powdery look that can sometimes occur after setting with powder.
Application: Hold the bottle 8-10 inches away from your face and spray in an ‘X’ and ‘T’ motion. Allow it to air dry or gently fan your face. Choose a setting spray that aligns with your skin type – mattifying for oily skin, hydrating for drier skin.
Bronzer, Blush, and Highlight: Bringing Life Back to the Face
After creating an even canvas, it’s essential to bring dimension and warmth back to your face.
- Bronzer: Choose a warm-toned bronzer (not too orange or muddy) to add warmth and definition. Apply to the high points of your face where the sun would naturally hit – forehead, cheekbones, bridge of the nose.
- Blush: Rich berry, terracotta, and deep plum blushes look stunning on deep skin. Apply to the apples of your cheeks, blending upwards towards your temples.
- Highlighter: A golden or bronze highlighter will beautifully complement deep skin tones. Apply sparingly to the highest points of your cheekbones, brow bone, and cupid’s bow. Avoid applying highlighter directly over active breakouts as it can emphasize texture.
Makeup Hygiene and Best Practices for Acne-Prone Skin
Your makeup routine is only as effective as your hygiene practices. For acne-prone skin, maintaining impeccable cleanliness is non-negotiable to prevent further breakouts and irritation.
Clean Tools, Clear Skin
Regularly cleaning your makeup brushes and sponges is the single most important hygiene practice. Dirty tools harbor bacteria, oil, and old makeup, which can be transferred to your skin, leading to clogged pores and new breakouts.
- Brushes: Wash your makeup brushes weekly with a gentle brush cleanser or baby shampoo. Lay them flat to dry to maintain their shape.
- Sponges: Beauty sponges should be washed after every 1-3 uses, as they are porous and can quickly accumulate bacteria. Replace them every 1-3 months.
- Fingers: If you use your fingers for application, always ensure they are freshly washed.
Product Purity: Non-Comedogenic and Expiration Dates
- Non-Comedogenic: Always choose products labeled “non-comedogenic” or “non-acnegenic,” meaning they are formulated not to clog pores. This applies to primers, foundations, concealers, and even powders.
- Check Expiration Dates: Makeup products have expiration dates. Using expired products can introduce bacteria and cause irritation. Pay attention to the PAO (Period After Opening) symbol on packaging, which indicates how many months a product is good for after opening.
- Avoid Double-Dipping: For liquid products in jars or pots, use a clean spatula or applicator to scoop out product rather than dipping your fingers or a used brush directly into the container.
Hands Off!
Resist the urge to touch your face throughout the day. Our hands carry bacteria, and touching your face can transfer these to your skin, potentially causing new breakouts or irritating existing ones. If you must touch up, use a clean tissue or blotting paper.
Advanced Techniques & Troubleshooting
Even with the best products and practices, sometimes you need a little extra finesse. Here are some advanced tips and solutions for common challenges.
Camouflaging Texture: The Soft Focus Approach
While makeup can effectively cover discoloration, camouflaging the texture of active breakouts or pitted acne scars is more challenging.
- Primer for Texture: Use a silicone-based blurring primer in areas with texture. Gently pat it into the skin to fill in pores and fine lines, creating a smoother canvas.
- Light Layers: Apply foundation and concealer in very thin, buildable layers. Heavy application will only emphasize texture.
- Damp Sponge: A damp beauty sponge can help press products into the skin, creating a smoother, more diffused finish that minimizes the appearance of texture.
- Avoid Shimmer: Steer clear of shimmery foundations, concealers, or highlighters directly over textured areas, as shimmer reflects light and will draw attention to uneven skin.
Preventing Cakiness and Creasing
Cakiness often occurs from applying too much product or using products that are too dry for your skin type. Creasing is common under the eyes or around the mouth.
- Hydrate Well: Proper skin hydration is the first defense against cakiness.
- Less is More: Always start with a minimal amount of product and build up.
- Press, Don’t Swipe: Use pressing or tapping motions when applying and blending foundation and concealer.
- Set Strategically: Only powder areas that genuinely need it (e.g., T-zone, under-eyes).
- Blot, Don’t Powder Excessively: If you get oily throughout the day, use blotting papers first, then lightly re-powder if necessary.
- Setting Spray: A good setting spray can help meld products together and prevent a powdery look.
Touch-Ups On-the-Go
For mid-day touch-ups, carry blotting papers to absorb excess oil without disturbing your makeup. If you need to re-conceal, use a tiny amount of matching concealer and gently tap it into place with your ring finger or a small, clean brush. A compact powder can also be used sparingly in oily areas.
Tip List: Makeup Application Don’ts for Acne-Prone Skin
- Don’t Pick or Pop: Never pick at active breakouts before or after makeup. This spreads bacteria and worsens inflammation and PIH.
- Don’t Use Dirty Tools: This is a cardinal sin. Unclean brushes and sponges are breeding grounds for bacteria.
- Don’t Apply Heavy Layers: Especially over texture. It will only make breakouts look more prominent and cakey.
- Don’t Skip Skincare: Makeup is only as good as the canvas beneath it. Always prep your skin.
- Don’t Forget Sunscreen: Sun exposure darkens PIH and can trigger new breakouts.
- Don’t Use Shimmer on Active Blemishes: It will draw attention to the texture.
- Don’t Rub Your Makeup: Always tap or press to avoid disturbing color corrector or irritating breakouts.
- Don’t Sleep in Makeup: This is a guaranteed way to clog pores and cause new breakouts.
FAQ: Your Most Pressing Questions Answered
Q1: Can makeup make my acne worse?
A1: Yes, if you’re not using the right products or practicing good hygiene. Using non-comedogenic (non-pore-clogging) formulas, keeping your makeup tools clean, and always removing your makeup before bed are crucial. Harsh, irritating ingredients or heavy, occlusive formulas can exacerbate acne.
Q2: How do I choose the correct color corrector for my dark spots?
A2: For most dark spots and hyperpigmentation on deep skin tones, a peach or orange color corrector is ideal to neutralize blue, purple, or brown undertones. For very deep, almost black spots, a red corrector might be more effective. Test a small amount to see which shade best cancels out the discoloration without looking ashy.
Q3: Should I apply concealer before or after foundation when covering acne marks?
A3: Generally, apply color corrector first, then foundation, and then concealer. Applying foundation over the color corrector helps to blend it seamlessly into your overall complexion. Then, use a matching concealer only on any remaining visible marks or active breakouts for targeted coverage, minimizing the amount of product needed.
Q4: My foundation looks ashy or grey on my deep skin. What am I doing wrong?
A4: This often happens for a few reasons: the foundation shade might be too light, it might have the wrong undertone (e.g., too cool/pink), or you might be using too much powder that has a white cast. Ensure your foundation matches your skin’s undertone (warm, golden, red, neutral) and choose a setting powder specifically designed for deep skin tones (like banana or honey shades) or a truly translucent one applied sparingly.
Q5: How can I prevent my makeup from looking cakey over textured skin?
A5: The key is light layers and a good primer. Start with a hydrating and/or blurring primer. Apply foundation and concealer in very thin, buildable layers, using tapping motions with a damp beauty sponge. Avoid heavy, full-coverage formulas that can settle into texture. Opt for a natural or satin finish rather than a super matte one, which can emphasize dryness and texture.
Q6: Is it safe to put makeup directly on active breakouts?
A6: It is generally safe if you use non-comedogenic, oil-free products and practice excellent hygiene. However, avoid picking or irritating the breakout. Some concealers even contain acne-fighting ingredients like salicylic acid, which can treat while concealing. Always remove makeup thoroughly at the end of the day to allow your skin to breathe and heal.
Q7: How often should I clean my makeup brushes and sponges?
A7: For acne-prone skin, it’s highly recommended to wash your makeup brushes at least once a week, and your beauty sponges after every 1-3 uses. Sponges are particularly prone to harboring bacteria due to their porous nature and damp use. Regular cleaning prevents the transfer of bacteria, oil, and old makeup to your skin, which can cause new breakouts.
A8: Use a gentle, oil-based cleanser or micellar water as a first step to dissolve makeup. Follow with a second cleanse using your regular gentle, sulfate-free facial cleanser. Avoid harsh scrubbing or abrasive cloths. Pat your skin dry with a clean towel. This double-cleansing method ensures all makeup and impurities are removed without excessive rubbing or irritation.
Your skin, in all its nuanced glory, deserves to be understood, cherished, and adorned with intention. With these curated techniques and product insights, you are empowered to navigate the world of makeup for acne marks and active breakouts not as a burden, but as an opportunity to enhance your radiant confidence. Remember, true beauty emanates from within, and your makeup is simply a beautiful expression of the artistry that is you.
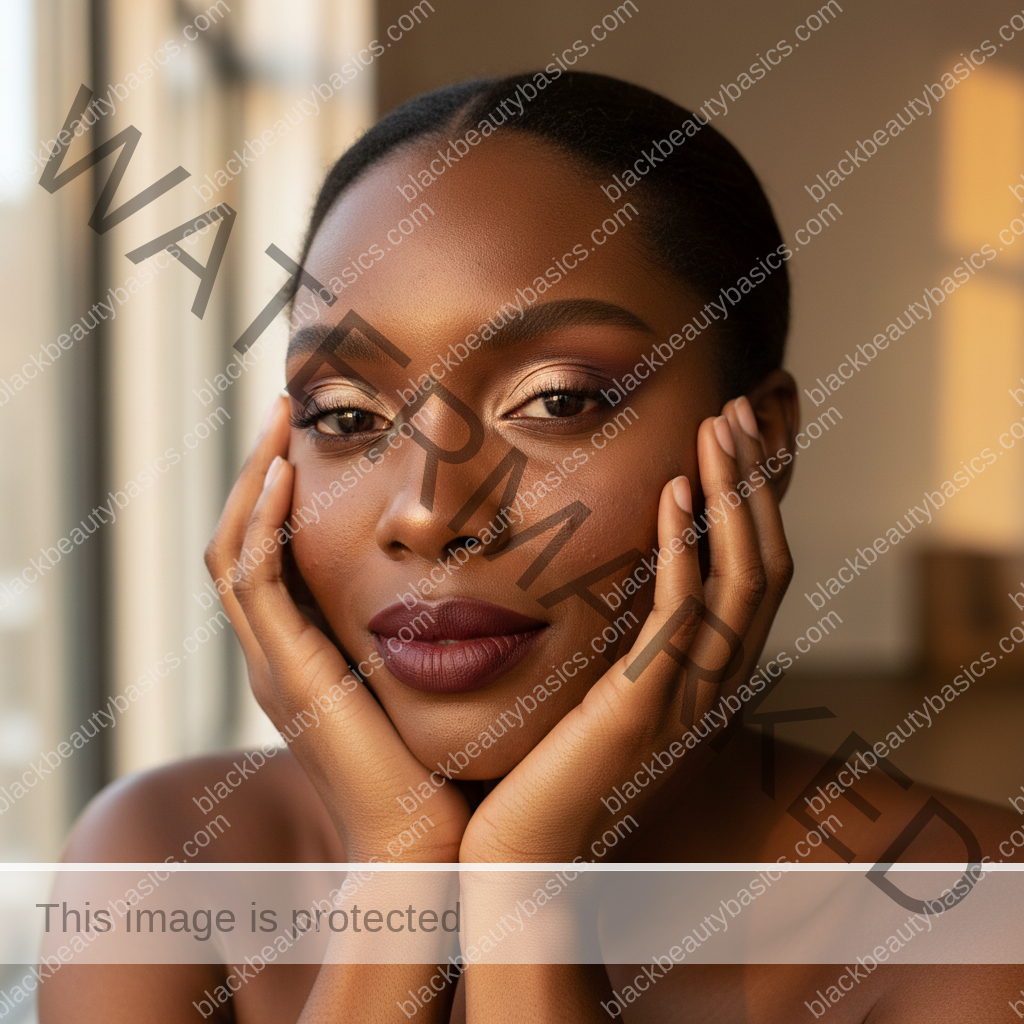
How to make makeup choices fit your actual undertone and finish
For Black women and people with deep skin tones, makeup shopping can feel emotional because too many shade systems still treat deep complexions as an afterthought. This guide focuses on covering acne marks and active breakouts on deep skin with color, texture respect, hygiene, coverage, and skin-comfort priorities, while keeping the related BBB makeup cluster as the home base. The goal is not to make your skin easier for a brand to understand. The goal is to help you read color, finish, placement, and undertone with more confidence.
Start with what you can actually see. Does the product turn orange, red, gray, ashy, too yellow, too pink, too flat, or too icy? Does it look right in store but strange in daylight? Does it match your jaw but fight your chest? Those details matter more than a shade name that sounds flattering but does not behave well on your skin.
The strongest makeup strategy is usually the one that respects depth and dimension. Deep skin often needs warmth, balance, and enough pigment, but not every product needs to be dramatic. Sometimes the better choice is a more accurate undertone, a softer placement, a different powder tone, or a formula that dries down without changing the whole face.
What to notice gently
- Where the color shifts: face, jaw, chest, under-eye, cheek, or high points.
- Whether the undertone reads red, golden, neutral, olive, muted, orange, gray, or pink.
- How the product looks in daylight, indoor lighting, flash, and after dry-down.
- Whether the finish keeps depth and dimension or makes the face look flat.
- Which placements make the makeup feel polished without erasing your complexion.
What usually makes makeup for deep skin harder than it needs to be
The first challenge is shade language that sounds precise but is not precise enough. “Deep warm” might mean red in one brand, golden in another, orange in another, and olive in none. That is why the same person can wear one brand beautifully and look completely off in another.
The second challenge is testing makeup in conditions that hide the problem. Store lighting can soften ashiness, phone cameras can warm a shade, and wet swatches can look better than dry foundation. Deep skin deserves enough time, light, and comparison points to see what is really happening.
The third challenge is using products meant to correct a problem created by the wrong base. Too-light concealer, chalky highlight, orange bronzer, or flat powder can make the whole face feel off. Often the answer is not more product. It is better tone, placement, formula, or restraint.
What to do next
Keep this article connected to the Makeup for Deep Skin Tones system. Use the related guides below to decide whether your next step is better shade matching, a base makeup adjustment, or a color product strategy that keeps depth and dimension.
- Makeup for Deep Skin Tones
- The related makeup cluster guide
- makeup for PIH-prone skin
- textured skin and visible pores
- concealer placement
- makeup-safe routines for acne-prone deep skin
Related next steps
Related posts:
 Treating Active Ingrown Hairs, Bumps, and Dark Marks on Melanin-Rich Skin
 SPF for Acne-Prone Melanin-Rich Skin: Breakouts, Bumps, and Non-Comedogenic Choices
 Skincare Products to Combat Acne and Breakouts in Black Women
 Facial Hyperpigmentation on Melanin-Rich Skin: Acne Marks, Melasma & Uneven Tone
 Acne Marks and Post-Inflammatory Hyperpigmentation on Dark Facial Skin
 Best Routine Order for Fading Acne Marks on Black Skin