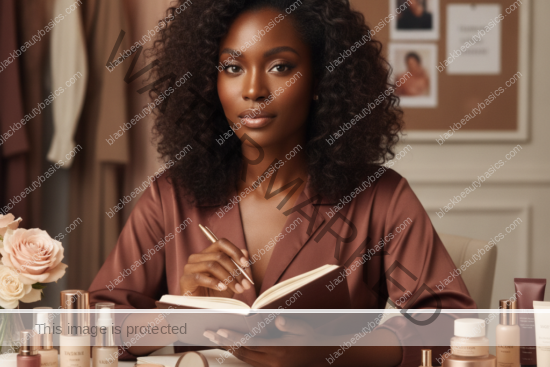
The canvas of deep skin, rich and radiant, holds a unique beauty that deserves to be celebrated with precision and pride. When it comes to enhancing this natural luminosity, the strategic application of concealer isn’t just about covering imperfections; it’s an art form, a dance of light and shadow designed to unveil your most brilliant self. Join us as we master the subtle yet profound techniques that illuminate your complexion, ensuring every highlight is as authentic and breathtaking as you are. Start with the related BBB makeup cluster guide if you want the broader map.
The Art of Illumination: Understanding Concealer for Deep Skin Tones
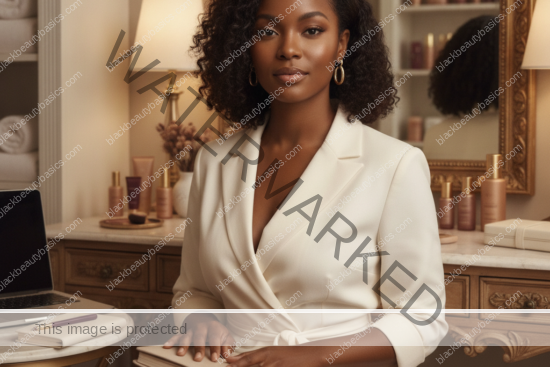
For far too long, the beauty industry overlooked the nuanced needs of deep skin tones, leaving us to navigate a sea of ashy, chalky, or simply mismatched concealers. Black Beauty Basics stands firm in its commitment to rectifying this oversight, empowering you with the knowledge and tools to embrace your complexion in all its glory. Concealer, when chosen and placed correctly, transforms from a mere cover-up into a powerful tool for sculpting, brightening, and enhancing your natural radiance.
The journey to natural-looking brightness begins with a profound understanding of your skin’s unique undertones and the specific areas you wish to illuminate. It’s not about erasing; it’s about refining, bringing forward the light that already resides within you.
Beyond Coverage: Why Concealer Placement Matters
While traditional concealer use often focuses on camouflaging blemishes or dark circles, for deep skin, its potential extends far beyond. Strategic placement can create a lifting effect, define features, and impart a fresh, awakened look without the heavy feel of full-face foundation. The goal is to achieve a seamless blend, where the concealer melts into your skin, becoming an undetectable whisper of light rather than an obvious patch of color.
This technique is particularly crucial for melanin-rich skin, where an incorrect shade or placement can lead to a stark, unnatural contrast. We’re aiming for a soft, diffused glow that mimics the way light naturally hits your face, enhancing your bone structure and bringing a youthful vibrancy to your complexion.
Selecting Your Luminous Allies: Choosing the Right Concealer Shades
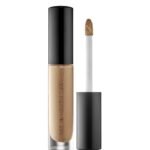
The foundation of any successful brightening technique lies in selecting the perfect concealer shades. This often involves more than one product, each serving a distinct purpose in your brightening arsenal. Think of them as your secret weapons, meticulously chosen to complement your unique skin tone.
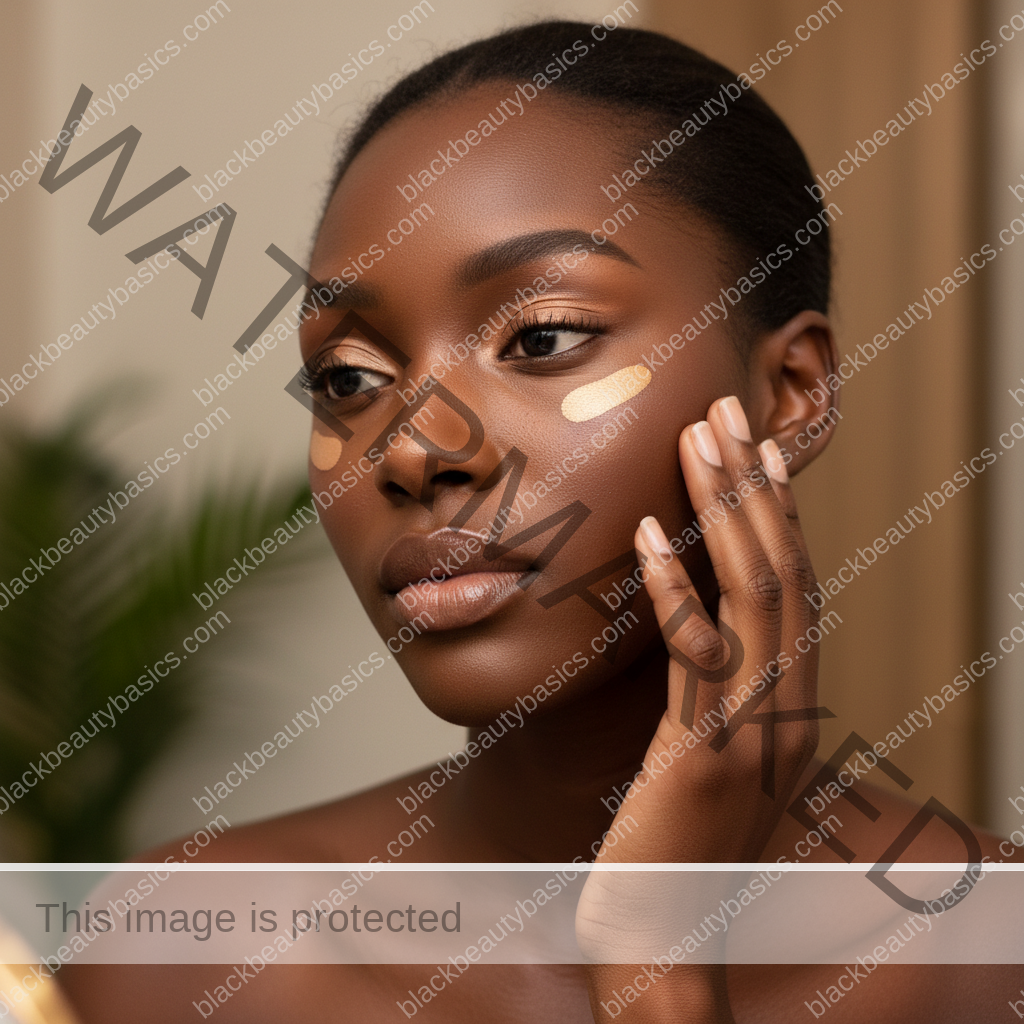
The Brightening Shade: Your Beacon of Light
For natural-looking brightness, your primary brightening concealer should be one to two shades lighter than your natural skin tone. The key here is to choose a shade that has a warm, golden, or peachy undertone. Avoid anything too cool or ashy, as this can create a gray cast on deep skin, counteracting your efforts to brighten.
- Golden Undertones: Ideal for those with warm or olive complexions, adding a sun-kissed luminosity.
- Peachy/Orange Undertones: Excellent for counteracting darkness and hyperpigmentation, especially under the eyes, before applying your brightening shade.
- Neutral Undertones: Can work for a subtle lift, but ensure it doesn’t lean too cool.
Test shades on your jawline or the back of your hand in natural light to ensure a harmonious match. Remember, a little goes a long way; we’re aiming for enhancement, not stark contrast.
Shop Concealers for Deep Skin Tones on Amazon
The Correcting Shade: Neutralizing and Unifying
Before you even think about brightening, addressing any areas of discoloration or hyperpigmentation is paramount. For deep skin, this often means utilizing a color corrector. Orange, peach, or red-toned correctors are invaluable for neutralizing dark circles, sun spots, or acne scars, creating an even base for your brightening concealer.
- Orange/Peach Corrector: Best for medium to deep skin tones to neutralize blue/purple undertones in dark circles.
- Red Corrector: For very deep skin tones, or significant hyperpigmentation, to effectively cancel out darkness.
Apply these correctors sparingly, only on the areas that need neutralization, and gently blend before moving on to your brightening shade. This step is crucial for achieving a truly seamless and bright finish.
Shop Color Correctors for Deep Skin on Amazon
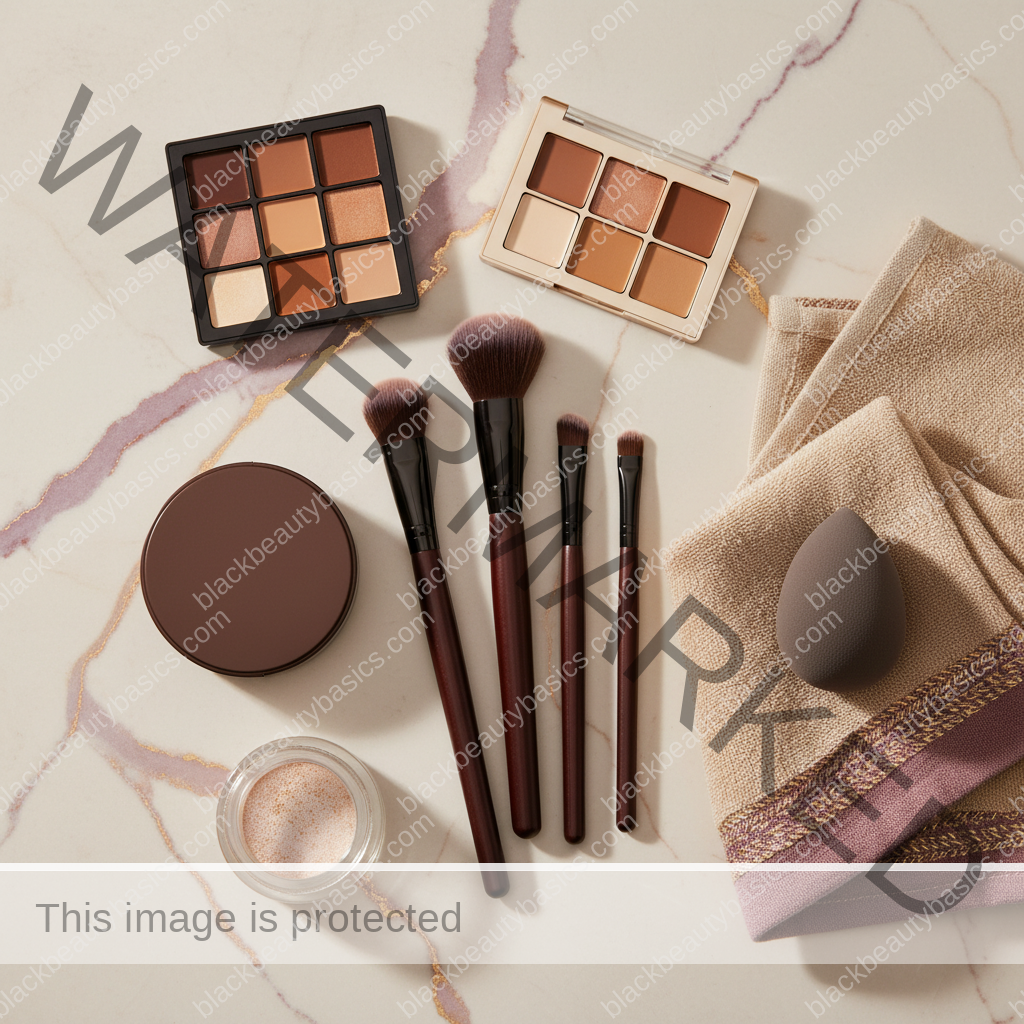
Formulation Matters: Cream, Liquid, or Stick?
The texture and finish of your concealer play a significant role in achieving a natural look. For brightening, liquid or creamy formulas are often preferred as they tend to be more blendable and less likely to settle into fine lines or appear cakey.
- Liquid Concealers: Offer buildable coverage and a natural finish, ideal for under-eye brightening.
- Cream Concealers: Provide more coverage and can be excellent for spot correction and brightening, especially if you prefer a slightly richer texture.
- Stick Concealers: Can be used for targeted brightening, but ensure they are creamy enough not to drag or look heavy.
Always opt for formulas that are hydrating and non-creasing, especially for the delicate under-eye area. Matte finishes can sometimes appear flat on deep skin, so a radiant or satin finish is often more flattering for brightening.
Shop Hydrating Liquid Concealers on Amazon
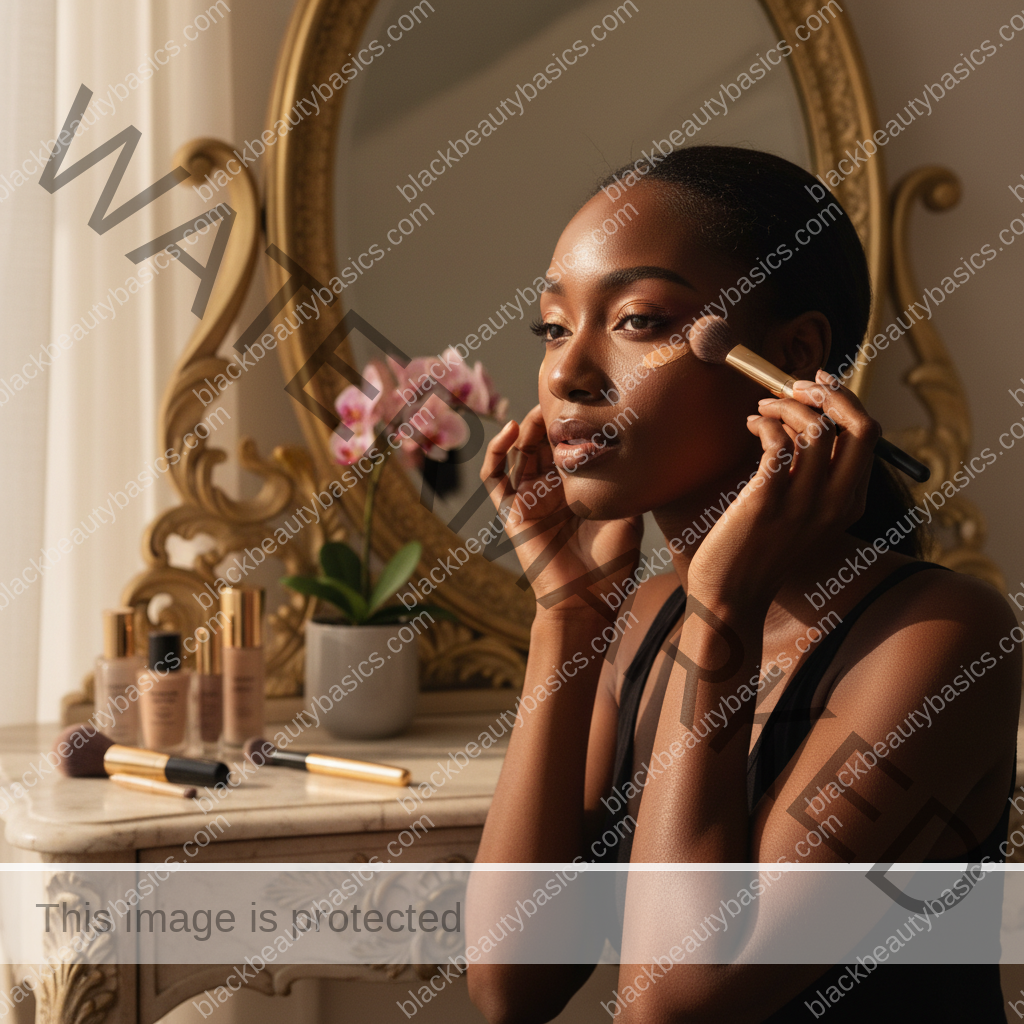
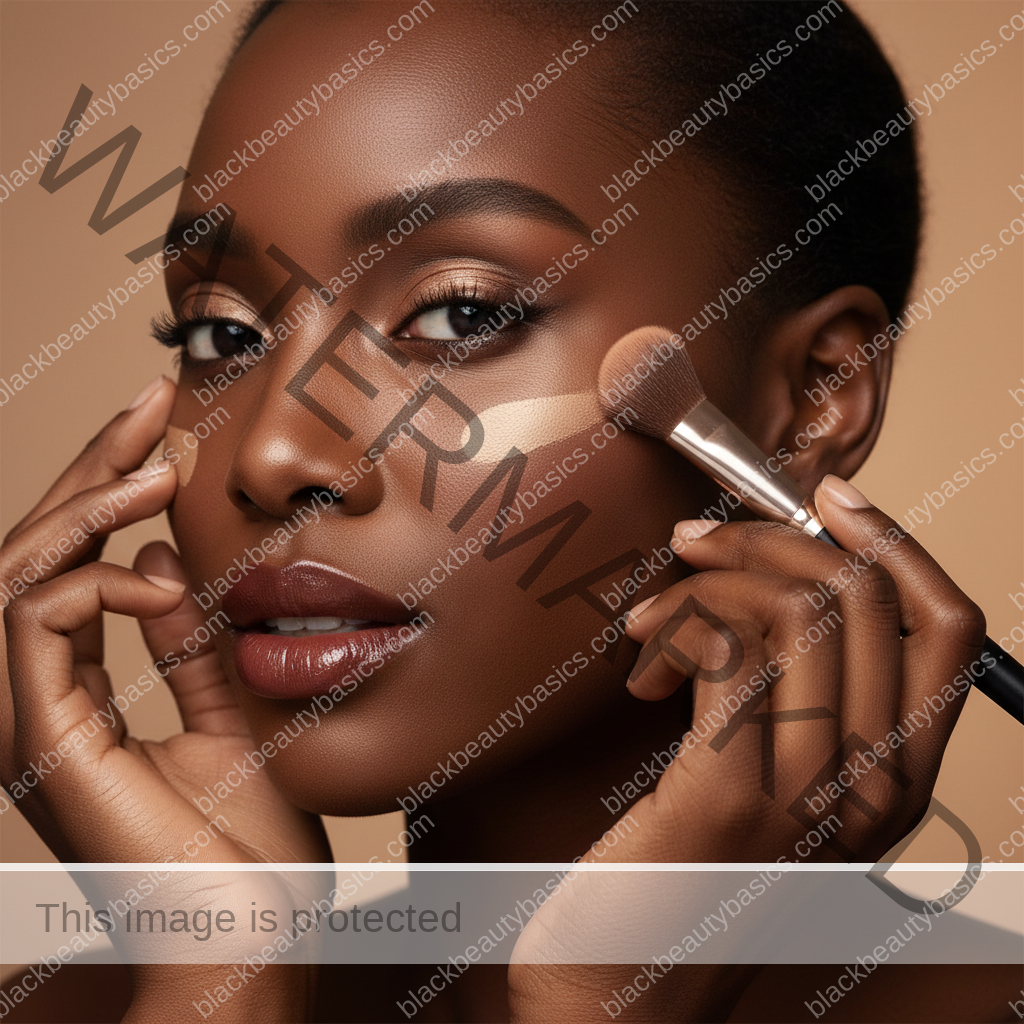
The Artful Application: Mastering Concealer Placement Techniques
Now that you’ve selected your luminous allies, let’s delve into the precise art of placement. This is where the magic truly happens, transforming your complexion with strategic dabs and gentle blends.

The Under-Eye Lift: Banishing Darkness, Embracing Light
The under-eye area is often the first place we look to brighten, and for good reason. A well-concealed under-eye can make you look instantly more awake and refreshed.
- Prep the Canvas: Begin with a well-hydrated under-eye area. A nourishing eye cream will ensure smooth application and prevent creasing. Shop Hydrating Eye Creams on Amazon
- Color Correct (if needed): If you have significant darkness, gently dab your orange or peach corrector onto the darkest areas. Blend softly with your ring finger or a small, fluffy brush.
- The Inverted Triangle or Dot Method: Instead of drawing a harsh crescent moon shape, apply your brightening concealer in an inverted triangle shape under your eye, with the base along your lash line and the point extending down towards the apple of your cheek. Alternatively, for a more natural look, apply a few dots of concealer only to the darkest points and inner corner.
- Blend Upwards and Outwards: Using a damp beauty sponge or a soft concealer brush, gently tap and blend the product. Focus on blending the edges seamlessly into your foundation or bare skin. The goal is to lift and diffuse, not to create a stark white patch.
Highlighting High Points: Sculpting with Light
Beyond the under-eyes, strategic placement on the high points of your face can create a beautiful, natural-looking lift and dimension.
- Brow Bone: A tiny dab just under the arch of your brow can lift and define, opening up your eyes.
- Inner Corner of the Eye: A minuscule amount here can instantly brighten and make you look more awake.
- Bridge of the Nose: A thin line down the center of your nose, blended well, can create the illusion of a more sculpted nose.
- Cupid’s Bow: A touch above your cupid’s bow can make your lips appear fuller and more defined.
- Center of the Forehead: A small dot in the center of your forehead, blended outwards, can bring light to the center of your face.
- Chin: A light touch on the center of your chin can balance the brightness in other areas.
Remember, for these areas, less is always more. You’re aiming for a subtle kiss of light, not a dramatic highlight.
Shop Beauty Sponges on Amazon
Seamless Blending: The Key to Natural Radiance
No matter how perfectly you place your concealer, poor blending will betray your efforts. This step is non-negotiable for achieving that coveted natural, skin-like finish.
- Tools of the Trade: A damp beauty sponge or a soft, dense concealer brush are your best friends. Fingers can also work, as the warmth helps melt the product into the skin, but ensure they are clean and you use a gentle tapping motion.
- Tap, Don’t Rub: Gently tap or stipple the product into your skin. Rubbing will only move the product around and create streaks.
- Focus on the Edges: The most crucial part of blending is diffusing the edges of your concealer into your surrounding skin or foundation. There should be no visible lines or demarcation.
- Layer if Necessary: If you need more coverage or brightness, apply a thin second layer and blend again. Building in thin layers prevents a cakey appearance.
Shop Concealer Brush Sets on Amazon
Setting Your Glow: Ensuring Longevity and Finish
Once your concealer is perfectly placed and blended, setting it is essential to ensure it stays put, resists creasing, and maintains its luminous finish throughout the day. For deep skin, the choice of setting powder is just as critical as the concealer itself.
The Power of Powder: Translucent vs. Tinted
A finely milled setting powder will lock your concealer in place without adding weight or altering the color. For deep skin, avoid white or overly translucent powders that can leave an ashy cast. Instead, opt for a truly translucent powder or one with a subtle yellow or golden tint.
- Banana Powder: A cult favorite for deep skin, banana powder has a yellow tint that brightens without looking stark. Apply sparingly to the under-eye area.
- Translucent Powder (True Translucent): Ensure the powder truly disappears on your skin. Test it before committing.
- Finishing Powder: Some brands offer finishing powders specifically designed to blur and set without adding coverage, often with a subtle luminous quality.
Apply setting powder with a small, fluffy brush or a damp beauty sponge, gently pressing it into the areas where you applied concealer. Use a light hand; too much powder can negate the natural brightness you’ve worked to achieve.
Shop Banana Setting Powder on Amazon
Setting Sprays: The Final Veil of Perfection
A good setting spray can further melt all your makeup together, creating a seamless, skin-like finish and extending wear. Choose a hydrating or radiant setting spray to maintain that natural glow, rather than a super-matte one.
Shop Radiant Setting Sprays on Amazon
Common Concealer Mistakes to Avoid on Deep Skin
Even with the best intentions, certain pitfalls can derail your quest for natural brightness. Being aware of these common mistakes can save you time and ensure a flawless finish.
Mistake 1: Choosing the Wrong Shade
This is perhaps the most common and detrimental mistake. A concealer that is too light, too cool, or too ashy will create a stark, unnatural contrast, making you look washed out or gray. Conversely, a shade that is too dark won’t provide any brightening effect.
Solution:
Always swatch concealers in natural light. Look for shades that are 1-2 shades lighter than your skin tone with warm, golden, or peachy undertones. When in doubt, consult with a beauty advisor who understands deep skin tones.
Mistake 2: Applying Too Much Product
The temptation to pile on concealer for maximum coverage is strong, but for brightening, it often backfires. Too much product can look cakey, settle into fine lines, and appear heavy, especially in the delicate under-eye area.
Solution:
Start with a small amount and build up if necessary. Remember, the goal is to enhance, not to mask. Use a tapping motion to blend, ensuring the product is seamlessly integrated into your skin.
Mistake 3: Skipping Color Correction
For many with deep skin, dark circles or hyperpigmentation have blue, purple, or even green undertones that a brightening concealer alone cannot fully neutralize. Applying a light concealer directly over these areas can result in an ashy or grayish cast.
Solution:
Incorporate a peach, orange, or red-toned color corrector as your first step. Apply it thinly and precisely to the discolored areas, then blend gently before applying your brightening concealer.
Mistake 4: Improper Blending
Harsh lines, unblended edges, or patchy application are tell-tale signs of poor blending. This instantly makes your concealer noticeable and unnatural.
Solution:
Invest in good blending tools—a damp beauty sponge or a soft, dense concealer brush. Use gentle tapping or stippling motions, focusing on diffusing the edges into your surrounding skin. Take your time with this step.
Mistake 5: Neglecting Skin Prep
Dry, unmoisturized skin can make concealer look patchy, emphasize texture, and settle into fine lines. Similarly, oily skin can cause concealer to break down quickly.
Solution:
Always start with a clean, well-moisturized face. Use an eye cream for the under-eye area. If you have oily skin, consider a mattifying primer in areas where you tend to get shiny, but keep it away from areas you want to brighten.
Shop Hydrating Face Primers on Amazon
Comparison Table: Concealer Application Techniques
Understanding the nuances between different application techniques can elevate your brightening game. Here’s a comparison to help you choose the best approach for your desired outcome.
| Technique | Primary Goal | Best For | Application Method | Pros | Cons |
|---|---|---|---|---|---|
| Inverted Triangle | Overall under-eye brightening & lift | Moderate dark circles, general brightening | Draw a triangle under the eye, base along lash line, point towards cheek. Blend. | Creates a lifted, awakened look; good for diffusing darkness. | Can use more product if not careful; requires thorough blending. |
| Dot Method | Targeted brightening & minimal coverage | Minor discoloration, inner corner brightening, natural look | Apply small dots only to darkest areas and inner corner. Blend. | Very natural finish; prevents creasing; uses minimal product. | May not provide enough coverage for severe darkness. |
| Color Correct First | Neutralizing severe discoloration | Pronounced dark circles, hyperpigmentation, scars | Apply peach/orange/red corrector thinly to dark areas. Blend. Then apply brightening concealer. | Ensures true brightening without ashiness; long-lasting. | Adds an extra step; requires two products. |
| Spot Brightening | Highlighting specific features | Brow bone, cupid’s bow, bridge of nose, center of forehead/chin | Apply tiny dots or thin lines to high points. Blend. | Sculpts face with light; adds dimension; very subtle. | Easy to overdo if not careful; requires precision. |
Tip List: Achieving Your Most Luminous Look
Here are some essential tips to ensure your concealer application for natural brightness on deep skin is always flawless and radiant.
Black Beauty Basics’ Top Tips for Luminous Concealer Application:
- Hydrate, Hydrate, Hydrate: Well-moisturized skin is the foundation for seamless concealer application. Use a rich eye cream and face moisturizer.
- Undertone is Everything: Always prioritize concealers with warm, golden, or peachy undertones for brightening deep skin. Avoid anything cool or gray.
- Less is More: Start with a small amount of product and build up if needed. Over-application leads to caking and creasing.
- Color Correct Wisely: Don’t skip the color corrector if you have significant darkness or hyperpigmentation. It’s the secret to true brightening.
- Blend, Blend, Blend: Use a damp beauty sponge or a soft brush and gentle tapping motions to seamlessly blend edges into your skin.
- Set with Care: Use a finely milled, translucent, or banana-tinted powder sparingly to lock your concealer in place without dulling your radiance.
- Natural Light Test: Always check your makeup in natural light before heading out. This reveals any unblended areas or mismatched shades.
- Consider Your Foundation: Ensure your foundation provides an even base. Concealer is for brightening and correcting, not for full-face coverage. Shop Foundations for Deep Skin Tones on Amazon
- Don’t Forget the Inner Corner: A tiny touch of brightening concealer in the inner corner of your eyes can make a world of difference in making you look awake.
- Practice Makes Perfect: Experiment with different shades, tools, and techniques to find what works best for your unique features and desired level of brightness.
How to make makeup choices fit your actual undertone and finish
For Black women and people with deep skin tones, makeup shopping can feel emotional because too many shade systems still treat deep complexions as an afterthought. This guide focuses on placing concealer for lift and brightness without harsh triangles, ashiness, flashback, or overly pale contrast, while keeping the related BBB makeup cluster as the home base. The goal is not to make your skin easier for a brand to understand. The goal is to help you read color, finish, placement, and undertone with more confidence.
Start with what you can actually see. Does the product turn orange, red, gray, ashy, too yellow, too pink, too flat, or too icy? Does it look right in store but strange in daylight? Does it match your jaw but fight your chest? Those details matter more than a shade name that sounds flattering but does not behave well on your skin.
The strongest makeup strategy is usually the one that respects depth and dimension. Deep skin often needs warmth, balance, and enough pigment, but not every product needs to be dramatic. Sometimes the better choice is a more accurate undertone, a softer placement, a different powder tone, or a formula that dries down without changing the whole face.
What to notice gently
- Where the color shifts: face, jaw, chest, under-eye, cheek, or high points.
- Whether the undertone reads red, golden, neutral, olive, muted, orange, gray, or pink.
- How the product looks in daylight, indoor lighting, flash, and after dry-down.
- Whether the finish keeps depth and dimension or makes the face look flat.
- Which placements make the makeup feel polished without erasing your complexion.
What usually makes makeup for deep skin harder than it needs to be
The first challenge is shade language that sounds precise but is not precise enough. “Deep warm” might mean red in one brand, golden in another, orange in another, and olive in none. That is why the same person can wear one brand beautifully and look completely off in another.
The second challenge is testing makeup in conditions that hide the problem. Store lighting can soften ashiness, phone cameras can warm a shade, and wet swatches can look better than dry foundation. Deep skin deserves enough time, light, and comparison points to see what is really happening.
The third challenge is using products meant to correct a problem created by the wrong base. Too-light concealer, chalky highlight, orange bronzer, or flat powder can make the whole face feel off. Often the answer is not more product. It is better tone, placement, formula, or restraint.
What to do next
Keep this article connected to the Makeup for Deep Skin Tones system. Use the related guides below to decide whether your next step is better shade matching, a base makeup adjustment, or a color product strategy that keeps depth and dimension.
- Makeup for Deep Skin Tones
- The related makeup cluster guide
- base makeup architecture
- powder strategy for deep skin
- highlight placement without chalkiness
- everyday vs occasion makeup routines
Frequently Asked Questions: Your Concealer Queries Answered
Q1: Can I use just one concealer shade for both brightening and covering blemishes?
A: While possible, it’s not ideal for achieving truly natural-looking brightness. For blemishes, you typically want a concealer that matches your skin tone exactly to make them disappear. For brightening, you need a shade 1-2 shades lighter with warm undertones. Using a lighter shade on a blemish will only highlight it, and using a matching shade for brightening won’t give you the desired lift. We recommend having at least two shades: one for matching/covering and one for brightening.
Q2: My under-eye concealer always creases. What am I doing wrong?
A: Creasing is a common concern! Several factors can contribute:
- Lack of Hydration: Ensure your under-eye area is well-moisturized with a good eye cream before applying concealer.
- Too Much Product: Applying too much concealer is a primary culprit. Use thin layers.
- Not Blending Properly: Make sure the concealer is fully blended and pressed into the skin, especially before setting.
- Skipping Setting Powder: A light dusting of finely milled setting powder (banana or truly translucent) is crucial to lock it in place.
- Formula Choice: Some formulas are more prone to creasing. Opt for hydrating, non-creasing liquid or creamy concealers.
Q3: How do I prevent my brightening concealer from looking ashy or gray on my deep skin?
A: This is a critical point for deep skin tones. The ashiness usually comes from two main issues:
- Incorrect Undertone: Using a concealer that is too cool-toned or too white. Always choose shades with warm, golden, or peachy undertones.
- Skipping Color Correction: If you have significant darkness (blue/purple tones) under your eyes, applying a brightening concealer directly over it without a color corrector will result in a gray cast. Use an orange or peach corrector first.
Q4: Should I apply concealer before or after foundation?
A: For brightening, it’s generally recommended to apply foundation first. This provides an even base, allowing you to see exactly where you need extra coverage or brightening. Applying concealer first can lead to it being moved around or diluted by your foundation. However, if you’re color correcting, that step should always come before foundation.
Q5: What’s the best tool for blending concealer for a natural finish?
A: A damp beauty sponge (like a Beautyblender or similar) is often considered the gold standard for a seamless, natural finish. Its dampness helps to press the product into the skin without absorbing too much, and its bouncy texture creates an airbrushed effect. Alternatively, a soft, dense concealer brush can also work beautifully, especially for targeted application and blending.
Q6: Can I use concealer to contour on deep skin?
A: While the primary focus of this article is brightening, concealer can absolutely be used for contouring! For contouring, you would select a concealer shade that is 1-2 shades darker than your skin tone, with cool or neutral undertones, to create shadows and define features. The placement would be different, focusing on the hollows of your cheeks, temples, and jawline, rather than the high points of the face.
Q7: How do I choose the right color corrector for my specific dark circles?
A: The key is to understand color theory.
- Peach/Orange: Best for neutralizing blue/purple undertones, common in dark circles for medium to deep skin tones.
- Red: For very deep skin tones or extremely dark circles with strong blue/purple/green undertones, a red corrector can be more effective.
Test a small amount to see which shade effectively cancels out the darkness without looking too stark. Remember, a little goes a long way.
Embrace the journey of enhancing your radiant complexion, knowing that every stroke of concealer is a celebration of your inherent beauty. With these techniques, your luminosity will not just shine; it will captivate, effortlessly and authentically. May your glow be as deep and rich as your skin, a testament to the power of precise artistry and self-love.
Related next steps
Related posts:
 Highlight Placement on Deep Skin for Glow Without Chalkiness
 Contour and Highlight on Deep Skin Without Looking Ashy
 How Much Sunscreen to Use on Deep Skin Without Looking Heavy
 Choosing Foundation and Concealer for Acne-Prone Dark Skin
 LABS Sublime Perfection Concealer LM8 Review
 PAT McGRATH LABS Sublime Perfection Concealer LM14 Review