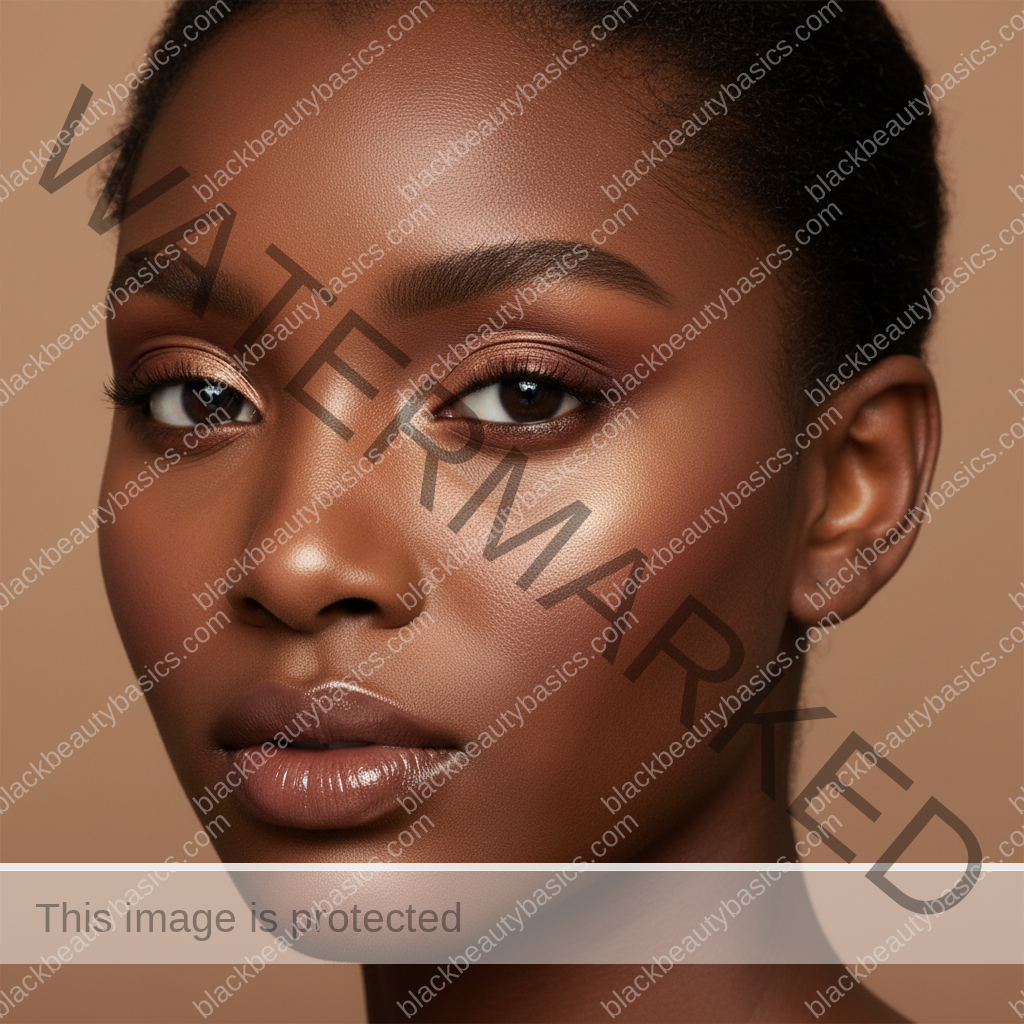
The radiant glow of melanin-rich skin is a masterpiece, a canvas of unparalleled depth and warmth. Yet, for too long, the art of highlighting has been a nuanced challenge, often leaving us searching for that perfect luminosity without the dreaded chalky finish. This guide is your definitive invitation to master the subtle alchemy of highlight placement, ensuring your natural brilliance shines through with an ethereal, seamless glow. Start with the related BBB makeup cluster guide if you want the broader map.
Unveiling the Luminous Truth: Why Highlight Placement Matters for Deep Skin
For African American women, the quest for the perfect highlight is not just about adding shimmer; it’s about enhancing the inherent radiance of our complexions. Our skin tones, ranging from rich caramel to deep ebony, possess unique undertones – often warm, golden, or red – that demand a thoughtful approach to color and application. The wrong shade or, more critically, the wrong placement, can disrupt this natural harmony, leading to an ashy, stark, or unnatural appearance. This is where precision becomes paramount, transforming a potential misstep into a moment of pure, unadulterated glow.
The Pitfalls of Improper Highlighting on Deep Skin
Before we delve into the art of perfect placement, it’s crucial to understand the common challenges that can arise when highlighting deep skin tones:
- The Ashy Effect: This occurs when a highlight shade is too light, too cool-toned, or lacks the necessary depth to blend seamlessly with melanin-rich skin. Instead of reflecting light, it sits on top, creating a stark, chalky, or gray cast.
- The Glitter Bomb: While a touch of sparkle can be enchanting, an overly glittery or chunky highlight can look artificial and detract from a sophisticated finish. Our goal is a sophisticated sheen, not a disco ball.
- The Unnatural Stripe: Applying highlight in a thick, linear fashion, especially on areas that don’t naturally catch light, can create an obvious, unblended stripe rather than a diffused glow.
- Loss of Dimension: Highlighting is meant to bring forward and enhance features. Incorrect placement can flatten the face or draw attention to areas we’d prefer to recede.
Understanding these challenges is the first step toward mastering a highlight technique that celebrates and elevates your unique beauty.
The Science of Light: Understanding Your Face’s Natural Contours
At its core, highlighting is about manipulating light and shadow to create dimension and enhance features. Think of your face as a sculpted landscape. Certain peaks naturally catch the light, while valleys recede into shadow. Our mission is to amplify these natural high points, making them appear more prominent and luminous. This isn’t about creating new features, but rather celebrating the exquisite architecture you already possess.
Mapping Your Luminous Landscape: Key Highlight Zones
Before you even pick up a brush, take a moment to observe your face in natural light. Turn slightly from side to side. Where does the light naturally hit? These are your primary highlight zones, and they are universal, though their prominence may vary slightly from person to person.
- Cheekbones: The most iconic highlight spot. Placing highlight here lifts the face and creates a sculpted, ethereal glow.
- Brow Bone: A subtle touch under the arch of the brow can lift the eye area and make eyes appear more open and awake.
- Inner Corner of the Eye: A tiny dab here brightens the entire eye area, making you look more refreshed and alert.
- Bridge of the Nose: A thin, diffused line down the center of the nose can make it appear straighter and more refined. Avoid the tip unless you want to shorten it.
- Cupid’s Bow: A small touch above the center of your upper lip creates the illusion of fuller lips and adds a touch of allure.
- Center of the Forehead: For a subtle, all-over glow, a diffused touch in the center of the forehead can add dimension without making the face appear oily.
- Chin: A very subtle touch on the center of the chin can balance the face, especially when paired with a forehead highlight.
The key is not to highlight all these areas intensely at once, but to strategically choose and apply based on your desired effect and face shape.
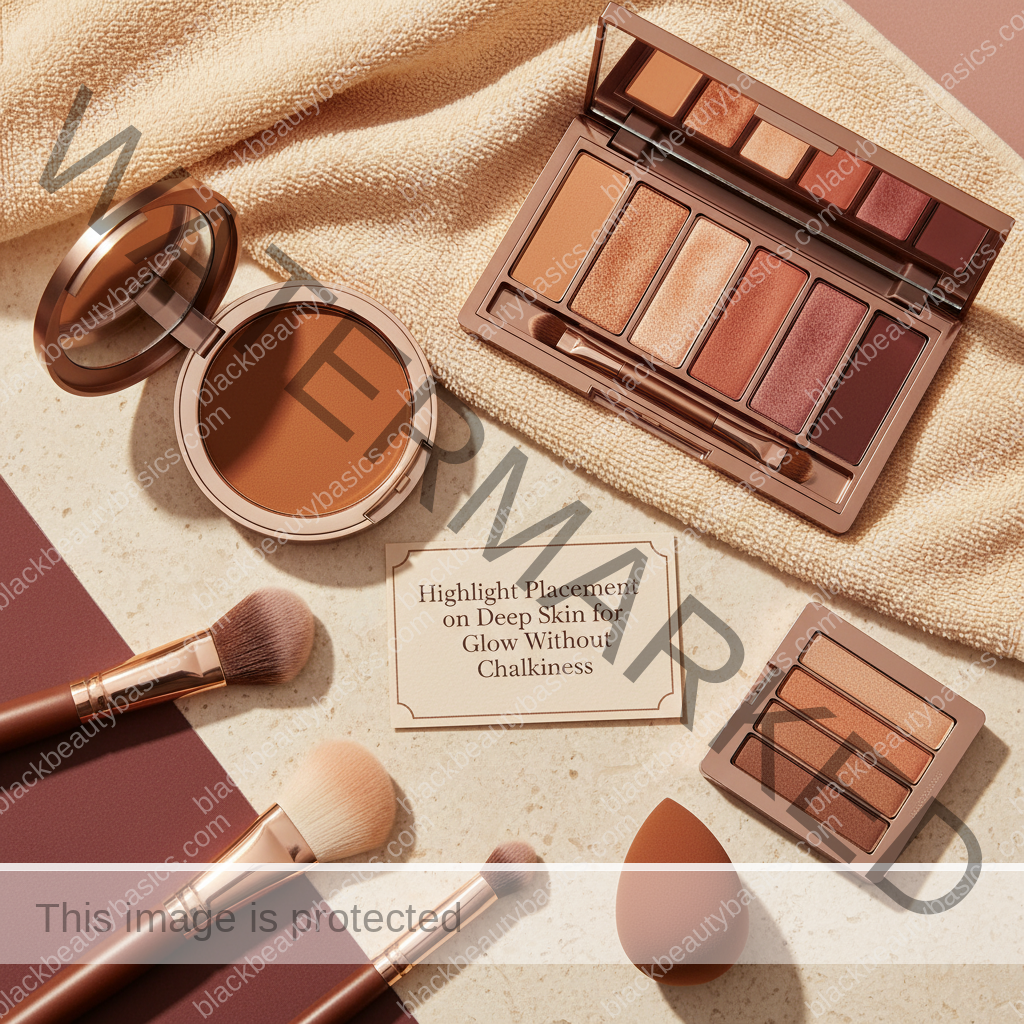
Selecting Your Luminous Ally: Choosing the Right Highlight for Deep Skin
The journey to a seamless glow begins with the right product. For deep skin tones, the goal is to find shades that complement our warm undertones and reflect light without appearing stark or ashy. Think rich golds, coppers, bronzes, and even subtle rose golds or champagnes with a golden shift.
Shade Selection: The Golden Rule
When selecting a highlighter, consider these principles:
- Warm Undertones are Your Friend: Opt for highlighters with warm, golden, or bronze undertones. These shades melt into deep skin, creating a natural, sun-kissed radiance.
- Avoid Silvery or Icy Tones: Unless specifically formulated for deep skin with a unique warm shift, icy silver or stark white highlighters often appear chalky or gray on deeper complexions.
- Consider Your Skin’s Depth:
- Medium-Deep Tones (Caramel, Honey): Golden champagne, rich gold, soft bronze.
- Deep Tones (Warm Chestnut, Rich Coffee): True gold, copper, rose gold with a golden base.
- Very Deep Tones (Ebony, Rich Espresso): Deep bronze, true copper, rich gold with a red or orange shift.
- Swatch, Swatch, Swatch: Always swatch highlighters on your jawline or cheek to see how they interact with your skin’s natural undertones in different lighting.
Formula Finesse: Cream, Liquid, Powder, or Gel?
The formula of your highlighter plays a significant role in its finish and how it blends with your skin. For deep skin, cream and liquid formulas often offer the most seamless, skin-like glow, while finely milled powders can provide a more intense, yet still diffused, radiance.
Highlighter Formula Comparison for Deep Skin
| Formula Type | Best For | Finish | Application Tip | Pros for Deep Skin | Cons for Deep Skin |
|---|---|---|---|---|---|
| Cream | Natural, “lit-from-within” glow; dry skin | Dewy, skin-like | Tap with fingers or damp sponge over foundation | Melts seamlessly, never chalky, hydrating | Can disturb foundation if not careful, less intense |
| Liquid | Versatile; mix with foundation or spot apply | Sheer to intense, dewy | Dab with fingers, sponge, or brush; mix into base | Highly blendable, customizable intensity, radiant | Can be messy, some formulas dry quickly |
| Powder | Intense glow; oily skin; setting cream/liquid | Satin to metallic | Lightly dust with a fan or fluffy brush | Long-lasting, buildable, wide shade range | Can look chalky if not finely milled or wrong shade |
| Gel/Jelly | Glass skin effect; long-wear | High-shine, wet-look | Tap with fingers or dense brush | Unique texture, very luminous, often long-wearing | Can be sticky, less forgiving if over-applied |
Shop Cream Highlighters on Amazon | Shop Liquid Highlighters on Amazon | Shop Powder Highlighters on Amazon | Shop Gel Highlighters on Amazon
The Art of Application: Precision Placement for a Seamless Glow
Now that you’ve chosen your luminous ally, it’s time to master the application. This is where the magic truly happens, transforming product into pure radiance. Remember, less is often more, especially when aiming for a sophisticated, non-chalky finish.
Tools of the Trade: Brushes and Sponges
The right tool can make all the difference in achieving a diffused, natural highlight:
- For Cream/Liquid: Your fingertips are often the best tool for tapping and blending cream and liquid highlighters, as the warmth of your skin helps the product melt seamlessly. A damp beauty sponge can also provide a beautiful, diffused finish.
- For Powder:
- Fan Brush: Ideal for a subtle, diffused wash of highlight on the cheekbones.
- Tapered Blending Brush (smaller): Perfect for precise application on the brow bone, inner corner, and cupid’s bow.
- Small Fluffy Brush: For more intense application on cheekbones, allowing for buildable coverage.
Shop Highlight Brushes on Amazon | Shop Beauty Sponges on Amazon
Step-by-Step: Mastering Highlight Placement
Let’s break down the application for each key zone, focusing on techniques that prevent chalkiness and maximize glow:
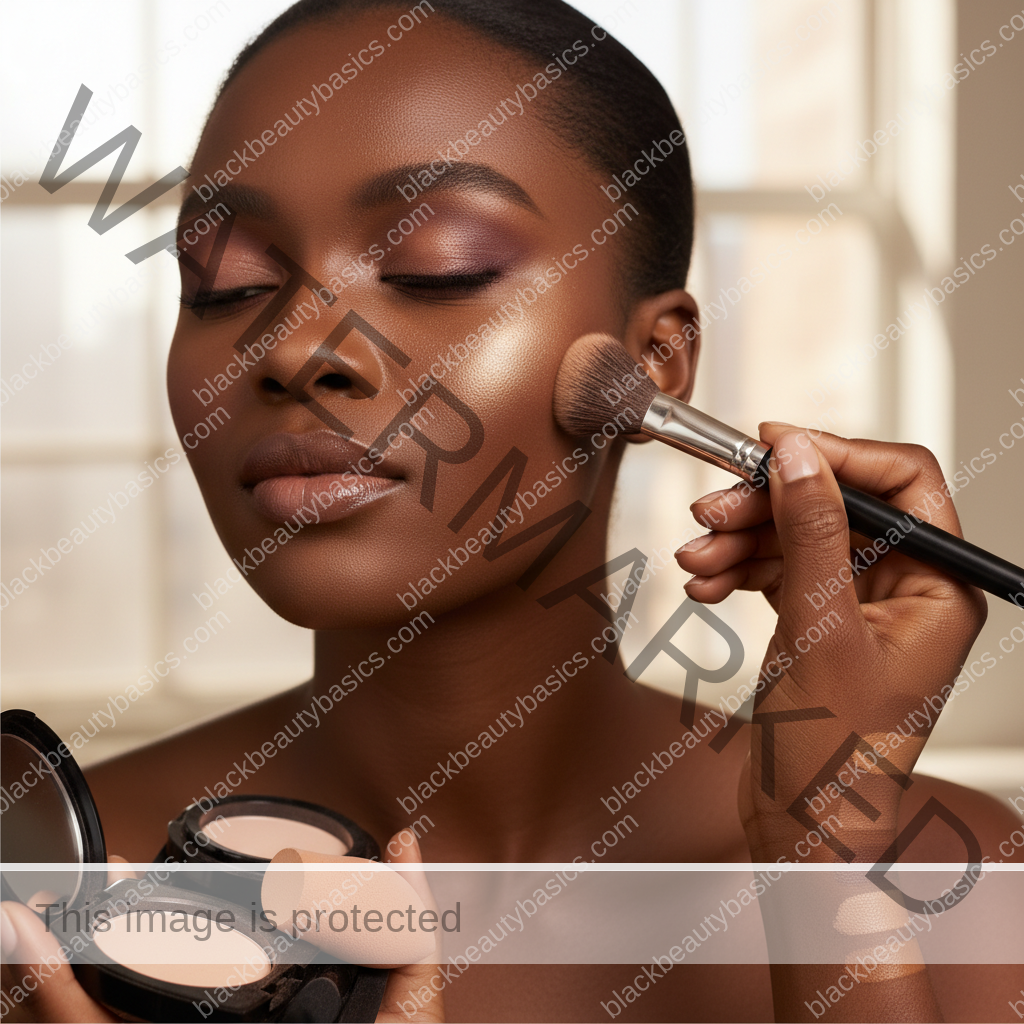
1. The Cheekbones: Your Luminous Anchor
- Placement: Apply highlighter along the very tops of your cheekbones, extending from the outer corner of your eye towards your hairline. Avoid bringing it too far down onto the apples of your cheeks, which can make them appear wider.
- Technique (Cream/Liquid): Dot a small amount directly onto the high point of your cheekbone. Using your ring finger or a damp sponge, gently tap and blend the product into your skin, working in small, circular motions upwards and outwards. Build intensity slowly.
- Technique (Powder): Using a fan brush or a small fluffy brush, lightly sweep the powder onto the high points of your cheekbones. Use a light hand and build in thin layers. Blend the edges seamlessly into your blush and bronzer.
- Pro Tip for Deep Skin: For an extra dimension, layer a cream highlight under a powder highlight in a complementary shade. This “highlight sandwich” creates a long-lasting, multi-dimensional glow that looks truly lit from within.
2. The Brow Bone: An Instant Eye Lift
- Placement: A tiny touch directly under the arch of your eyebrow, just above the crease of your eyelid.
- Technique: Use a small, precise brush (like an eyeshadow blending brush or a pencil brush) or your pinky finger. Apply a very small amount and gently blend it out, ensuring no harsh lines.
- Pro Tip for Deep Skin: Choose a shade that is slightly lighter than your skin tone but still has a warm, golden, or champagne undertone to avoid an ashy look.
3. Inner Corner of the Eye: The Brightening Secret
- Placement: A small dot in the innermost corner of your eye, where your upper and lower lash lines meet.
- Technique: Use a small, pointed brush or your pinky finger. Dab a tiny amount and gently blend it outwards slightly into the lower lash line.
- Pro Tip for Deep Skin: This is an area where a slightly lighter, brighter champagne or soft gold can truly make your eyes pop without appearing stark.
4. Bridge of the Nose: Sculpting with Light
- Placement: A thin, diffused line down the center of the bridge of your nose. Avoid highlighting the tip unless you specifically want to shorten it.
- Technique: Use a small, flat brush or your fingertip. Apply a very thin line and then blend the edges meticulously so there are no visible lines, just a subtle sheen.
- Pro Tip for Deep Skin: Ensure this highlight is very subtle and well-blended. A heavy stripe here can look unnatural.
5. Cupid’s Bow: The Pout Enhancer
- Placement: Just above the center of your upper lip, following the natural curve of your cupid’s bow.
- Technique: Use a tiny brush or your pinky finger to apply a small dot and gently blend it out.
- Pro Tip for Deep Skin: This small detail can make a significant difference in making your lips appear fuller and more defined, especially when paired with a rich lip color.
Beyond the Basics: Advanced Techniques for a Multi-Dimensional Glow
Once you’ve mastered the foundational placements, you can explore more advanced techniques to truly customize your glow.
Strategic Highlighting for Different Face Shapes
- Round Faces: Focus highlight on the very tops of the cheekbones and temples to create a more lifted, elongated effect. A subtle vertical line down the bridge of the nose can also help.
- Square Faces: Soften angles by focusing highlight on the temples and the inner brow bone. A gentle sweep on the cupid’s bow can also help draw attention to the center of the face.
- Oval Faces: You have the most versatility! Apply highlight to all key zones as desired, focusing on enhancing your natural symmetry.
- Heart-Shaped Faces: Emphasize the cheekbones and brow bone. A touch on the chin can help balance the wider forehead.
The “Wet Look” Highlight for Deep Skin
For a truly editorial, glass-skin effect, consider these steps:
- Start with a hydrating primer.
- Apply a dewy foundation or mix a liquid highlighter into your foundation.
- Layer a cream or gel highlighter onto the high points of your cheekbones, temples, and brow bone. Blend meticulously.
- Lightly set your T-zone with a translucent powder, but leave the highlighted areas untouched.
- Finish with a hydrating setting spray to melt all the layers together and enhance the dewy finish.
Shop Hydrating Primers on Amazon | Shop Dewy Foundations on Amazon | Shop Hydrating Setting Sprays on Amazon
The “No-Makeup” Makeup Highlight
For days when you want a subtle, healthy glow without a full face of makeup:
- Apply a tinted moisturizer or a sheer foundation.
- Using your fingers, tap a cream or liquid highlighter onto the very tops of your cheekbones and a tiny dab in the inner corner of your eyes.
- Ensure it’s blended seamlessly into your skin with no visible edges.
- Finish with a touch of mascara and a lip balm or gloss.
Shop Tinted Moisturizers on Amazon
Tips for Avoiding Chalkiness and Enhancing Radiance
Essential Tips for a Non-Chalky Glow on Deep Skin
- Prep Your Skin: Hydrated skin is key. Ensure your skin is well-moisturized before applying makeup. Dry patches can make highlighter cling and appear chalky.
- Choose Warm Undertones: Always opt for highlighters with golden, bronze, or copper shifts. Avoid overly cool or silver tones unless they have a distinct warm base.
- Finely Milled Powders: If using powder, ensure it’s incredibly fine. Chunky glitter or large shimmer particles are more likely to look artificial and chalky.
- Layering is Key: For a truly seamless and long-lasting glow, apply a cream or liquid highlighter first, then lightly set with a complementary powder highlighter.
- Blend, Blend, Blend: Harsh lines are the enemy of a natural glow. Use soft, tapping, or circular motions to diffuse the edges of your highlight into your skin and other makeup.
- Light Hand Application: Start with a tiny amount of product and build up slowly. It’s easier to add more than to take away.
- Check in Different Lighting: Always check your makeup in various lighting conditions – natural daylight, indoor lighting – to ensure your highlight looks seamless and not stark.
- Setting Spray: A good setting spray can help melt powder products into the skin, reducing any powdery or chalky appearance and enhancing luminosity.
- Consider Your Base: A dewy or satin-finish foundation will naturally complement a radiant highlight better than a very matte one.
- Don’t Over-Highlight: Focus on the areas that naturally catch light. Highlighting too many areas can make your face look flat or greasy.
Shop Moisturizers on Amazon | Shop Translucent Setting Powders on Amazon
How to make makeup choices fit your actual undertone and finish
For Black women and people with deep skin tones, makeup shopping can feel emotional because too many shade systems still treat deep complexions as an afterthought. This guide focuses on placing and choosing highlight on deep skin for glow without icy cast, chalkiness, texture emphasis, or harsh stripes, while keeping the related BBB makeup cluster as the home base. The goal is not to make your skin easier for a brand to understand. The goal is to help you read color, finish, placement, and undertone with more confidence.
Start with what you can actually see. Does the product turn orange, red, gray, ashy, too yellow, too pink, too flat, or too icy? Does it look right in store but strange in daylight? Does it match your jaw but fight your chest? Those details matter more than a shade name that sounds flattering but does not behave well on your skin.
The strongest makeup strategy is usually the one that respects depth and dimension. Deep skin often needs warmth, balance, and enough pigment, but not every product needs to be dramatic. Sometimes the better choice is a more accurate undertone, a softer placement, a different powder tone, or a formula that dries down without changing the whole face.
What to notice gently
- Where the color shifts: face, jaw, chest, under-eye, cheek, or high points.
- Whether the undertone reads red, golden, neutral, olive, muted, orange, gray, or pink.
- How the product looks in daylight, indoor lighting, flash, and after dry-down.
- Whether the finish keeps depth and dimension or makes the face look flat.
- Which placements make the makeup feel polished without erasing your complexion.
What usually makes makeup for deep skin harder than it needs to be
The first challenge is shade language that sounds precise but is not precise enough. “Deep warm” might mean red in one brand, golden in another, orange in another, and olive in none. That is why the same person can wear one brand beautifully and look completely off in another.
The second challenge is testing makeup in conditions that hide the problem. Store lighting can soften ashiness, phone cameras can warm a shade, and wet swatches can look better than dry foundation. Deep skin deserves enough time, light, and comparison points to see what is really happening.
The third challenge is using products meant to correct a problem created by the wrong base. Too-light concealer, chalky highlight, orange bronzer, or flat powder can make the whole face feel off. Often the answer is not more product. It is better tone, placement, formula, or restraint.
What to do next
Keep this article connected to the Makeup for Deep Skin Tones system. Use the related guides below to decide whether your next step is better shade matching, a base makeup adjustment, or a color product strategy that keeps depth and dimension.
- Makeup for Deep Skin Tones
- The related makeup cluster guide
- color products for deep skin
- concealer placement for brightness
- powder strategy
- best bronzer tones
Frequently Asked Questions About Highlighting Deep Skin
Q1: Can I use blush as a highlighter on deep skin?
A1: Absolutely! Many shimmery blushes, especially those with golden or bronze undertones, can double as a beautiful, subtle highlight, particularly on the apples of the cheeks. Look for shades like terracotta, deep rose with gold shimmer, or warm peach. This creates a cohesive, flushed-from-within glow that is less intense than a traditional highlighter but equally radiant. It’s an excellent technique for a natural, healthy look.
Shop Shimmer Blushes on Amazon
Q2: My highlight always looks too glittery. How can I get a more natural sheen?
A2: The key to a natural sheen versus a glitter bomb lies in the product’s formulation and application. Opt for highlighters with a finely milled pearl or satin finish rather than chunky glitter particles. Cream and liquid highlighters often provide a more “wet-look” or “lit-from-within” glow. When applying, use a light hand and blend thoroughly. Start with a tiny amount and build up if needed. A damp beauty sponge can help diffuse powder highlighters for a softer effect. Also, consider layering a cream highlight under a very sheer powder highlight.
Q3: What’s the best way to prevent my highlight from looking streaky or unblended?
A3: Streaky highlight is usually a result of too much product, not enough blending, or the wrong tool. Always start with a minimal amount of product. For creams and liquids, tap with your fingers or a damp sponge. For powders, use a soft, fluffy brush (like a fan brush or a small tapered brush) and apply in light, sweeping motions. The goal is to diffuse the product so it seamlessly melts into your skin and other makeup, without any harsh lines or visible edges. Take your time to blend the edges into your foundation, blush, and bronzer.
Q4: Can I use highlighter if I have textured skin or large pores?
A4: Yes, but with caution and strategic placement. Highlighter can sometimes emphasize texture or pores if placed directly on them. To avoid this, focus your highlight on the high points of your cheekbones, slightly above where your pores might be more prominent. Use formulas that are not overly shimmery or glittery, as these can draw attention to texture. Cream or liquid highlighters with a subtle sheen are often more forgiving than intense powders. Prep your skin with a pore-filling primer in areas of concern to create a smoother canvas.
Shop Pore-Filling Primers on Amazon
Q5: How do I choose between a warm gold and a bronze highlighter for deep skin?
A5: Both warm gold and bronze can be stunning on deep skin, but the choice often comes down to your specific undertones and desired effect.
- Warm Gold: Best for those with strong golden or yellow undertones. It provides a bright, radiant, and truly “lit-from-within” glow. It can look more ethereal and less “makeup-y.”
- Bronze: Ideal for those with red or deeper warm undertones. It creates a richer, more sun-kissed, and slightly more sculpted effect. It can also double as a very subtle bronzer-highlighter hybrid.
If you’re unsure, swatch both on your jawline. The one that blends most seamlessly and looks like a natural extension of your skin’s radiance is your winner. Many women with deep skin can pull off both beautifully, depending on the look they’re aiming for.
Q6: Should I apply highlighter before or after setting powder?
A6: This depends on the highlighter formula and your desired finish:
- Cream/Liquid Highlighter: Always apply these *before* setting powder. Applying them over powder can cause patchiness, disturb your base, and make the highlight look cakey or streaky. After applying your cream/liquid highlight, you can then lightly set the rest of your face (avoiding the highlighted areas) with powder.
- Powder Highlighter: Apply *after* setting powder. This allows the powder highlight to glide smoothly over your set foundation and powder, preventing it from clinging to damp areas and creating a patchy finish.
For a truly intense and long-lasting glow, you can layer a cream/liquid highlight (before powder) and then a powder highlight (after powder) on top. This technique, often called “highlight sandwiching,” creates a multi-dimensional effect.
Q7: Can I use highlighter on my body? If so, where?
A7: Absolutely! Body highlighting is a beautiful way to enhance your skin’s natural glow, especially for special occasions or when wearing revealing clothing.
- Collarbones: Dust or dab a shimmery highlight along your collarbones to make them pop and add elegance.
- Shoulders: A touch on the tops of your shoulders can create a radiant, sculpted look.
- Shins: A subtle line down the center of your shins can make your legs appear longer and more toned.
- Arms: Mix a liquid highlighter with your body lotion or oil and apply it all over for an all-over luminous sheen.
For body highlighting, liquid or cream formulas often work best for a seamless, non-patchy finish. Look for body-specific highlighters or oils with shimmer.
Shop Body Highlighters on Amazon
On deep skin, a shimmer bronzer can sometimes act as a subtle highlight if it’s lighter and more reflective than your skin tone. However, a dedicated highlighter will provide a more intense and precise luminous effect. Some products are designed as “bronze highlighters” which offer a hybrid effect.
Shop Shimmer Bronzers on Amazon
Embrace Your Inner Radiance
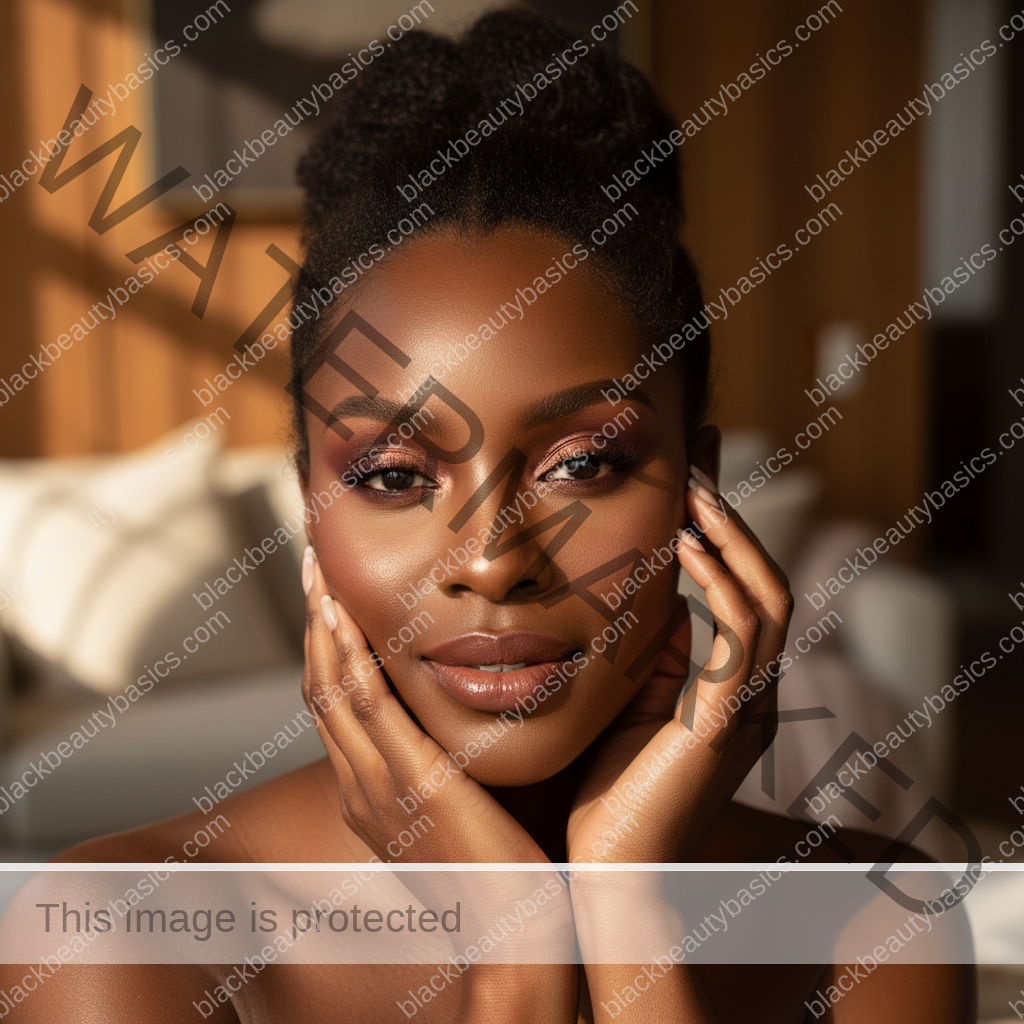
The journey to mastering highlight placement on deep skin is one of celebration – celebrating the richness of your complexion, the unique contours of your face, and your inherent glow. With the right shades, precise application, and a touch of confidence, you can banish chalkiness forever and unveil a luminosity that is truly your own. Let your radiance be a testament to your beauty, unapologetic and exquisitely bright.
Related next steps
Related posts:
 Contour and Highlight on Deep Skin Without Looking Ashy
 Concealer Placement on Deep Skin for Natural-Looking Brightness
 Highlighters That Flatter Deep Skin Without Going Ashy
 The Glow Up Secret: Medicube Deep Vita C Toner Pads Review for Melanin-Rich Skin – Fading Hyperpigmentation and Achieving Luminous Clarity
 Sculpted, Not Ashy: The Best Contour & Highlight Products for Melanin-Rich Skin
 How Much Sunscreen to Use on Deep Skin Without Looking Heavy