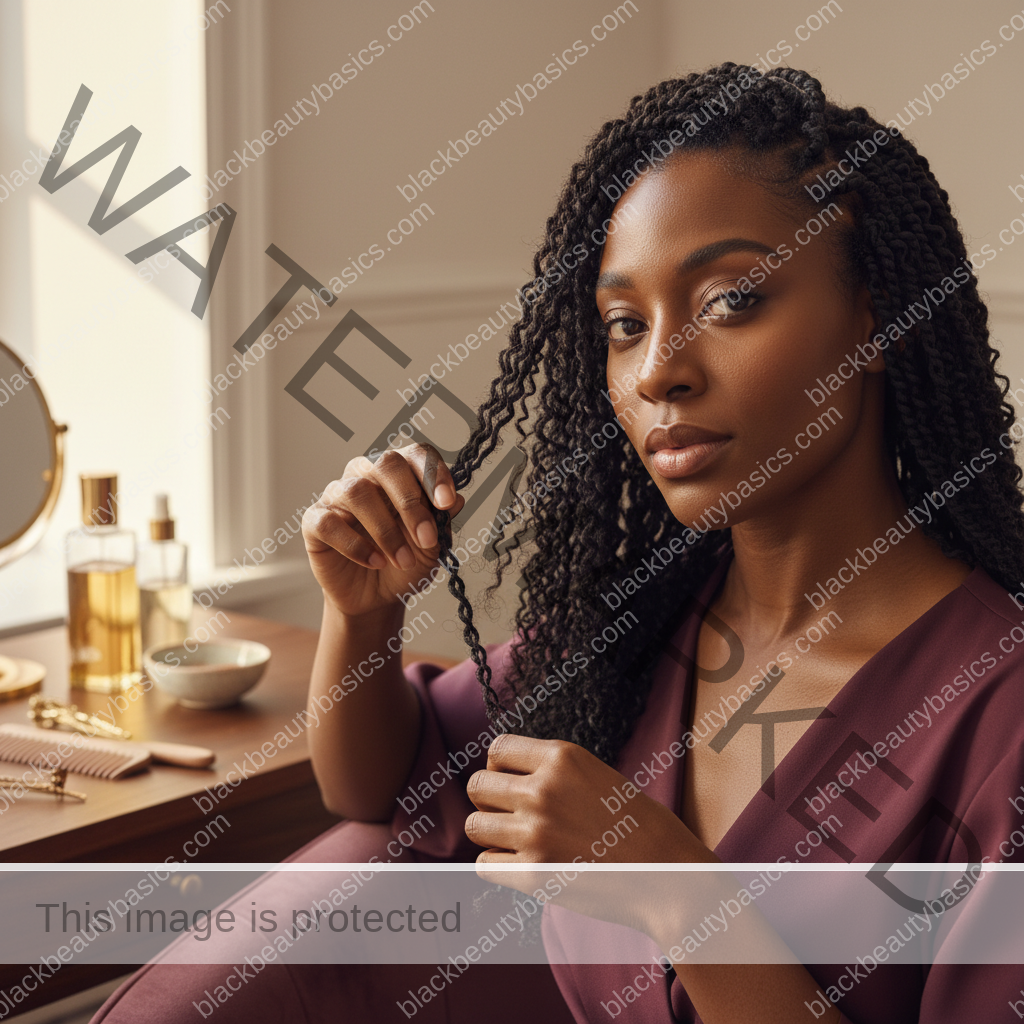
Our crowns, adorned with intricate braids, tell stories of heritage, style, and protection. Yet, the moment of unraveling, when those cherished protective styles come down, can often feel like a daunting task, fraught with the fear of losing precious length and vitality. But what if we told you that this transition doesn’t have to be a battle against breakage, but rather a gentle unveiling that preserves every inch of your hard-earned growth? Start with the related BBB natural-hair cluster guide if you want the broader map.
The Art of Unveiling: Why Taking Down Braids Matters
For generations, braids have been a cornerstone of Black hair care, offering versatility, beauty, and crucial protection against environmental stressors. From box braids to cornrows, twists to knotless styles, these protective installations shield our delicate strands, allowing them to rest, retain moisture, and flourish. However, the journey doesn’t end with the installation; the true test of a successful protective style lies in its removal.
Improper braid take-down can undo weeks or even months of growth and care, leading to excessive shedding, breakage, and damage to the hair cuticle. Our goal at Black Beauty Basics is to empower you with the knowledge and techniques to navigate this crucial phase with grace, ensuring your hair emerges healthier, stronger, and longer than ever before. This isn’t just about preserving length; it’s about honoring your hair’s journey and maintaining its integrity.
Understanding the “Shedding” Phenomenon: What’s Normal?
Before we dive into the techniques, let’s address a common concern: shedding. It’s perfectly normal to shed 50-100 strands of hair per day. When your hair is in braids, these shed strands remain trapped within the braid, unable to fall freely. So, when you finally take down your braids, you’ll see an accumulation of several weeks’ worth of shed hair. This can look alarming, but it’s important to distinguish between normal shedding and actual breakage.
- Normal Shedding: Strands will have a small white bulb at one end, indicating they’ve completed their natural growth cycle and detached from the follicle.
- Breakage: Strands will be shorter, often without a white bulb, and may appear uneven or frayed. This is what we aim to minimize.
The key to a successful take-down is to gently release this trapped shed hair while preventing undue stress on the remaining attached strands. Patience, proper tools, and a nurturing approach are your allies.
The Essential Toolkit: Preparing for a Seamless Take-Down
Just as a skilled artisan prepares their workspace, a successful braid take-down begins with the right tools. Gathering your essentials beforehand will streamline the process and minimize frustration, allowing you to focus on the delicate task at hand.
Must-Have Products and Tools
Having these items within reach will make a significant difference in the ease and effectiveness of your braid removal process.
| Tool/Product | Purpose | Recommendation |
|---|---|---|
| Hair Clips/Clamps | To section hair and keep it organized. | Sturdy, non-snagging clips. Shop Hair Clips on Amazon |
| Rat-Tail Comb | For precise sectioning and carefully unraveling braids. | Fine-tooth, durable comb. Shop Rat-Tail Combs on Amazon |
| Scissors | To cut synthetic hair (if applicable) and trim braid ends. | Sharp, small hair scissors (be extremely careful!). Shop Hair Scissors on Amazon |
| Detangling Spray/Conditioner | To soften hair, add slip, and ease the detangling process. | Leave-in conditioner or a dedicated detangling spray. Shop Detangling Spray on Amazon |
| Nourishing Oil | To lubricate strands, reduce friction, and add moisture. | Lightweight oils like jojoba, argan, or grapeseed. Shop Hair Oil on Amazon |
| Wide-Tooth Comb/Detangling Brush | For gently detangling after braids are removed. | Flexible detangling brush or a wide-tooth comb with smooth teeth. Shop Wide-Tooth Combs on Amazon |
| Spray Bottle with Water | To dampen hair and activate products. | Fine mist spray bottle. Shop Spray Bottles on Amazon |
Creating the Right Environment
Beyond the physical tools, setting the right ambiance can significantly impact your experience. Choose a time when you are relaxed and won’t be rushed. Put on some soothing music, perhaps a podcast, or even a favorite show. This process can take several hours, so comfort is key. Ensure you have good lighting to see what you’re doing clearly, especially when working near your scalp.
The Step-by-Step Guide: Preserving Your Precious Length
This is where precision meets patience. Each step is designed to minimize friction and maximize hair retention. Remember, slow and steady wins the race when it comes to preserving your length.
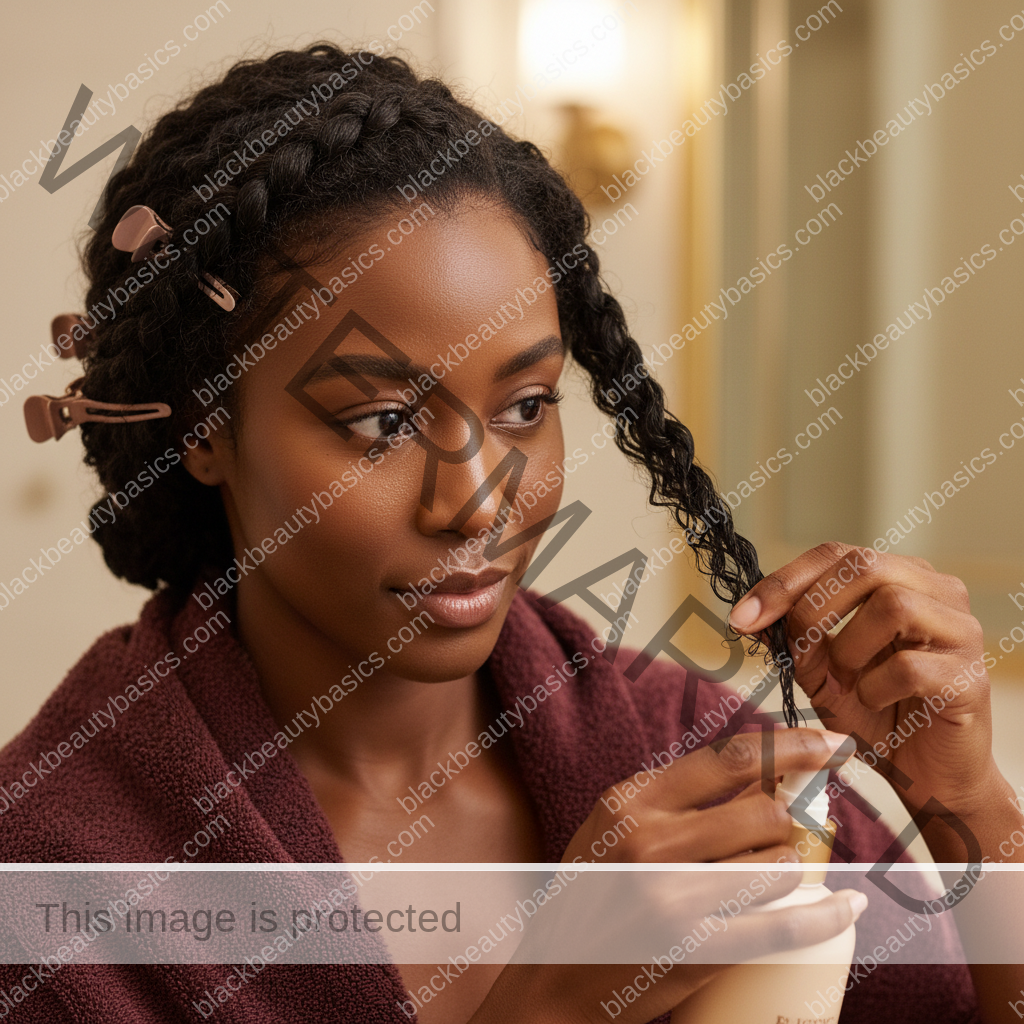
Step 1: Preparation is Key – Hydrate and Soften
Before you even touch a braid, your hair needs to be prepped. Dry, brittle hair is more prone to breakage. This initial step is crucial for adding elasticity and slip.
- Lightly Dampen Hair: Using your spray bottle, lightly mist a section of your braided hair with water. You don’t want it soaking wet, just damp enough to activate products.
- Apply Detangling Product: Follow with a generous amount of your chosen detangling spray or a light leave-in conditioner. Focus on the length of the braids and especially the roots. This creates a slippery surface, making it easier for the braids to unravel without snagging. Shop Leave-In Conditioner on Amazon
- Seal with Oil: Apply a small amount of nourishing oil over the detangling product. This helps to seal in moisture and provide an extra layer of lubrication, reducing friction as you work.
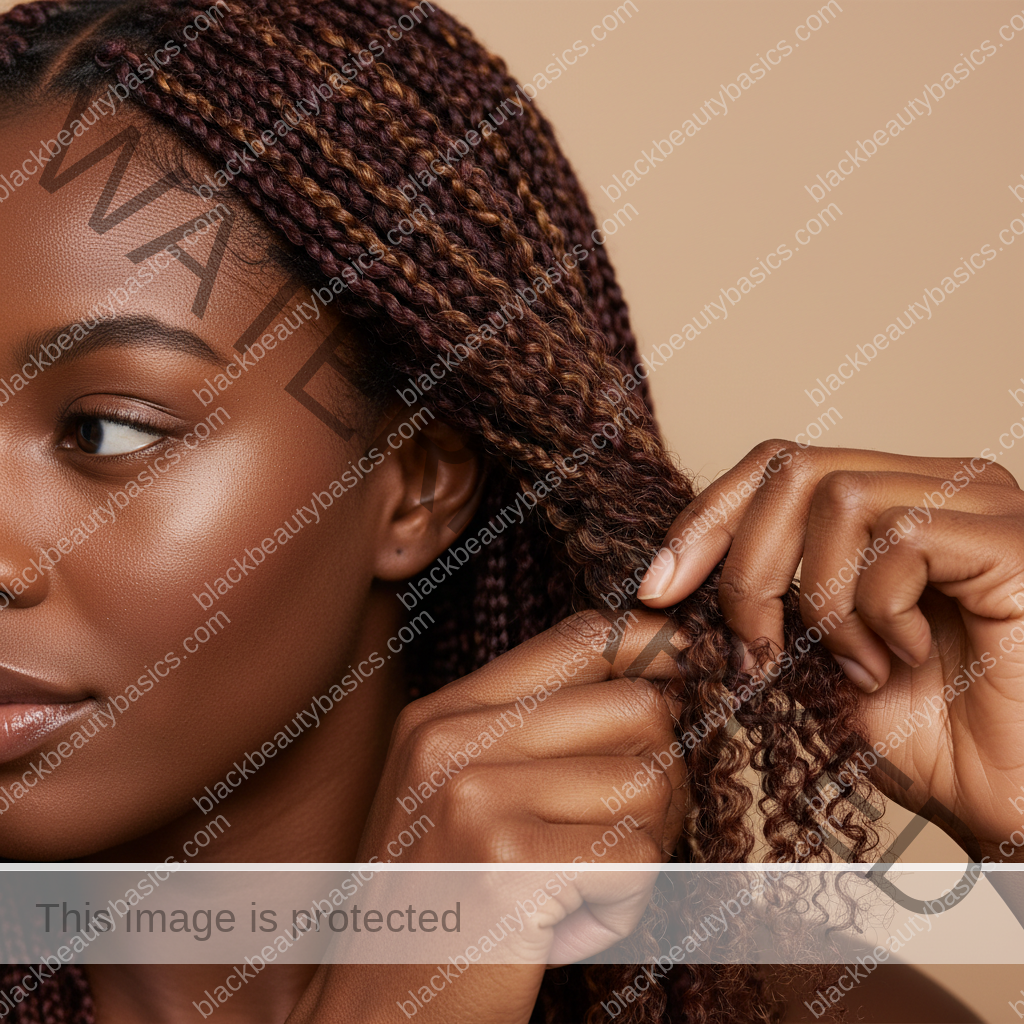
Step 2: The Gentle Unraveling – Section by Section
Never attempt to take down all your braids at once. Work in small, manageable sections to maintain control and prevent tangles.
- Section Your Hair: Use your hair clips to divide your braided hair into four to six large sections. Start with one section, clipping the rest away.
- Locate the End: For each individual braid within your working section, identify where your natural hair ends and any added synthetic hair begins. If you used synthetic hair, carefully cut the synthetic hair below your natural hair’s end. Be extremely cautious not to cut your own hair!
- Unbraid from the Bottom Up: Starting from the very end of the braid, gently begin to unravel it. Use your fingers primarily, and only use the tail of your rat-tail comb if absolutely necessary to loosen a tight knot. Work slowly, one loop at a time.
- Focus on the Root: As you get closer to the root, where shed hair tends to accumulate and mat, apply more detangling spray/conditioner and oil. Gently separate any matted hair with your fingers. Do not pull or yank.
- Separate Shed Hair: As you unravel, you’ll notice clumps of shed hair. Gently pull these away and discard them. This prevents them from re-tangling with your loose hair.
Step 3: Post-Unraveling Detangling – The Crucial First Pass
Once a braid is completely unraveled, your hair will likely be in a shrunken, somewhat tangled state. This is where the first pass of detangling comes in.
- Apply More Product: On the newly unbraided section, apply another generous amount of detangling spray or conditioner and a bit more oil. Ensure the hair is well-saturated and slippery.
- Finger Detangle First: Before reaching for a comb, use your fingers to gently separate the strands. Work from the ends upwards, slowly and patiently. This is the most gentle method and helps to identify any major knots.
- Wide-Tooth Comb/Detangling Brush: Once you’ve finger-detangled a section, follow up with your wide-tooth comb or detangling brush. Again, start from the ends and work your way up to the roots, holding the hair firmly at the root to minimize tension on your scalp.
- Clip Away: Once a section is fully detangled, clip it away to keep it separate from the still-braided or partially detangled sections.
Step 4: The Pre-Poo Treatment – Nourish and Fortify
After all braids are removed and your hair is detangled, it’s time for a pre-poo treatment. This step is non-negotiable for replenishing moisture and preparing your hair for cleansing.
- Generous Application: Apply a rich, moisturizing conditioner or a dedicated pre-poo treatment generously to your entire head of hair. Focus on the ends, which are often the driest. Shop Pre-Poo Treatment on Amazon
- Massage and Distribute: Gently massage the product into your scalp and work it down the length of your hair, ensuring even distribution.
- Cover and Heat: Cover your hair with a plastic cap and allow the treatment to penetrate for at least 30 minutes, or even up to an hour. For deeper penetration, sit under a hooded dryer or use a warm towel.
Step 5: Gentle Cleansing and Conditioning – The Wash Day Ritual
Your hair has been through a lot. A gentle wash day is essential to remove product buildup and further condition your strands.
- Rinse Thoroughly: Rinse out the pre-poo treatment with lukewarm water until the water runs clear.
- Sulfate-Free Shampoo: Use a moisturizing, sulfate-free shampoo. Focus on cleansing your scalp, and allow the suds to run down the length of your hair without aggressively scrubbing the strands themselves. Shop Sulfate-Free Shampoo on Amazon
- Deep Conditioning: Follow with a rich deep conditioner. Apply generously, focusing on the mid-shaft to ends. Detangle gently with your fingers or a wide-tooth comb while the conditioner is in your hair. Leave on for 15-30 minutes, preferably with heat. Shop Deep Conditioner on Amazon
- Rinse and Style: Rinse with cool water to seal the cuticle. Proceed with your regular styling routine, opting for low-manipulation styles for the first few days.
Common Pitfalls to Avoid: Safeguarding Your Strands
While the steps above outline the ideal process, knowing what *not* to do is equally important in preventing damage and preserving your length.
Mistakes That Lead to Breakage
| Pitfall | Why It’s Harmful | Solution |
|---|---|---|
| Rushing the Process | Leads to aggressive pulling, snagging, and unnecessary breakage. | Allocate ample time (4-8 hours or more, depending on braid size/length). Break it into multiple sessions if needed. |
| Taking Down Dry Hair | Dry hair lacks elasticity and slip, making it prone to snapping and tangling. | Always dampen hair and saturate with detangling spray/conditioner and oil before unraveling each section. |
| Skipping Finger Detangling | Using a comb on heavily matted hair can cause significant breakage and pain. | Always finger-detangle first to loosen major knots and shed hair before introducing a comb or brush. |
| Using the Wrong Tools | Fine-tooth combs on matted hair or dull scissors can cause damage. | Invest in a good rat-tail comb, wide-tooth comb/detangling brush, and sharp hair scissors. |
| Ignoring Product Buildup | Excessive product buildup can make hair stiff and difficult to detangle, leading to breakage. | Ensure hair is thoroughly cleansed and conditioned post-take-down, and consider a clarifying shampoo if buildup is severe. |
| Not Pre-Pooing | Hair is often dry and vulnerable after being in braids. Skipping this step leaves it exposed to harsh cleansing. | Always apply a nourishing pre-poo treatment to soften and protect strands before shampooing. |
| Over-Manipulating Freshly Unbraided Hair | Hair is fragile immediately after being released from braids. | Opt for low-manipulation styles for the first few days. Avoid tight ponytails or heat styling. |
Maintaining Your Length Post-Braids: The Aftercare Ritual
The work doesn’t stop once the braids are down and your hair is clean. The period immediately following braid removal is critical for nurturing your hair back to its optimal state and truly retaining the length you’ve preserved.
Tips for Post-Braid Hair Care
- Deep Condition Regularly: For the first few weeks, prioritize deep conditioning treatments once a week to replenish moisture and strengthen strands. Shop Deep Conditioning Mask on Amazon
- Moisture, Moisture, Moisture: Keep your hair consistently moisturized using the LOC (Liquid, Oil, Cream) or LCO (Liquid, Cream, Oil) method. Water is your primary moisturizer. Shop Hair Moisturizer on Amazon
- Low Manipulation Styles: Avoid styles that require excessive pulling, combing, or heat. Opt for loose buns, twists, or wash-and-gos to give your hair a break.
- Protective Styling (Short-Term): Consider short-term protective styles like chunky twists or braids for a few days to a week to keep your hair tucked away and minimize daily manipulation.
- Trim if Necessary: If you notice excessive split ends after your braids are down, a small trim can prevent further damage and promote healthier growth. Don’t be afraid to snip away what’s no longer serving your hair’s health. Shop Hair Trimming Scissors on Amazon
- Scalp Care: Don’t forget your scalp! Use a light scalp oil or serum to soothe and nourish your scalp after weeks of being in braids. Shop Scalp Oil on Amazon
How to make the routine fit your real hair and real life
For Black women with textured hair, hair-care choices can feel emotional because they sit at the intersection of identity, time, styling expectations, budget, and all the advice we have been given about what our hair “should” do. This guide focuses on taking down braids with patience, slip, sectioning, shed-hair awareness, detangling order, and breakage prevention, while keeping the related BBB natural-hair cluster as the home base. The goal is not to force every curl, coil, kink, or section into the same behavior. The goal is to build a routine that protects the hair you actually have.
Start with your real constraints. How much time do you have? How much energy do you usually have on wash day? Does your hair dry quickly, stay wet for hours, tangle at the ends, frizz at the crown, shrink tightly, or lose moisture by day two? These details are not excuses. They are design information for a routine that can last longer than one motivated weekend.
The strongest routine is usually the one that keeps handling gentle, makes detangling easier, protects the ends, and respects your lifestyle. A routine can be beautiful and still simple. It can be polished and still low manipulation. It can include products without making products the whole personality of the plan.
What to notice gently
- Where your hair tangles first: ends, nape, crown, edges, or interior sections.
- How your hair responds to water, conditioner, gels, creams, oils, and drying time.
- Which steps leave your hair softer, rougher, stretched, shrunken, defined, or weighed down.
- How much manipulation your schedule and strands can realistically handle.
- What improves the style without making wash day feel impossible.
What usually makes natural-hair routines harder than they need to be
The first challenge is trying to copy a routine that was built for a different head of hair. Even within the same family, one person may need more water, another may need lighter layers, and another may need more stretch before styling. Texture charts can give language, but your own hair gives better instructions.
The second challenge is doing too many corrective steps at once. A new shampoo, deep conditioner, protein treatment, gel, oil, brush, and drying method can make it impossible to tell what actually helped. For textured hair, small changes are often easier to read and easier to repeat.
The third challenge is letting frustration set the pace. When hair feels dry, undefined, tangled, or unpredictable, it is tempting to keep adding product or handling it more. Often the better move is to slow down, add water where appropriate, work in sections, protect the ends, and choose a style that meets the week you are actually in.
What to do next
Keep this article connected to the Natural Hair Care & Protective Styles system. Use the related guides below to decide whether your next step is a better wash day, a moisture/protein reset, a lower-manipulation style, or a gentler approach to stretching and definition.
- Natural Hair Care & Protective Styles
- The related natural-hair cluster guide
- style-specific prep and takedown routines
- prepping natural hair before braids or twists
- moisture or protein balance
- protective style strategy
How to keep the routine gentle enough to repeat
A good routine should not require you to be a different person every week. If your schedule is full, choose fewer sections, a simpler style, or a wash day split across two smaller windows. If your hands get tired, detangle more slowly, use clips, and stop before frustration turns into rough handling. Your hair does not benefit from being rushed through pain.
Photos and notes can help, but they should support you rather than make you obsess. Track how your hair feels after wash day, how long the style lasts, which areas dry first, and what makes detangling easier. Over time, those small observations are more useful than chasing every trend.
If a product burns, causes persistent itching, makes shedding feel sudden, or leaves your scalp uncomfortable, pause it. If breakage, pain, bald patches, or scalp symptoms continue, get professional care. Natural hair care can be home-centered and still know when to ask for support.
Most importantly, do not let shame run the routine. Black hair does not need to be looser, shinier, or easier to be worthy of care. The best plan is the one that helps your hair feel respected in the life you are actually living.
Frequently Asked Questions About Braid Take-Downs
Q1: How long should I keep my braids in?
A: The ideal duration for protective styles like braids is typically 4-8 weeks. Keeping them in longer can lead to excessive matting, product buildup, and tension on your scalp, which can ultimately cause breakage and hinder length retention. Listen to your hair and scalp – if you feel discomfort or notice excessive frizz at the roots, it’s likely time for removal.
Q2: Can I take down my braids in the shower?
A: While some people prefer to dampen their hair in the shower, it’s generally not recommended to fully take down braids while your hair is soaking wet. Wet hair is more fragile and prone to breakage, especially when it’s matted with shed hair. It’s best to work on damp, product-lubricated hair outside of the shower, then proceed to a full wash day once all braids are removed and detangled.
Q3: What if my hair is severely matted at the roots?
A: Patience is paramount. If you encounter severe matting, do not pull or force it. Saturate the matted area with a generous amount of detangling conditioner and oil. Use your fingers to gently work through the mat, starting from the ends of the matted section and slowly separating small strands. You can also use the tail of a rat-tail comb very carefully to pick at the mat. This process can be time-consuming, but it’s essential to prevent breakage. Consider breaking up the take-down into multiple sessions if necessary.
Q4: How much hair shedding is normal after taking down braids?
A: It’s completely normal to see a significant amount of shed hair. On average, we shed 50-100 strands per day. If your braids were in for 8 weeks (56 days), you could potentially see 2,800 to 5,600 shed strands! This can look like a lot, but as long as the strands have a small white bulb at the end (indicating natural shedding) and you’re not seeing excessive short, broken pieces, it’s usually normal. The key is gentle removal to prevent breakage of the hair that is still attached.
Q5: Should I wash my hair before taking down braids?
A: No, it’s generally not recommended to wash your hair while the braids are still in, especially if they’ve been in for several weeks. Washing can cause the braids to swell, making them tighter and harder to unravel, and can also lead to more matting at the roots. The best approach is to take down the braids on damp, product-lubricated hair, then proceed with a thorough wash day once all braids are removed and detangled.
Q6: Can I reuse the braiding hair?
A: It depends on the type and condition of the braiding hair. If you used high-quality synthetic hair or human braiding hair and it’s still in good condition (not matted, tangled, or excessively frizzy), you might be able to wash and reuse it. However, for most synthetic braiding hair, it’s often more practical and hygienic to use fresh hair for each installation to ensure a neat and clean look. Always inspect the hair thoroughly before considering reuse.
Q7: How can I prevent my hair from tangling so much next time?
A: Several strategies can help:
- Don’t keep braids in too long: Stick to the 4-8 week guideline.
- Moisturize regularly: Keep your scalp and braids moisturized while installed to reduce dryness and friction.
- Sleep with a satin bonnet/scarf: This reduces friction and frizz. Shop Satin Bonnet on Amazon
- Choose looser styles: Tighter braids can cause more tension and potential matting at the roots.
- Ensure proper installation: Have your braids installed by a professional who doesn’t braid too tightly.
A: If you accidentally snip a small piece of your natural hair, don’t panic. Assess the damage. If it’s a small section, you can usually blend it in. If it’s a larger, noticeable cut, you might need to consult a professional stylist for a trim to even things out. This highlights the importance of using sharp scissors and being extremely careful, especially when cutting synthetic hair near your roots.
Embracing the Journey: Your Crown, Your Care

Taking down braids doesn’t have to be a dreaded chore; it can be a meditative act of self-care, a testament to your dedication to your hair’s health and vitality. By approaching this process with patience, the right tools, and a nurturing touch, you’re not just unraveling a protective style—you’re unveiling the beautiful growth beneath, honoring your crown, and setting the stage for its continued flourishing. Embrace this journey, for every strand tells a story of resilience, beauty, and the profound care you lavish upon it.
Related next steps
Related posts:
 Protective Styling 101 – How to Choose Styles That Retain Length Without Damaging Your Edges
 Nighttime Care for Natural Hair: Bonnets, Pillowcases, and Styles for Lasting Moisture and Length
 Honest Beauty 2-in-1 Extreme Length Clean Mascara + Lash Primer Review
 Low‑Manipulation Styles for Length Retention in Natural Hair
 How to Prep Natural Hair Before Braids or Twists
 Stretching Natural Hair Without Too Much Heat